Scheduled meeting
Database Administrators and HQ users are given possibility to upload one or more scheduled meeting templates which users can later use when sending e-mail invites. Module Scheduled meeting on the list of modules in SV Anywhere used for uploading templates is not visible for remote users. Remote users are only given predefined templates without possibility to edit them.
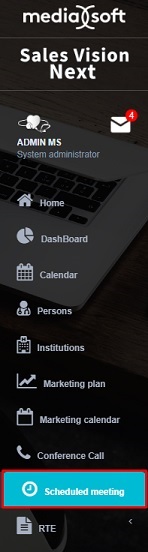
How can Administrator upload a conference call template? After Administrator enters web application, a new icon on the list of modules called Scheduled meeting will be visible. Click on in to enter the module.
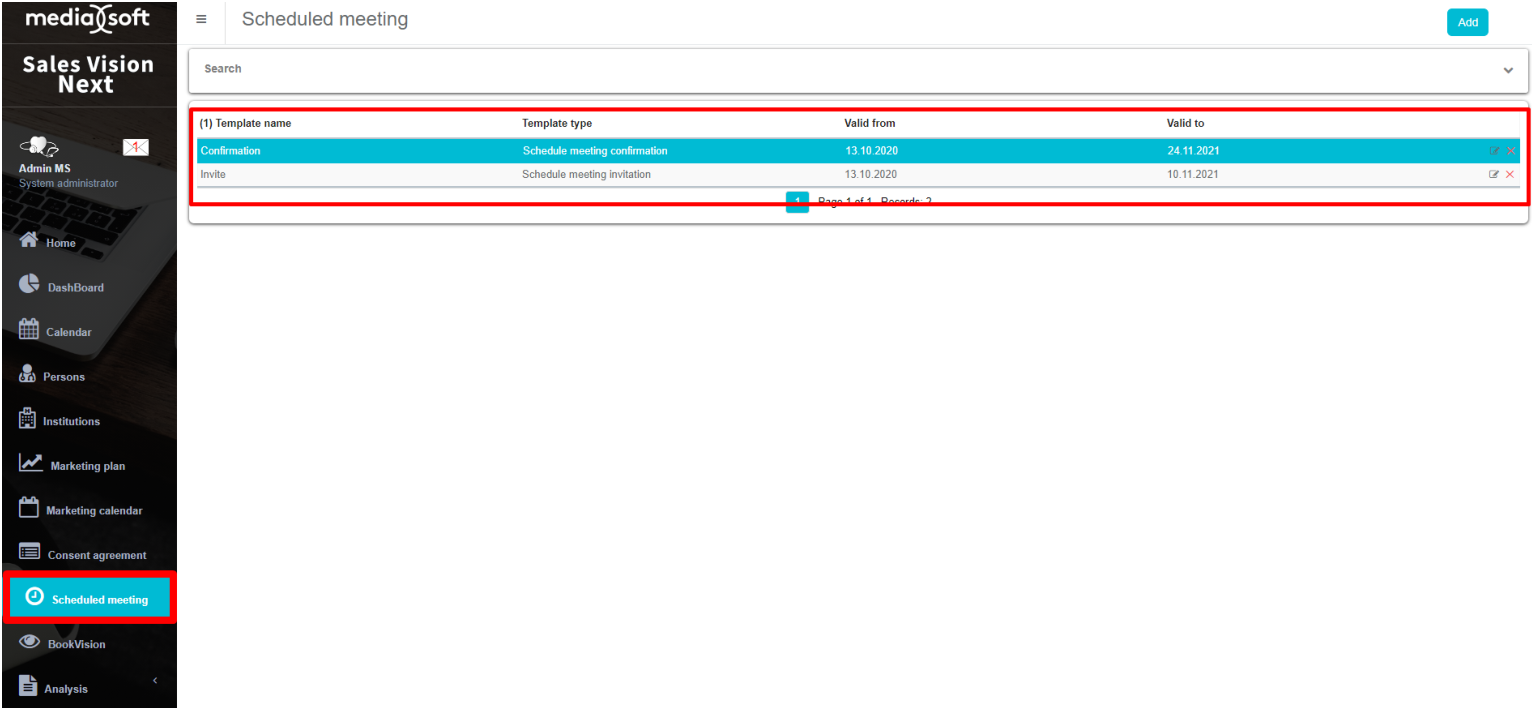
A list of all uploaded templates will be visible. In the upper part of the screen you are given a possibility to filter templates by its name and by time validity (Valid from and Valid to). To upload new Scheduled meeting template click on the Add button in the upper right corner. New window will open. We have two types of templates:
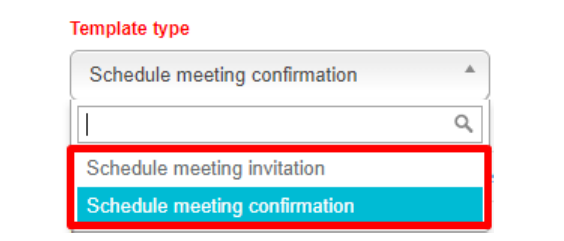
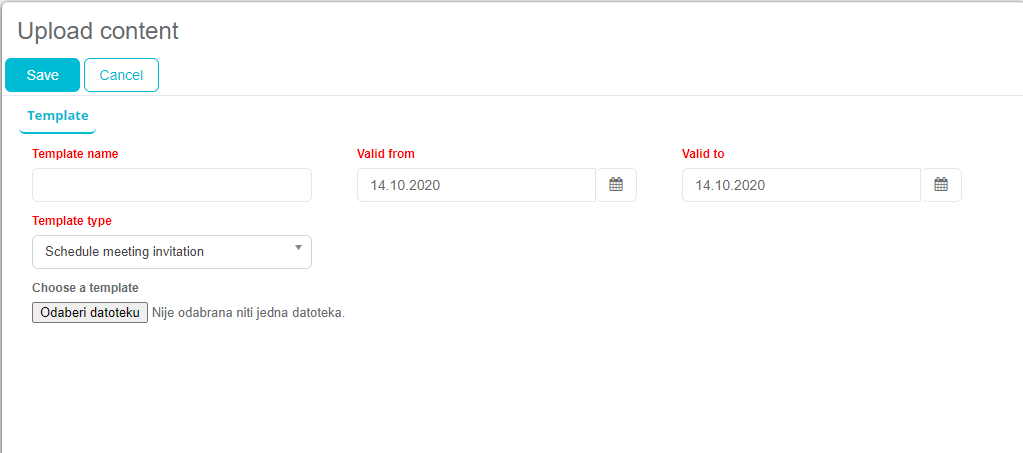
“Schedule meeting invitation” template which is used in e-mail when user is sending invite to person for selecting one of open appointment and “Schedule meeting confirmation” is e-mail template which receive both USER and PERSON after person has selected one of the meeting appointments.
The following figure shows how it looks when we are adding new template:
If we are editing existing template, we have also a PREVIEW of it:
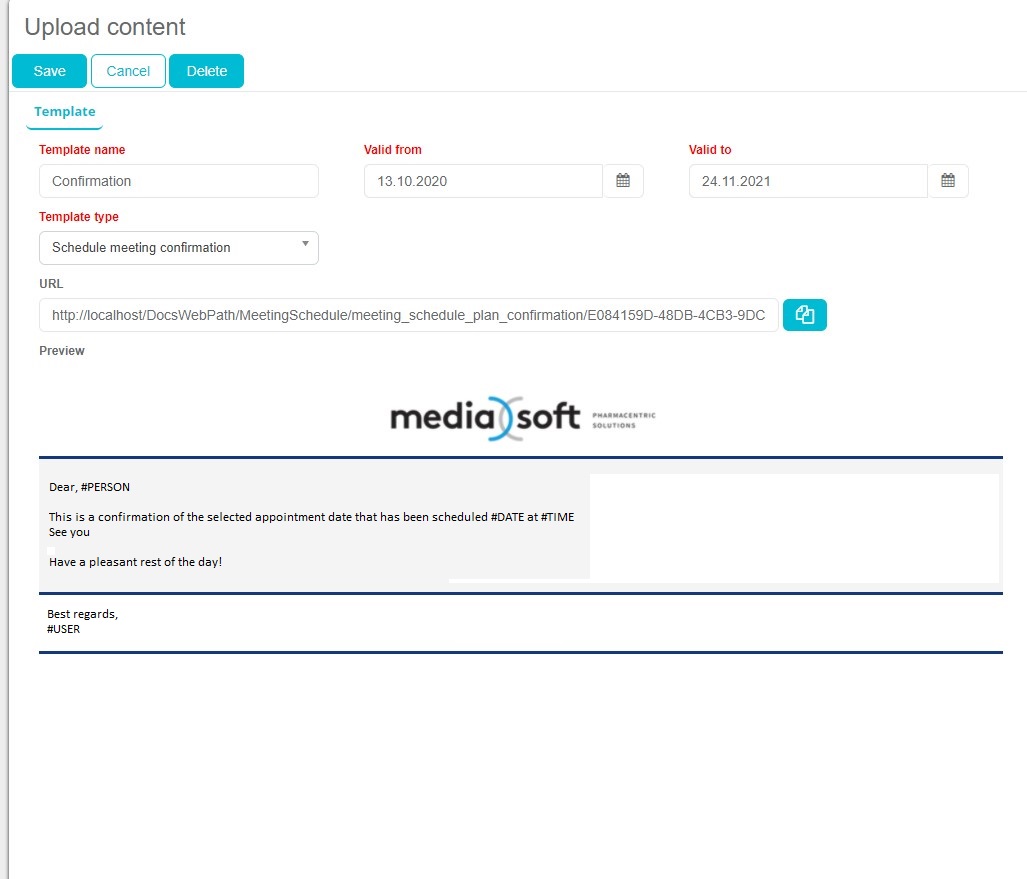
Anchors that can be used in templates: Invite template – #PERSON, #LINK, #USER Confirmation template: #PERSON, #DATE, #TIME, #USER
All templates are also physical stored in “docFilePath”, folder MeetingSchedule and inside are subfolders:

Each of these folders contain subfolders of active and deleted templates:

Calendar – day plan
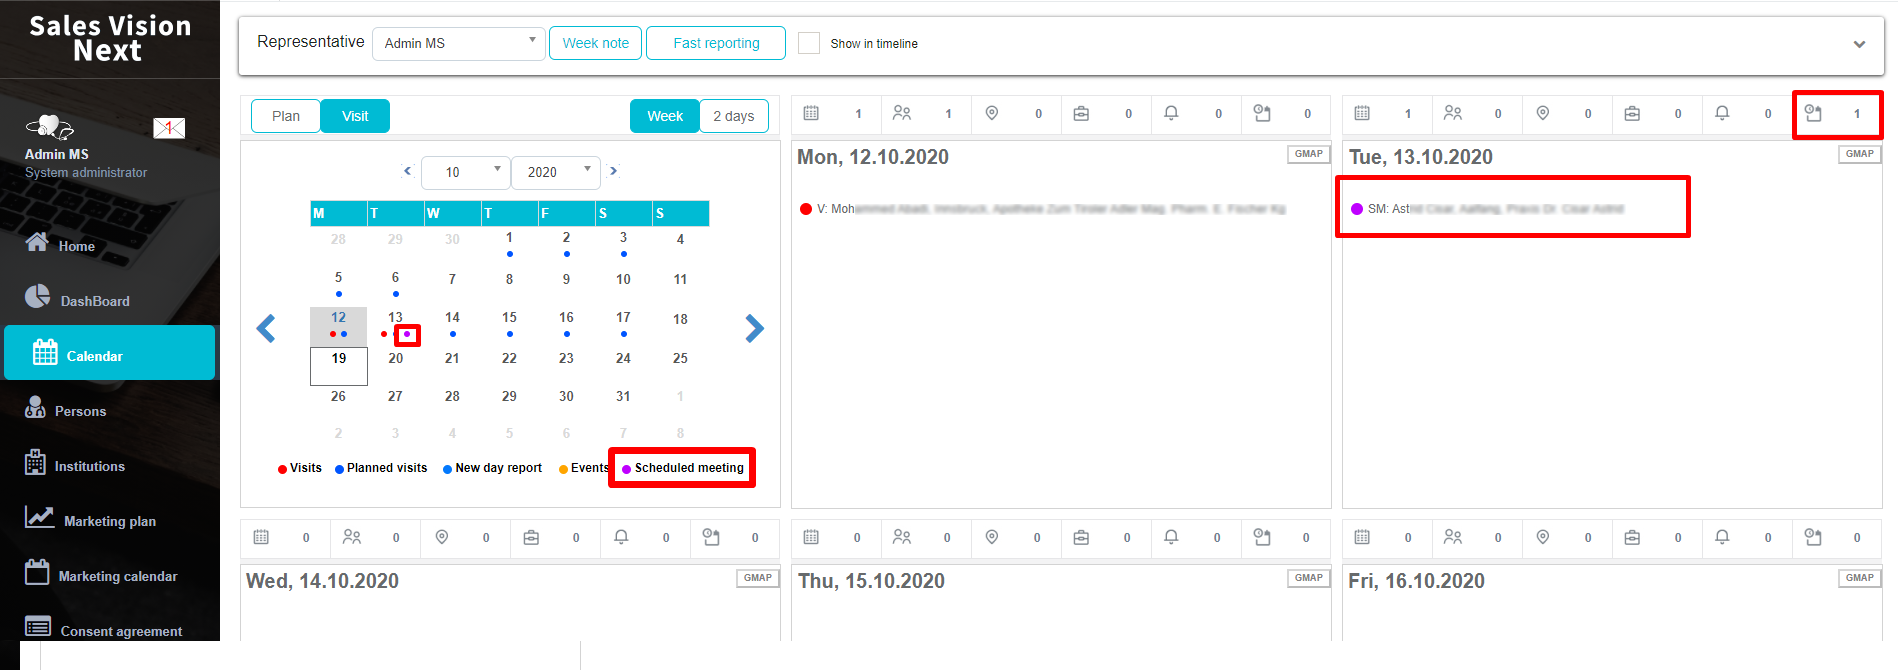
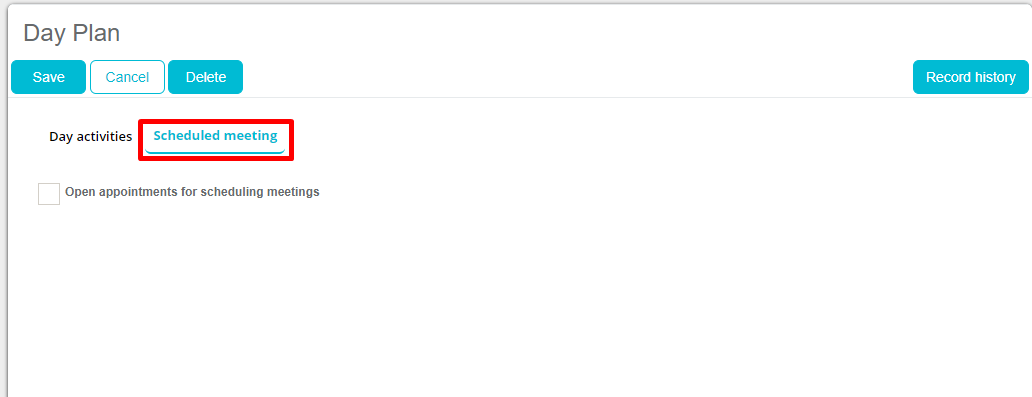
When option is active on calendar “Day Plan” form we have a new tab “Scheduled meeting”.
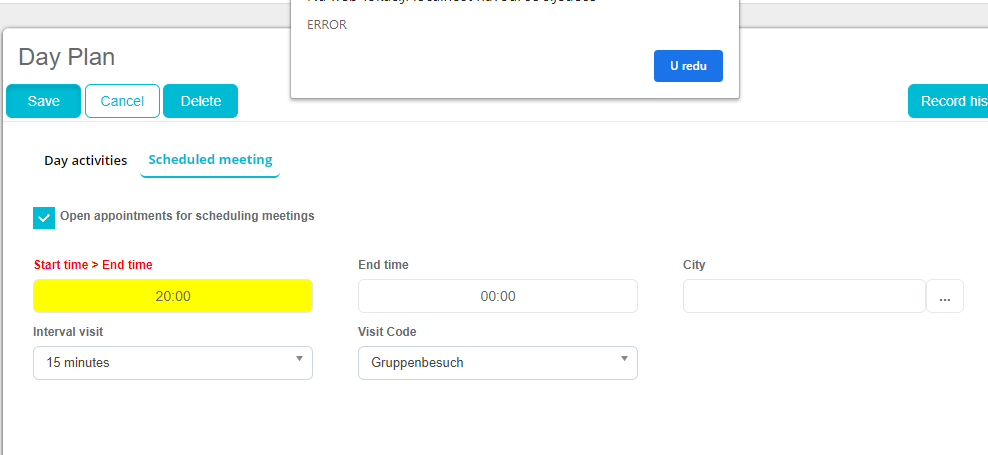
When we mark the checkbox, we can choose time Start time – Endtime which we want to create our “Meeting schedule” appointments. All fields are mandatory, if you try to save you will get an error.
Calendar - created scheduled meetings
After you fill all fields there will be created open scheduled meeting appointments in calendar using entered parameters.
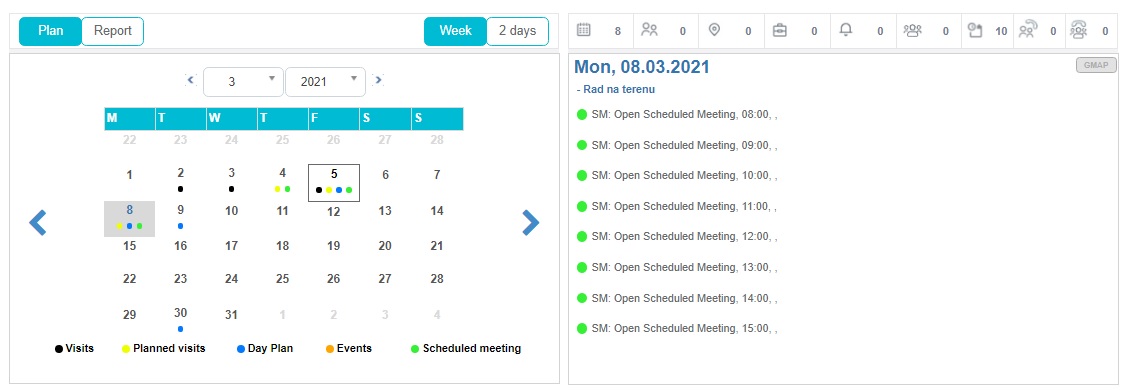
Scheduled meeting in calendar plan show by our defined (or default) color from option 203 with shortcut “SM”, as you can see on the figure above.
Edit - scheduled meeting
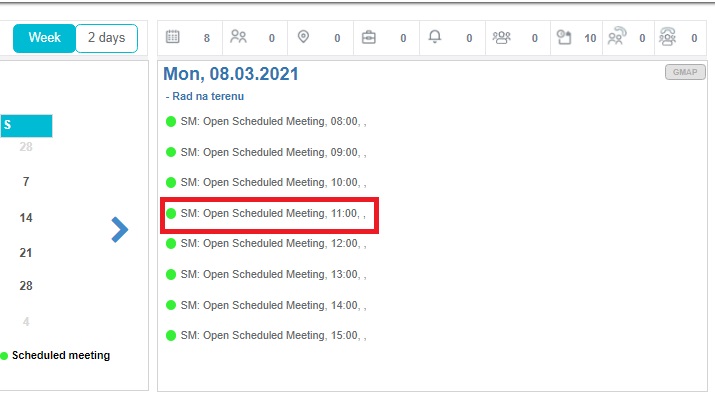
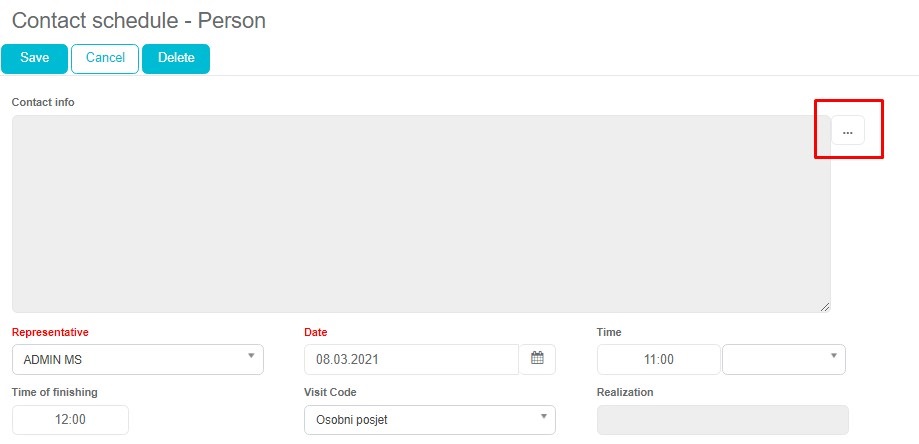
By clicking on open appointment, it is opened plan form without selected person.
You can select person you want, by search parameters same as when sending invitations (persons from cities which were selected in day plan).
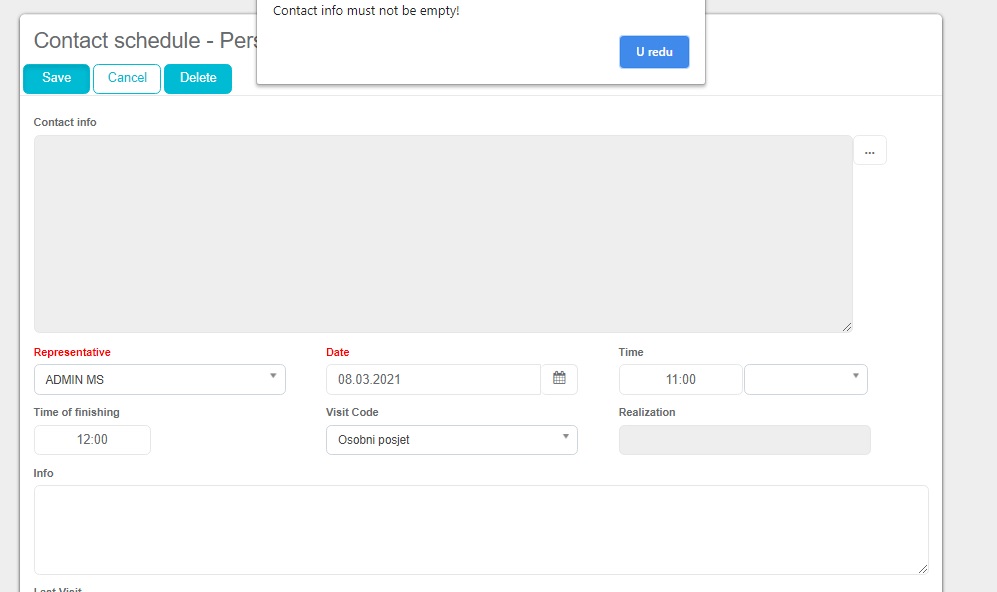
Cannot be saved if you did not selected person.
You can delete this “Schedule” if you want. If you select person by your own, this appointment will not be shown on open meeting select list and person will not receive ANY e-mail.
Schedule calls
After we created open scheduled meeting appointments and they are shown in calendar, we are ready to send invitations to Persons.
We have a new button “Schedule calls” on plan calendar view to send invitations and also on each calendar day new icon for “Scheduled meeting” to send invitation for that clicked day.
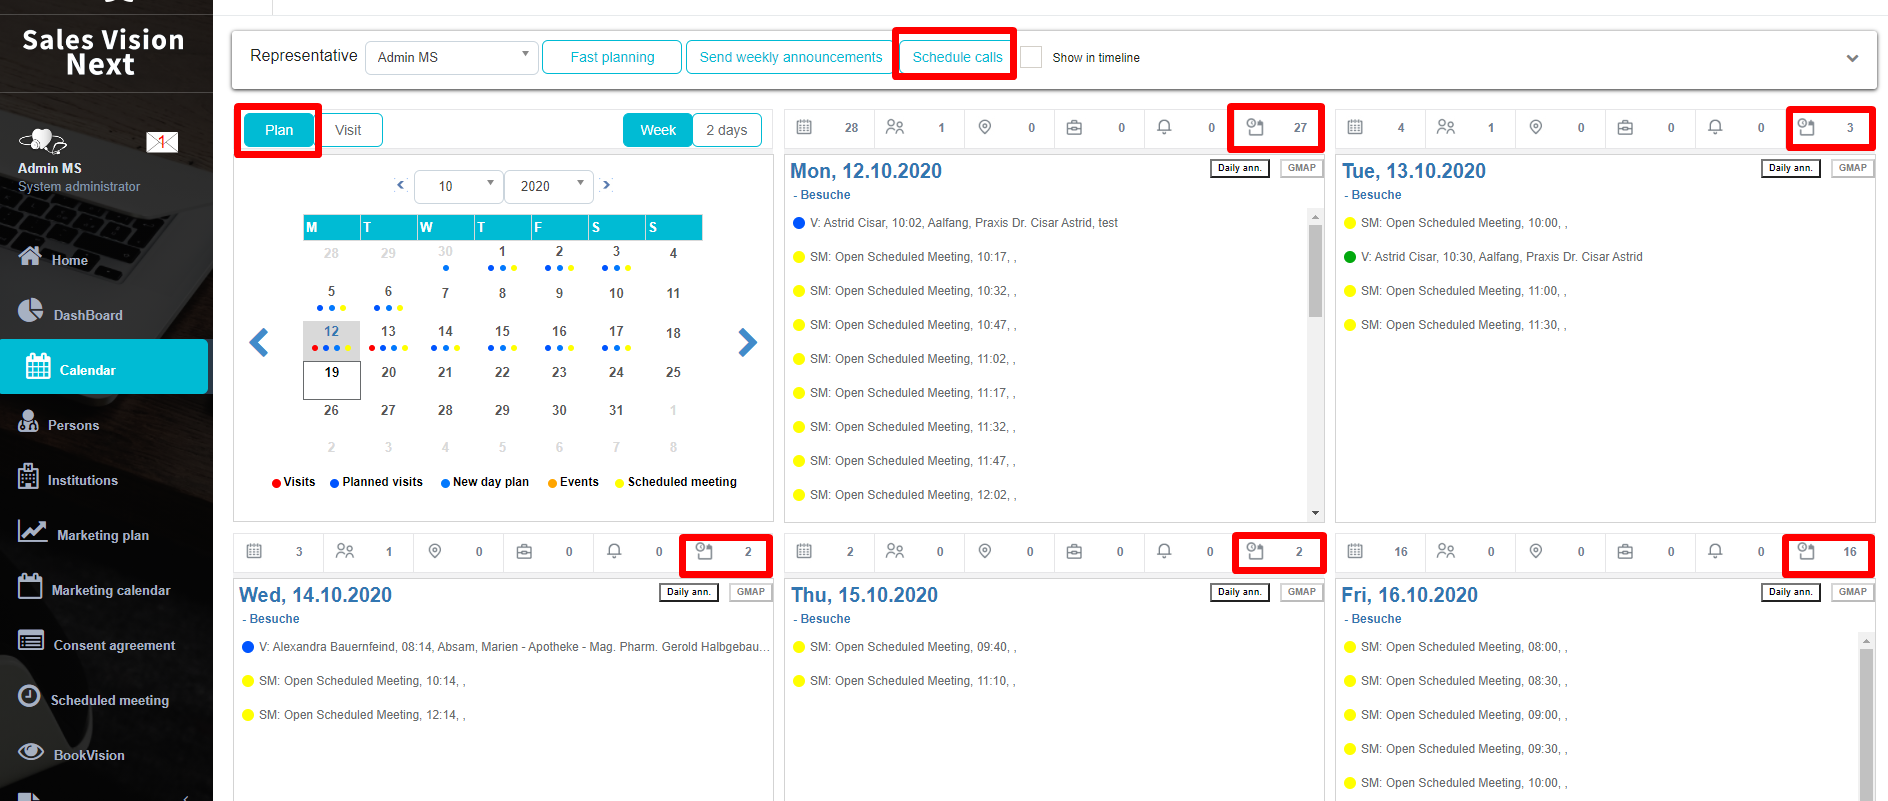
On “Visit” tab on click does nothing, it just show’s the number of Scheduled meetings for that day.
When we open “Schedule calls” form we get loaded list of open scheduled meeting for current day/date.
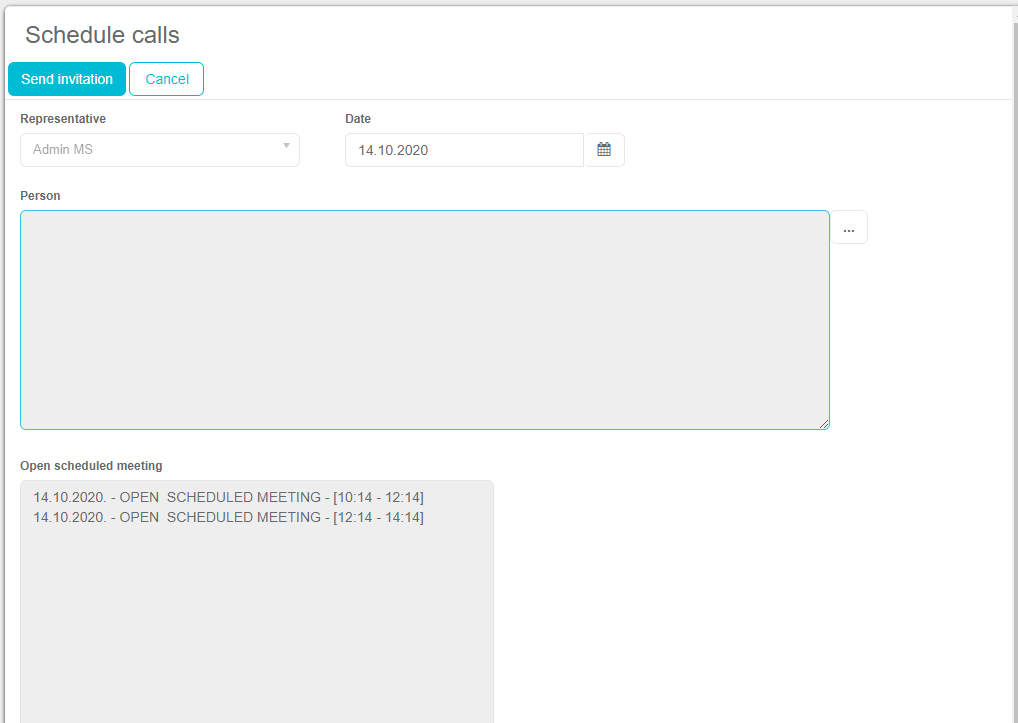
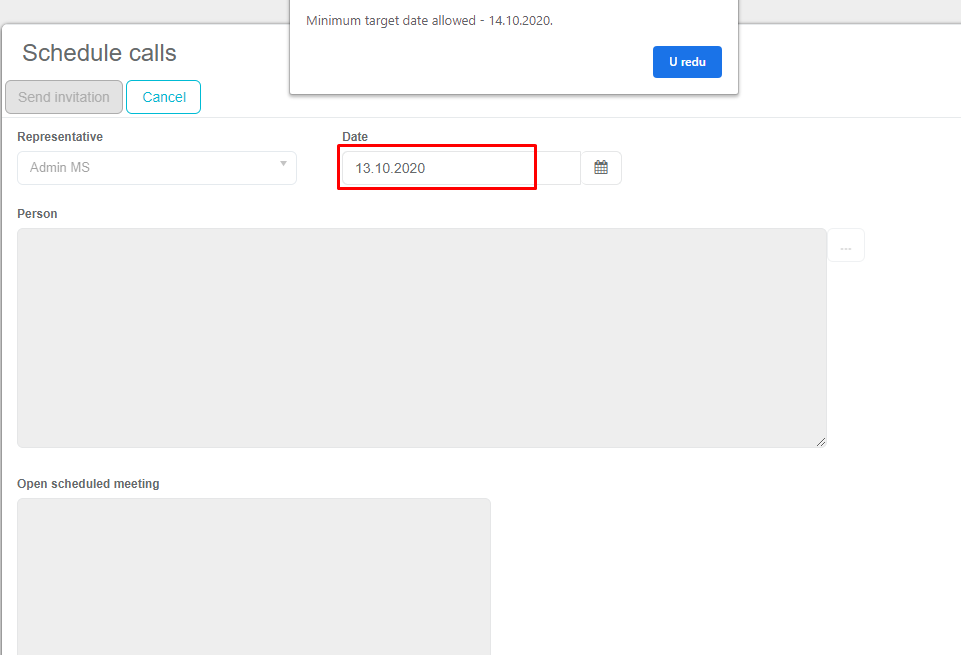
We can choose date we want. Except in the past because plans are only for future.
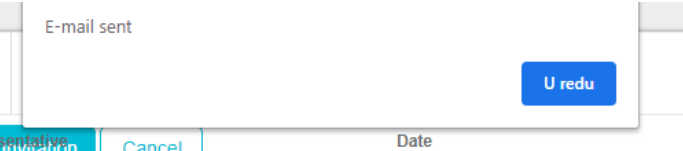
After we send invitation, we get a notification that e-mail was sent, and after we click ok the web form is closed.
Error sending invitation
In case not all e-mails were sent, you get a notification:

All error description is sent to USER e-mail, and example is in the following figure:
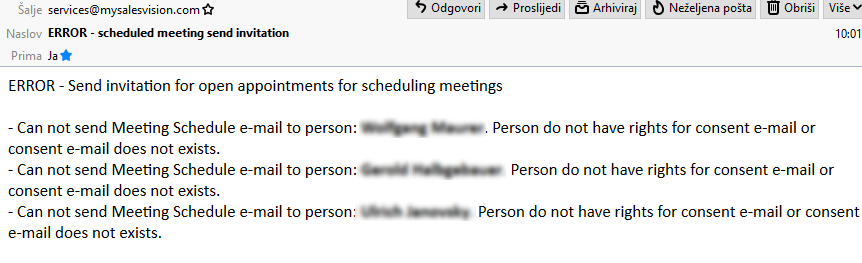
In that case we know to which person’s was not sent e-mail and the reason of it.
Person invitation e-mail
After invitation is delivered, person receives an e-mail. In the following figure is example with our created invitation template:
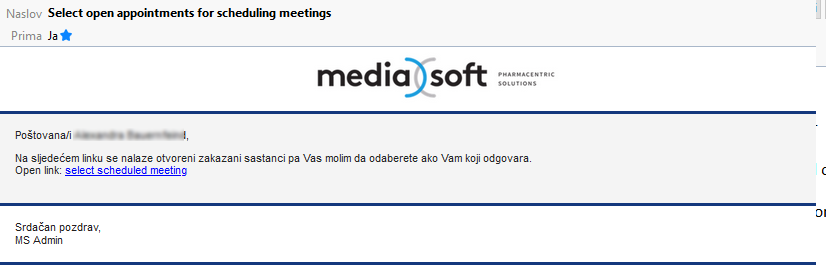
If in some cases we do not have defined TEMPLATES, the following figure shows how it will look e-mail.

Person schedule meeting selection
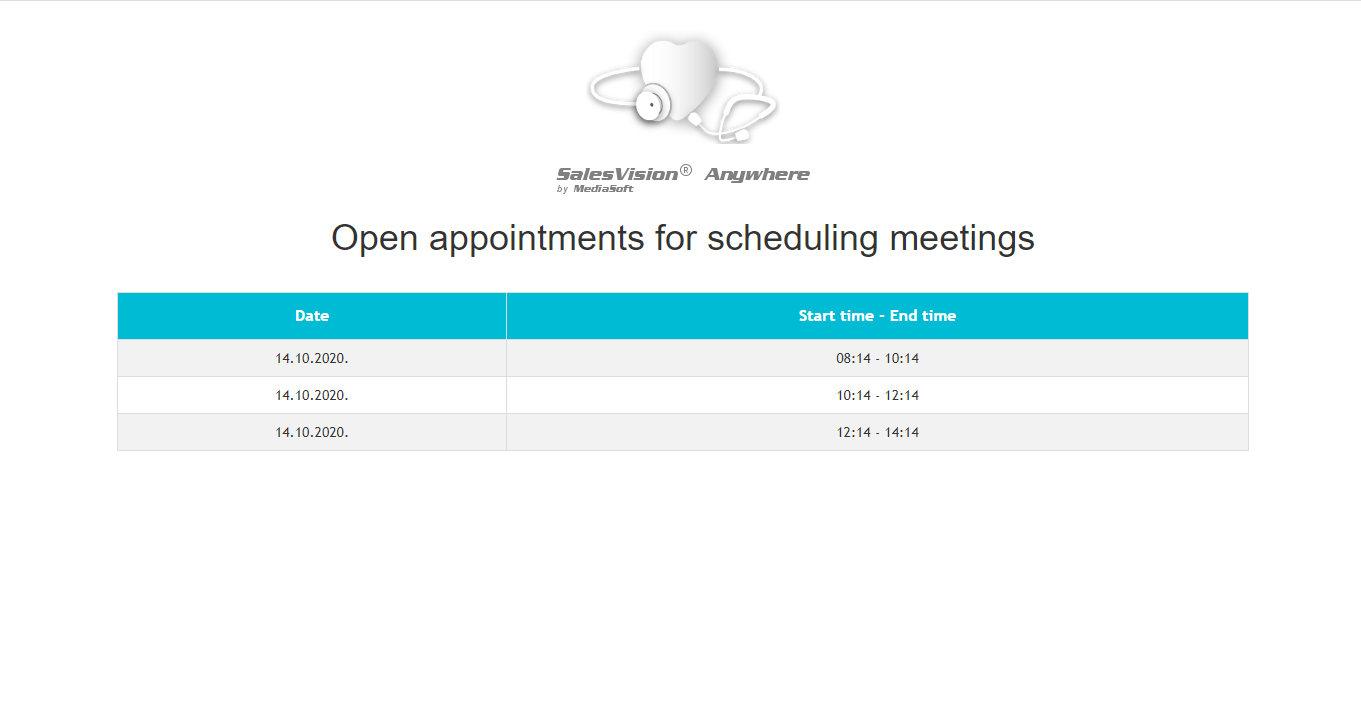
When person opens link from e-mail, the page with open appointments is shown:
After person selects and confirms one of the appointments
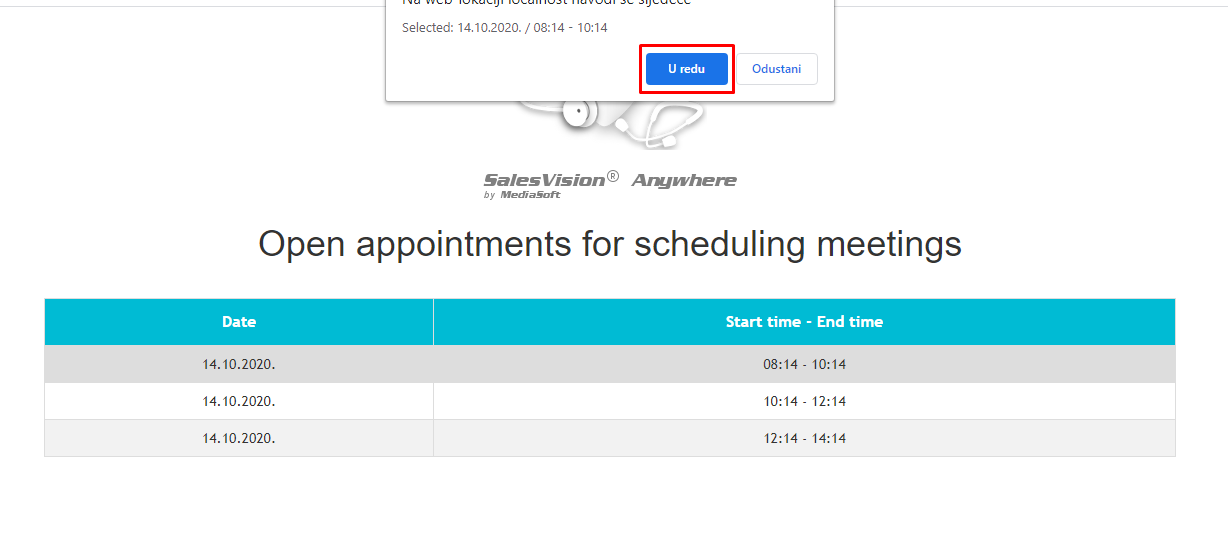
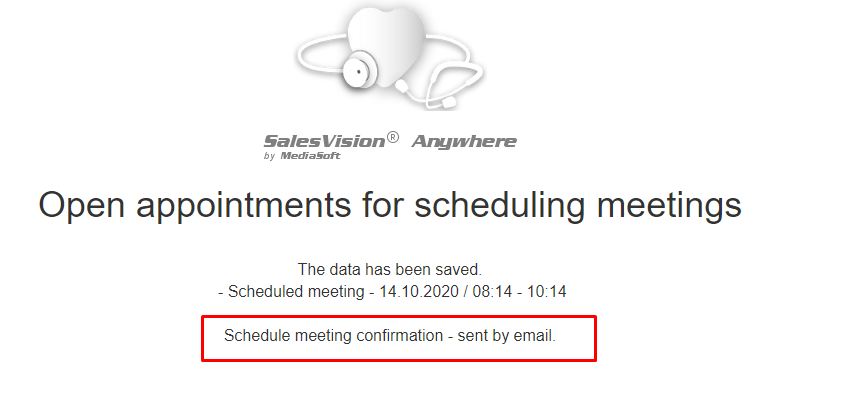
Description of selected meeting is displayed.
If confirmation was not successfully sent to PERSON e-mail, marked text on the following figure will not be written and USER will receive e-mail with an error description.
In either way data will be saved.
If data were not successfully saved, you get description that “Data was not saved” and error is written in LOG files.
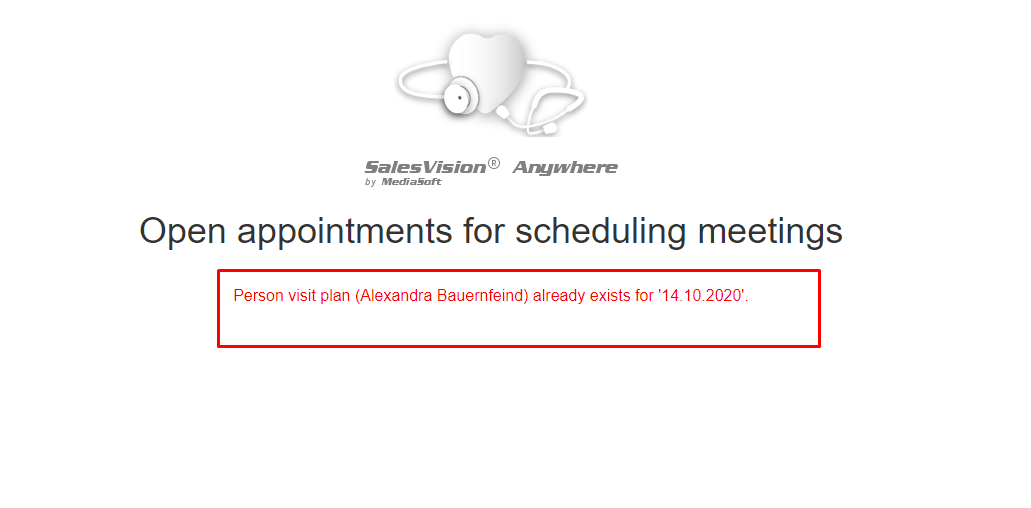
Existing plan
If plan for this USER and PERSON for that day already exists, person will get description like on the following figure:
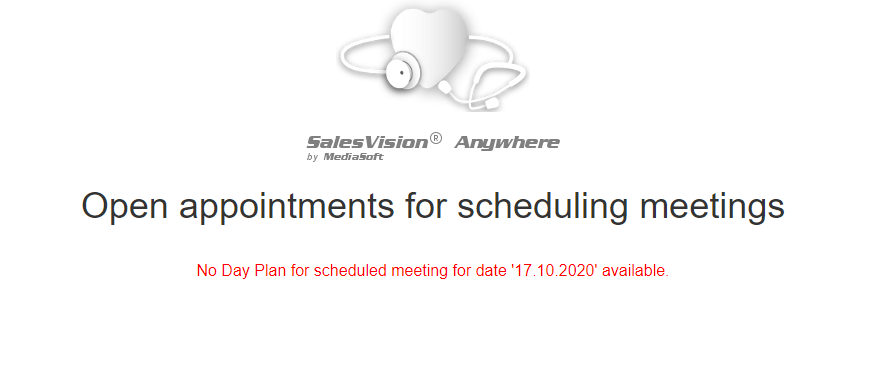
No day plan open appointments
If all open appointments were selected or simply does not exists one anymore for selected day. You will get description as following:
Person confirmation e-mail
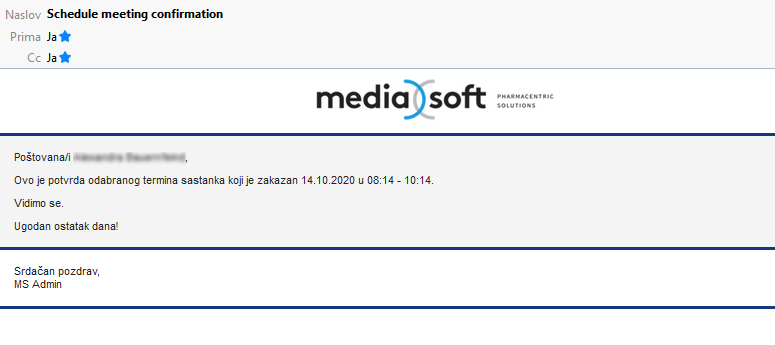
If confirmation e-mail was successfully sent. Person and the USER in CC will receive confirmation e-mail.
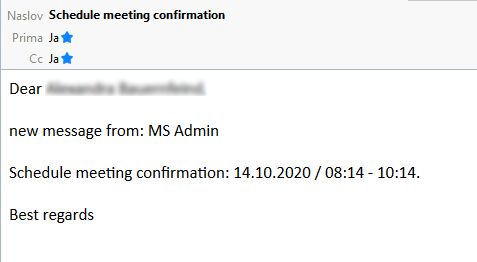
If in some cases we do not have defined TEMPLATES, the following figure shows how it will look e-mail.
Error confirmation e-mail
If some error happens on sending confirmation applies the same as with invitation. All reason of not sending e-mail is sent to USER.
Example:

If user cannot receive e-mail either, then are errors written to log files:

Calendar – selected schedule meetings
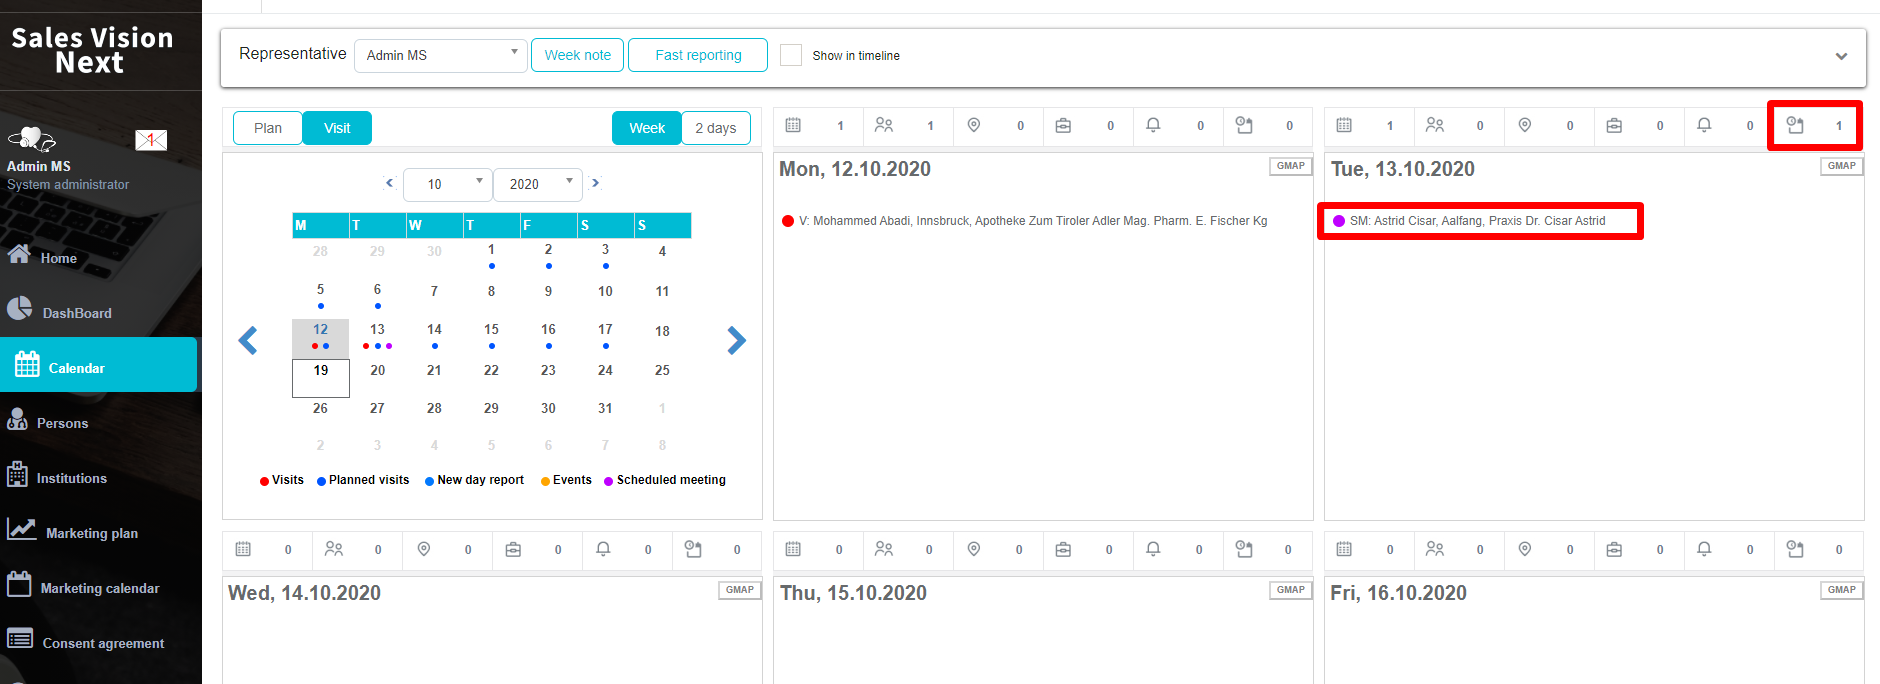
After PERSON has selected open appointment in USERS calendar this open scheduled meeting becomes normal visit plan.
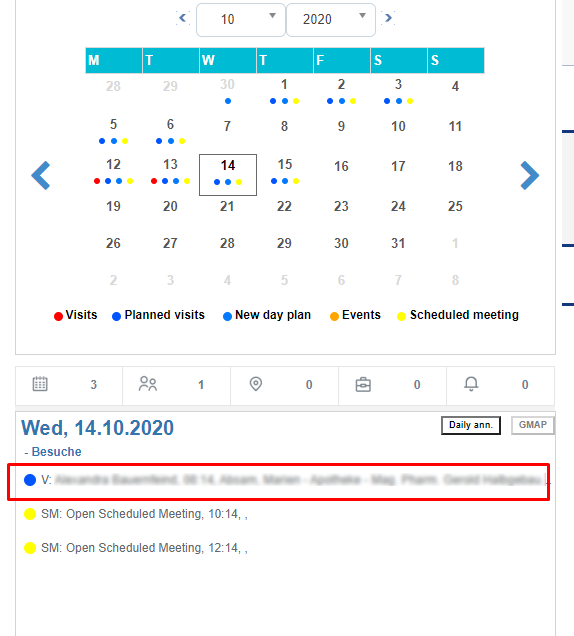
Calendar – visit from scheduled meeting
Visit created from a scheduled meeting will be shown in calendar with a color selected for “Scheduled meeting Realized” in option 203. In our example is like on the following figure: