Direct mailing
Introduction
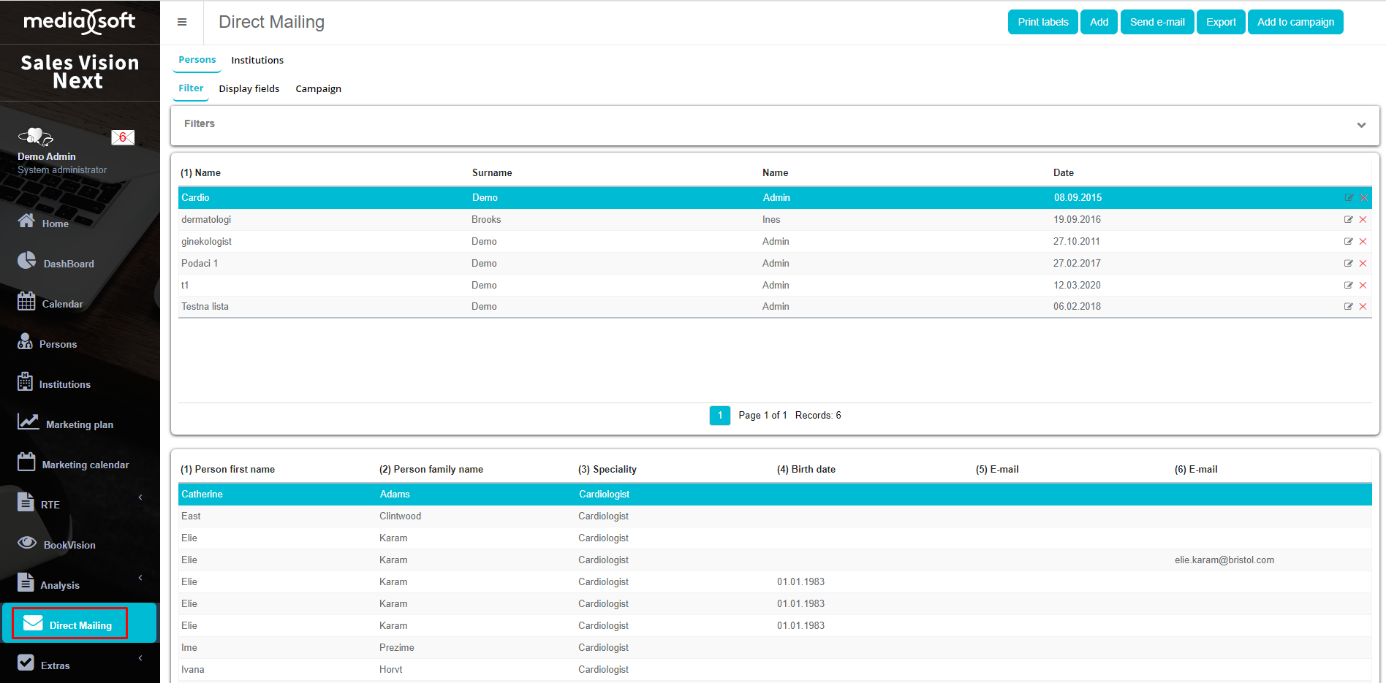
Direct mailing module is a module where users can create their own filtered lists, which can further be exported to Excel, or added in campaigns. Module is divided in two main parts – Persons part and Institutions part – each displaying fields and data related to persons or institutions respectively. Second row of tabs displays Filter tab, where users can find filtered lists of persons (or institutions), created from the definition of displayed fields for a list on second tab Display fields. Third column Campaign shows the information about created campaigns. Campaigns can be created from the filtered lists, created on first tab Filter, or campaign can contain persons that are added directly. Campaign management module is a complex tool to assist in planning, managing and evaluating campaign processes. All customer data should be available in this module (persons, institutions), where it can be quickly evaluated. Campaign planning tool should allow management of campaigns in several waves. First step when creating new campaign is definition of targeted group of persons. This should be possible using advanced filtering on existing customers data (persons and institutions). Once targeted group is defined, next step is cost calculation and decision for the first wave. Cost calculation should be linked with events information, as a supporting tool for cost estimation. When this step is finished, using direct mailing module, mailings are automatically dispatched with defined content to targeted group of persons. According to response, data should be stored in Sales Vision’s database – at any time, it should be possible to analyze responses from all targeted persons. Also, there should be possible to extract the list of persons who did not respond to mailings, and prepared them for second wave of direct mailing. Same process is applied in N number of direct mailing waves for Non-reponders.
Direct mailing module – with campaign management module included
In order to access a module, expand Extras menu and click on Direct mailing module.
Defining fields for filtered list
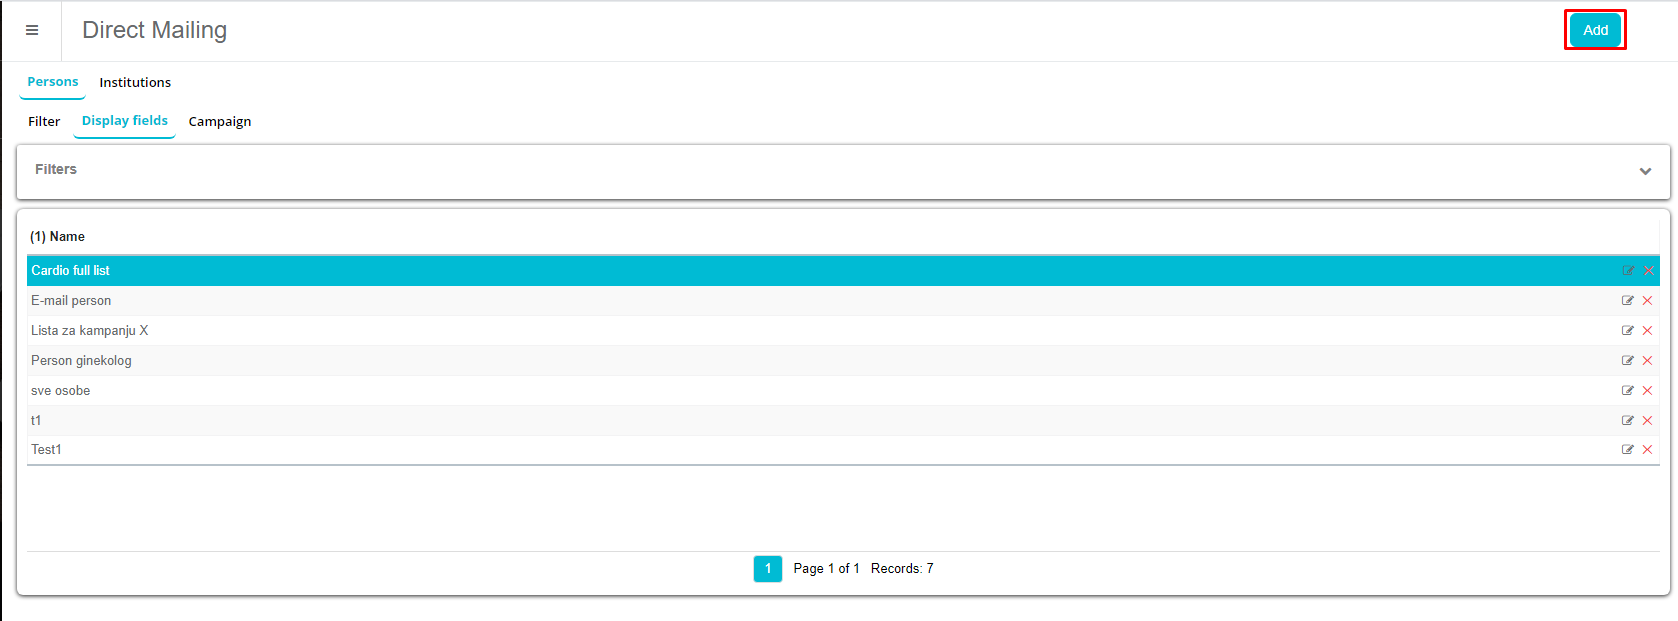
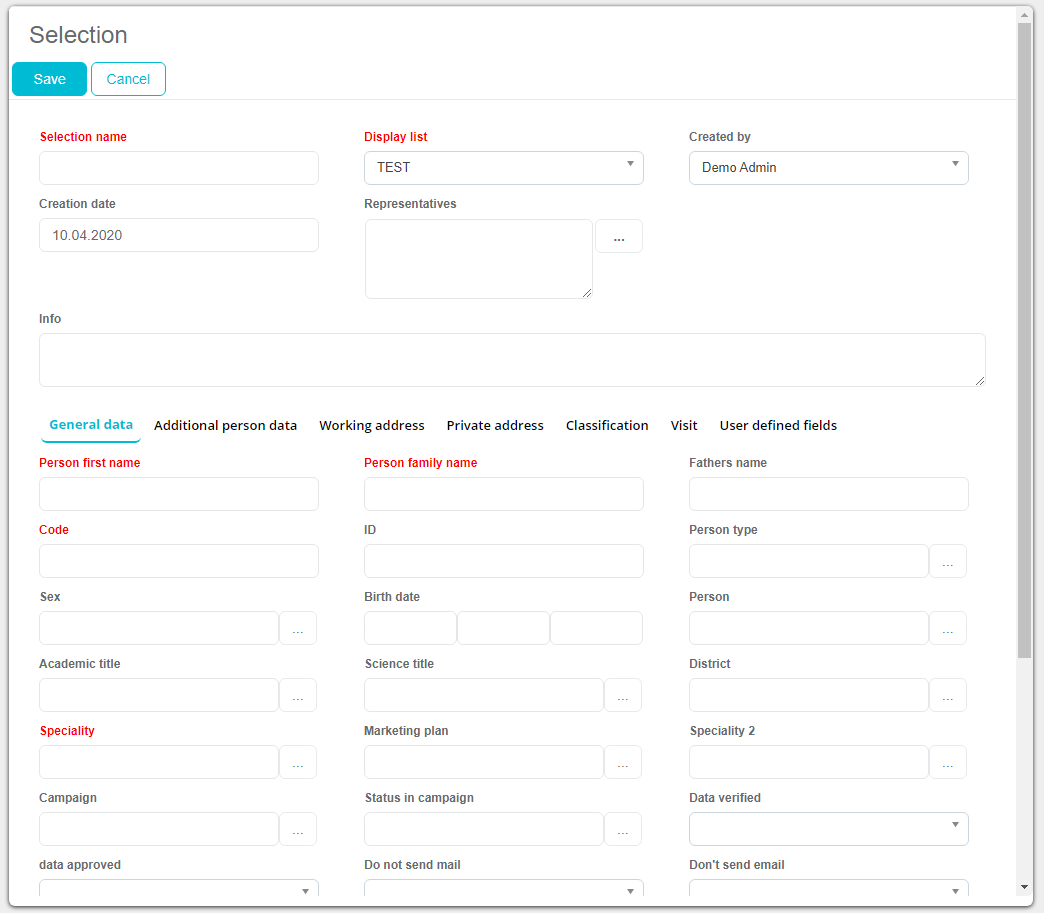
In order to create a new filtered list, it is mandatory to create a definition of display fields first. This step can be done from the second tab Display fields, when user click on button Add.
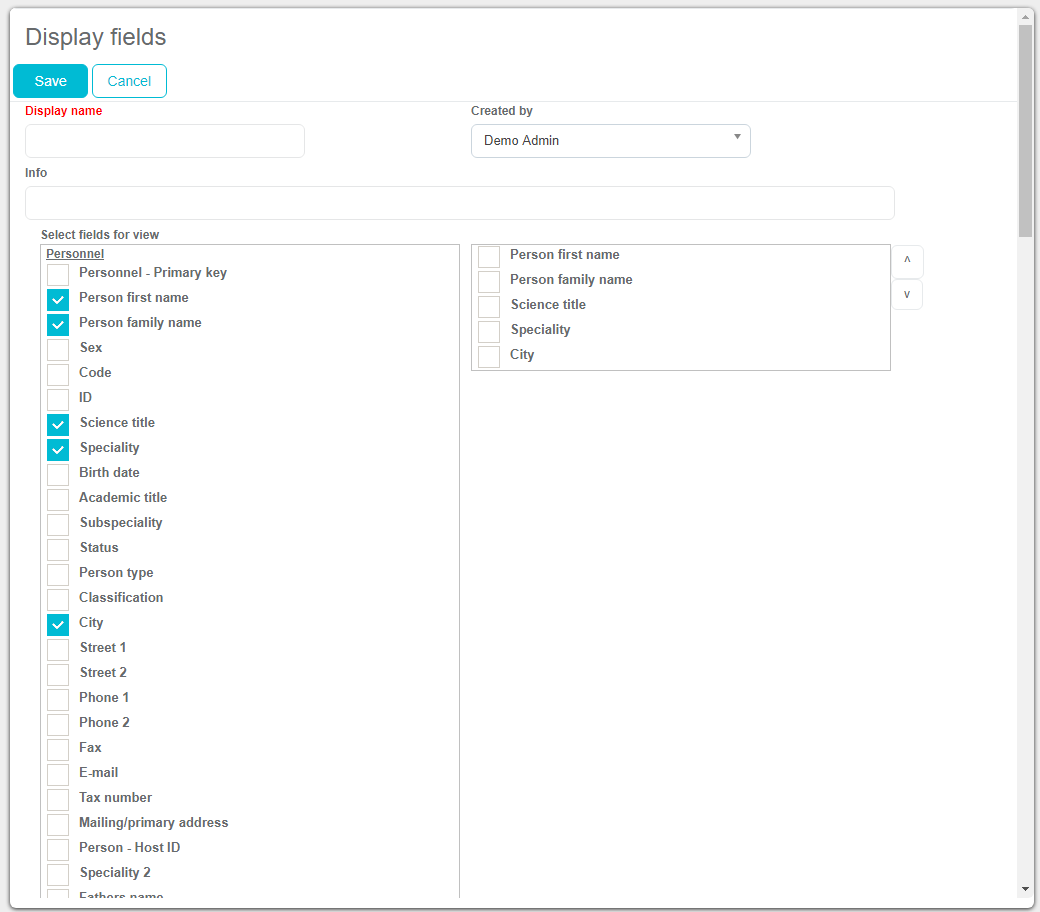
Display fields selection can be saved under a given name, additional info can also be defined. In part Select fields for view, user can select fields that will be shown on a filtered list. Every field can additionally be moved up or down in a selected list, or even be removed from the selection.
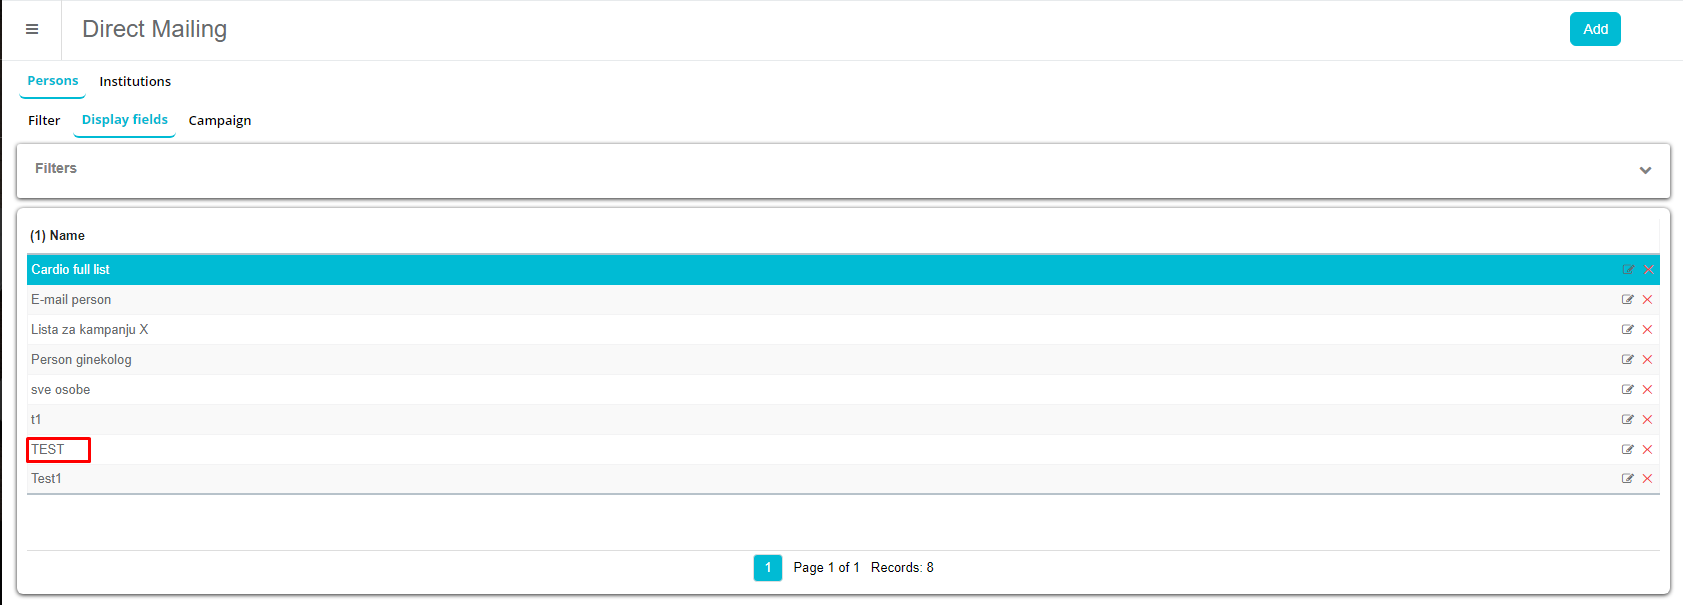
When selection of fields is saved, it will be shown as a new record on tab Display fields.
Defining a new filtered list
Once the fields selection is ready, we can create a new filtered list under the first tab Filter, with button Add.
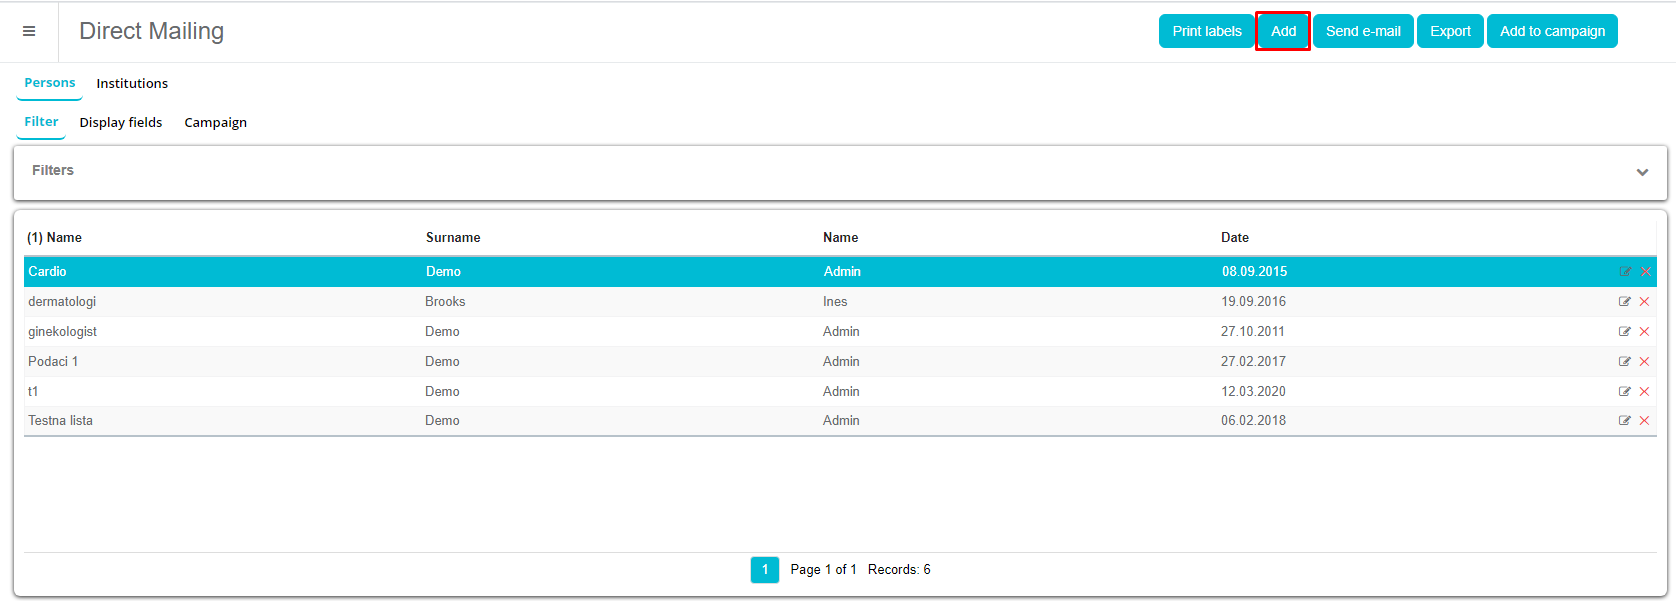
In a new window, user can define a name of a filtered list, select the display list (fields that will be displayed in a filtered list) and define other filtering options related to persons.
Print labels
In the main window of Direct mailing, on the right side, you can find Print labels button.

A click on this button will open a new window where you can print labels for the selected filter results.
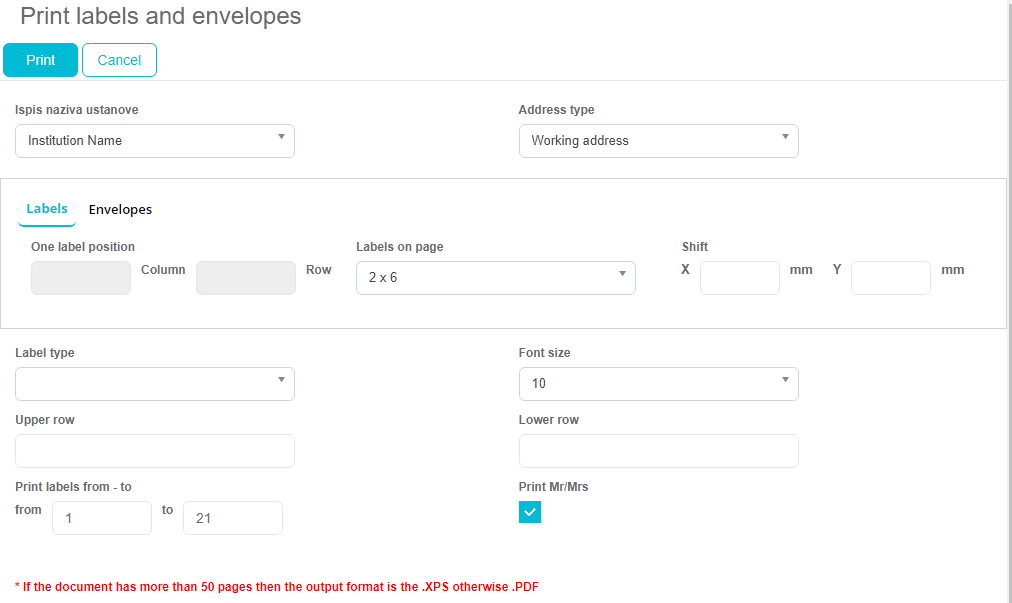
In this window you can choose the font size, type of labels and set margins for printing. Printing directly on envelopes is also possible. For using this option, you have to choose Envelopes tab in this window. In both cases, when everything is set click on the Print button.
Defining a new campaign
After filtered list is created, it will appear in a grid preview and show all persons from the filter below. If we want to add those persons to a campaign, user has to click on Add to campaign button.
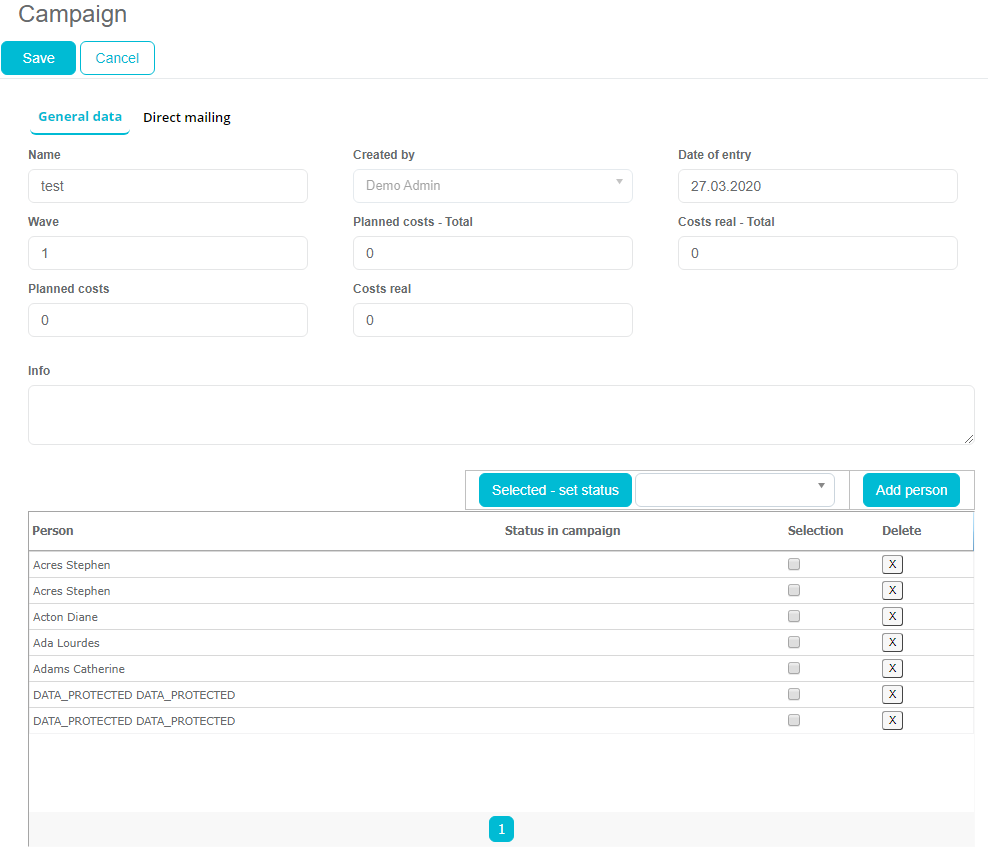
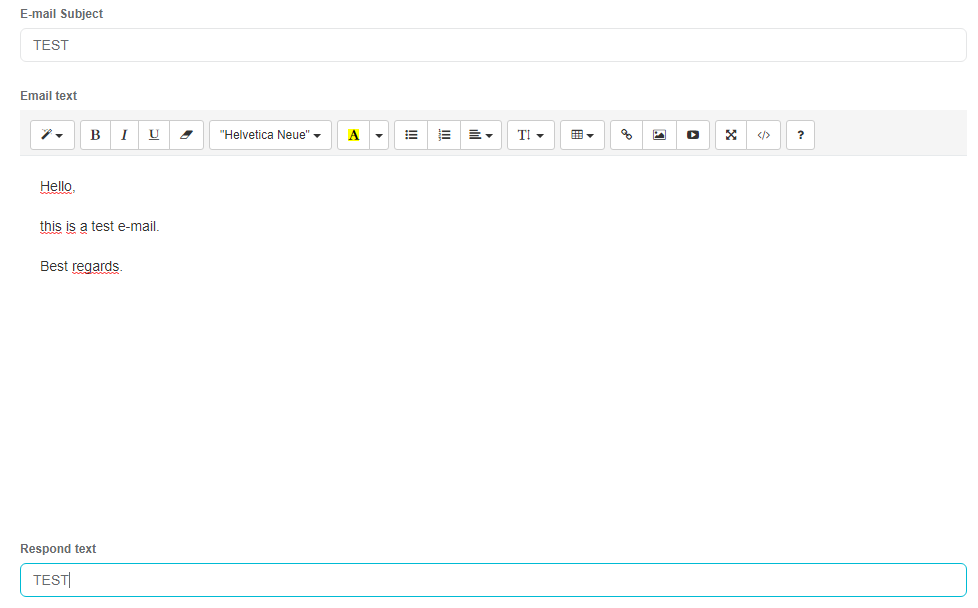
In new campaign window, we will automatically see the list of all persons from filtered list (from previous step). Among other fields and functionalities, users can name a campaign, enter Planned and realized costs of a campaign (wave is defined automatically), define an e-mail subject, e-mail text, and Respond text for replies. E-mail text can be formatted with different colors, text styles, fonts etc.
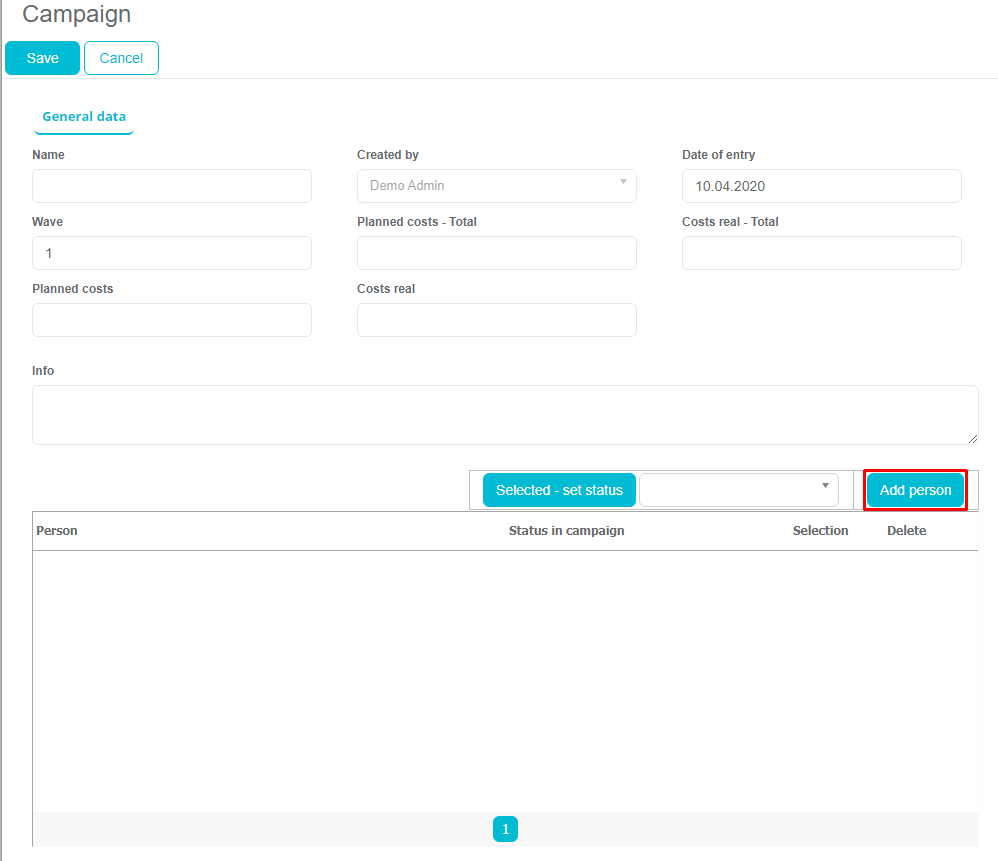
New campaign can be created directly from the Campaign tab, when user click on Create button.

During this process, user can add persons manually in campaign, using button Add person.
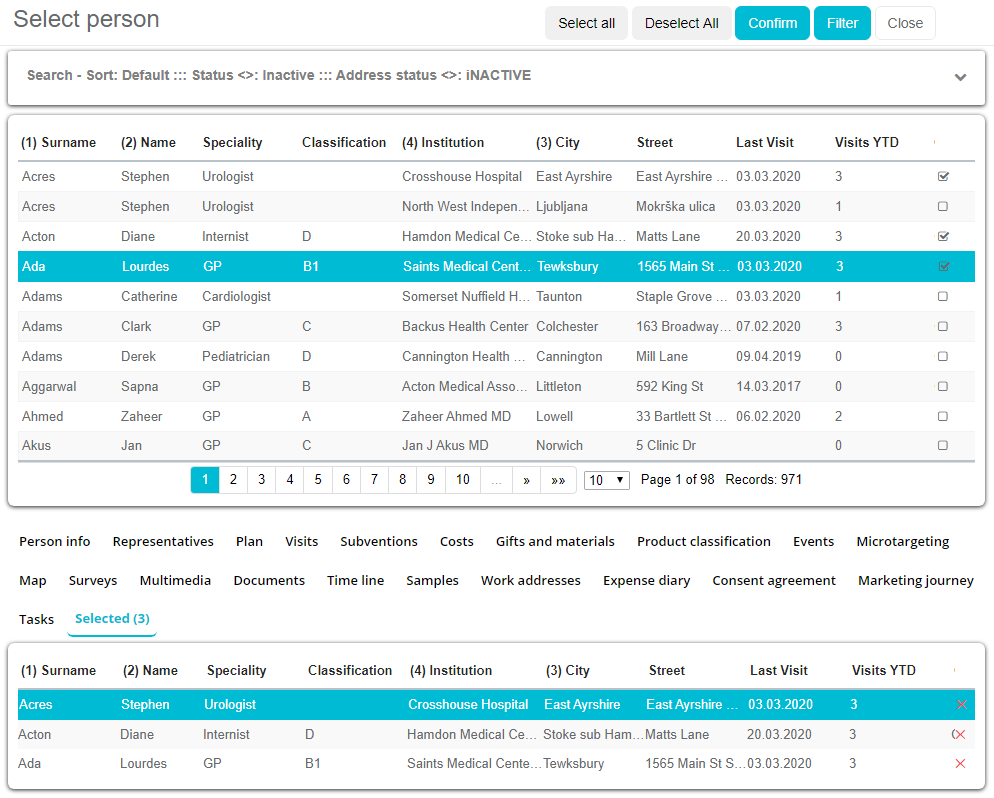
In list of persons, user can search them using filters and by adding several of them at once.
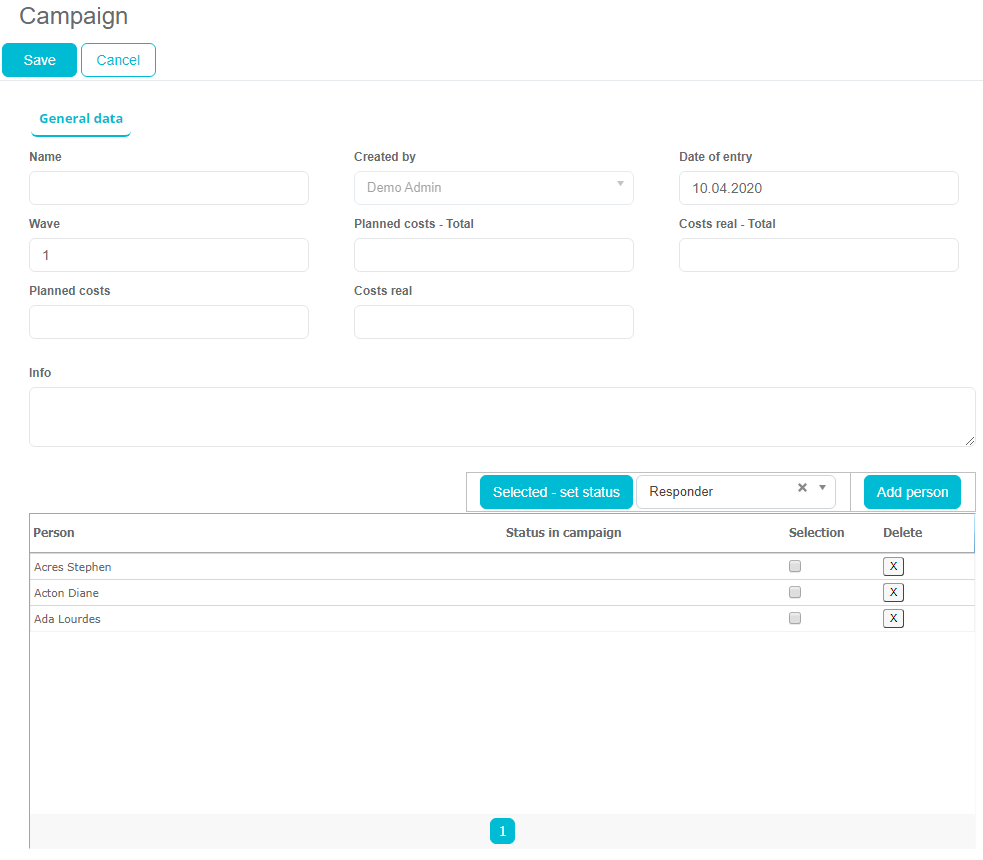
Persons selected during previous step will appear in list of persons in campaign.
Sending emails from campaigns
Within campaign, users can define subject of the e-mail, text of the e-mail and respond text, which will be used for sending e-mails to targeted lists of persons.
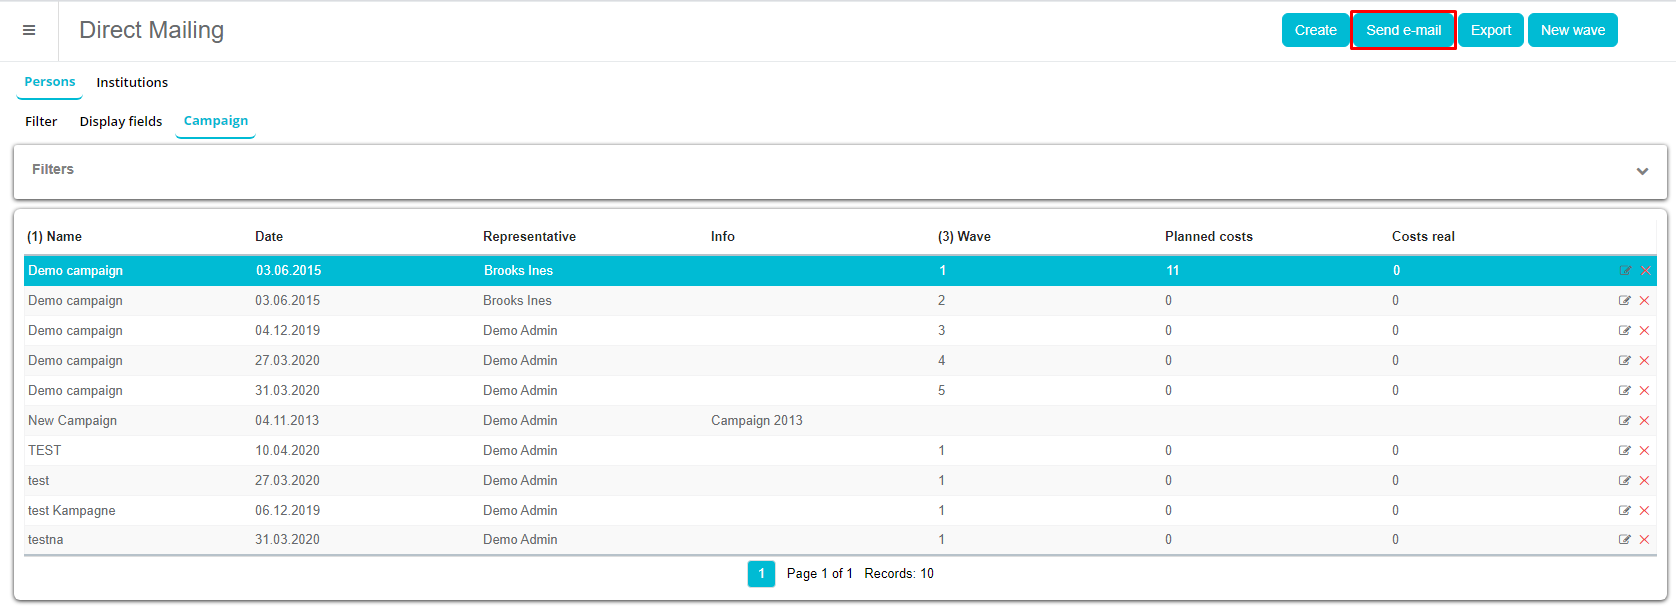
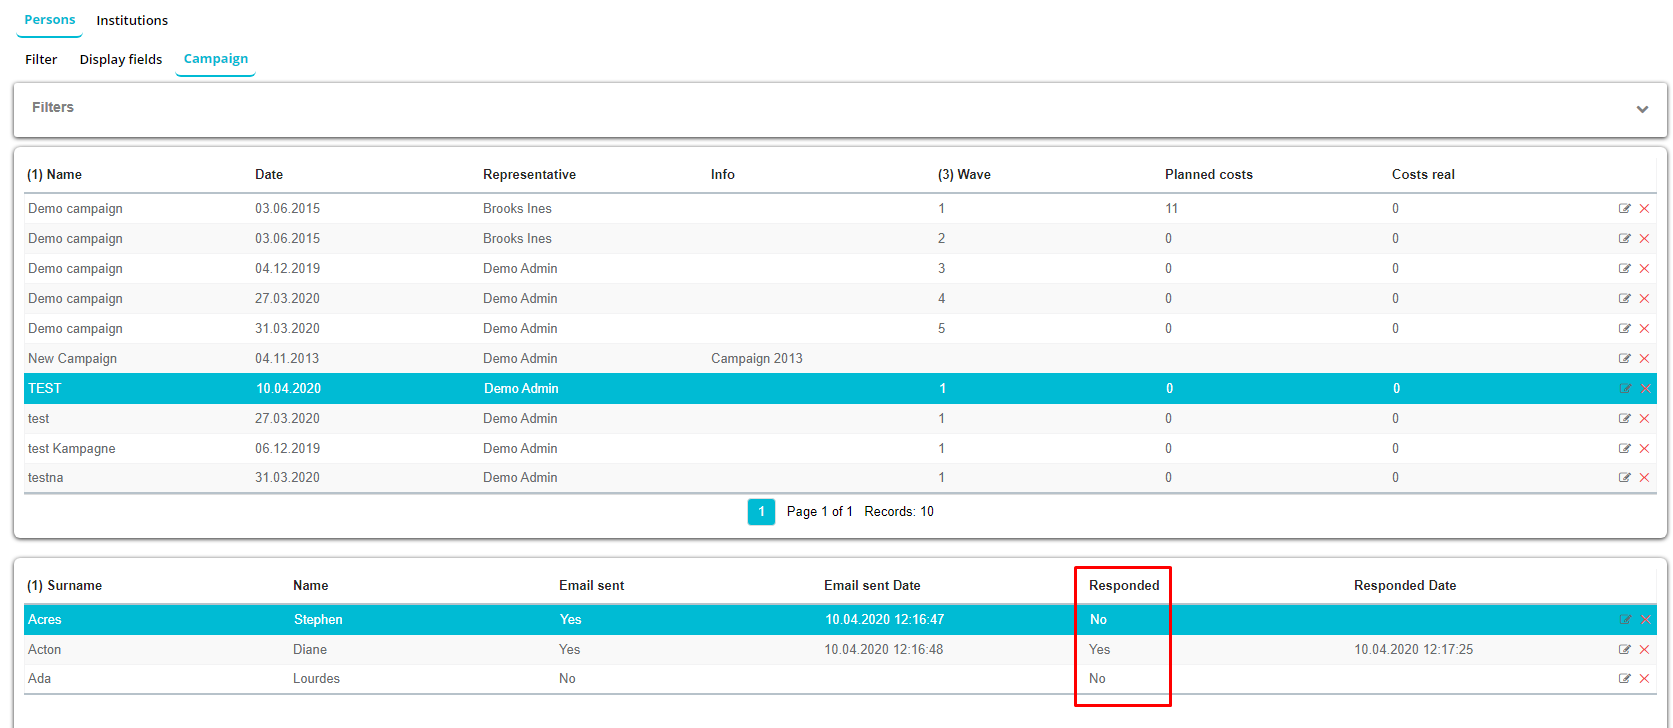
In campaigns part of a module, users can see list of persons covered with campaign, among others they can see if there was an e-mail sent to that person, if it was sent, when was it sent, if user responded, when did the user responded etc. Also, users have a preview of costs and wave number at a glance. When user wants to dispatch e-mails to targeted persons from campaign, he/she has to select the campaign and click Send e-mail button.
User has an option available, if he wants to use private e-mail address of a person, or a working address e-mail of a person. Also, it is possible to see the prepared e-mail structure (defined from the campaign module itself), and below the list of persons and their e-mail addresses. From here, it is possible also to remove the person from the sending list (Delete button on the right side of a list). Persons who don’t have an e-mail address defined, will not receive an e-mail letter.

When person receives an e-mail, he/she can click on URL link at the bottom of generated e-mail, which will open a new page in a browser, with customized message (that is defined in campaign itself), resulting in logged person response (this person then became responder).

If we go back to the campaign module, we will see from the list of targeted persons, who responded and when.
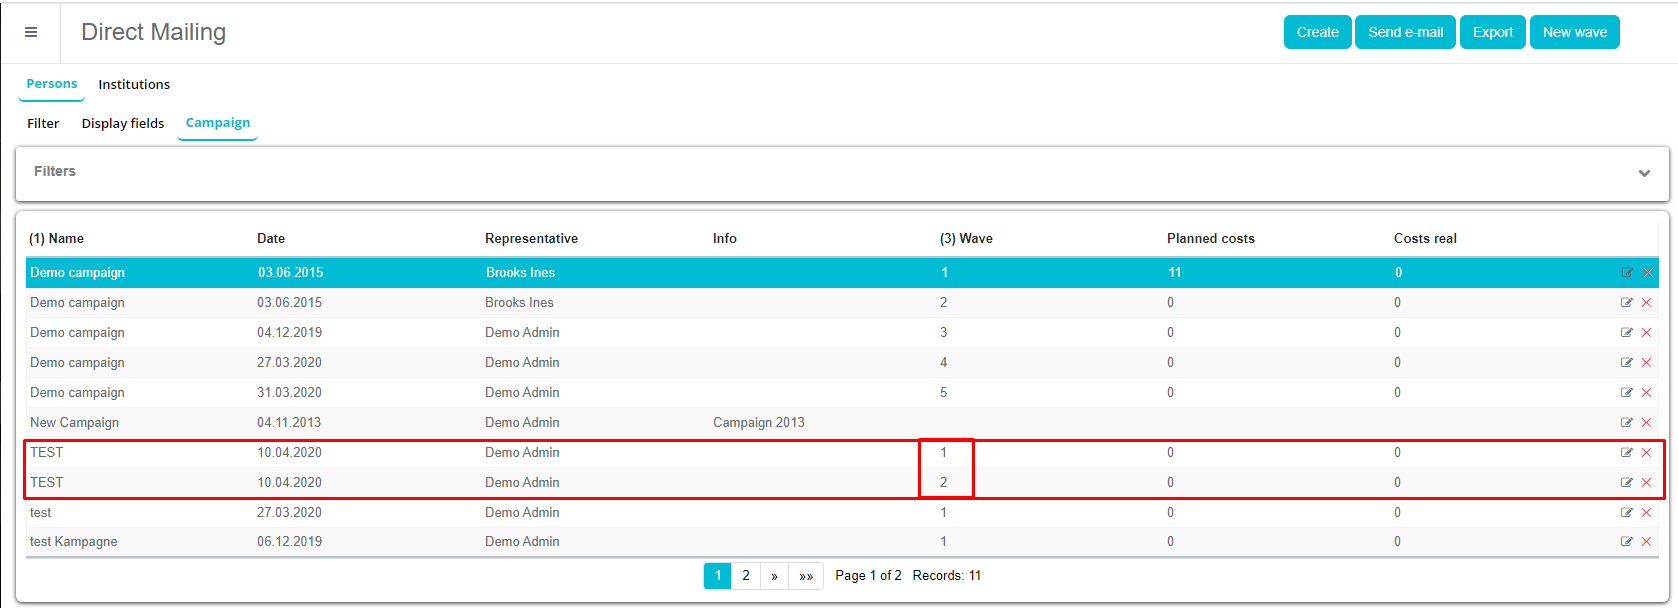
When the first wave of campaign is finished, if a user clicks on New wave button, second wave will start. It is visible that Wave field is automatically incremented by +1. The user can enter new planned and realized costs for this wave, and see overview of all costs until now for the complete campaign. Also, the user can select persons who answered on a sent e-mail (responders), or select to add all persons who didn’t reply on e-mails (Non responders). For each wave user can define different e-mail structure (body, subject, respond text).

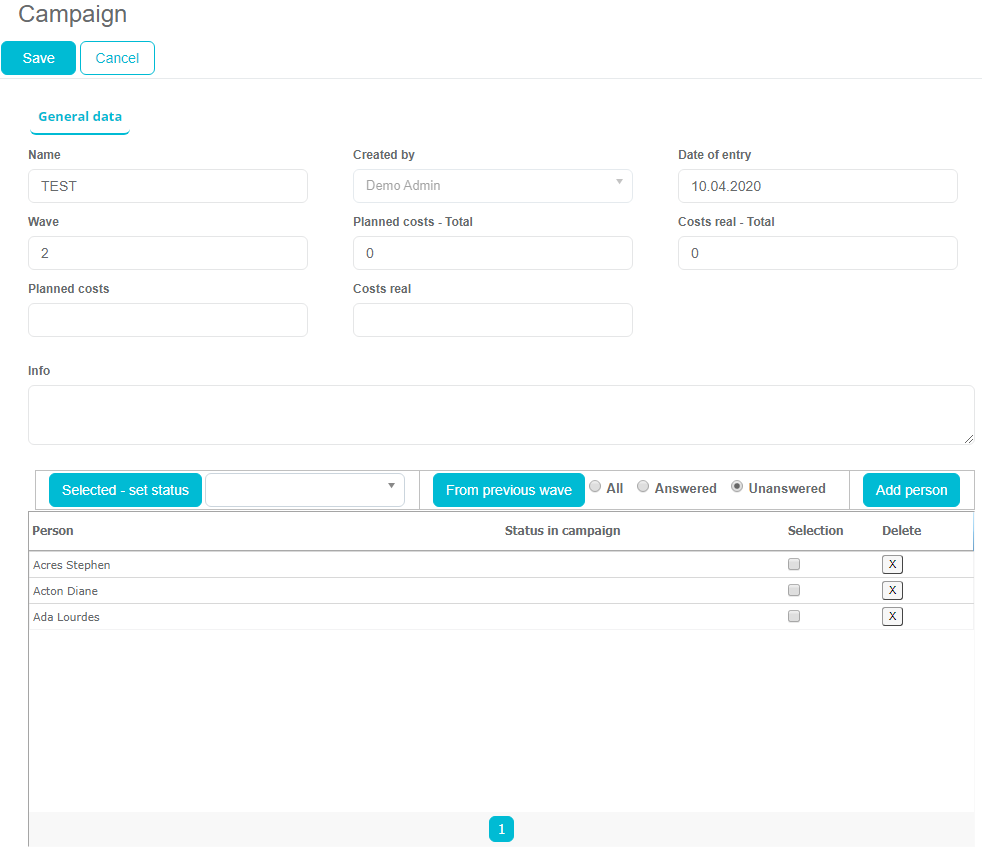
The second wave will appear as a next record in the list, with direct preview of persons covered in this campaign wave, their responses etc. The process is the same for further waves.
Campaign import from excel

To use “Import” option, first excel file must be exported. In this file is list of participants. In list is shown which participant is responder and which is not. Then classification of the responders can be changed based on the change in rules.