Institution
In institution's module we can search and edit existing institutions or add new. It gives you the overview of all the institution in your database and view of different data about it. Choose Institutions button in the main menu and Institutions module will open.

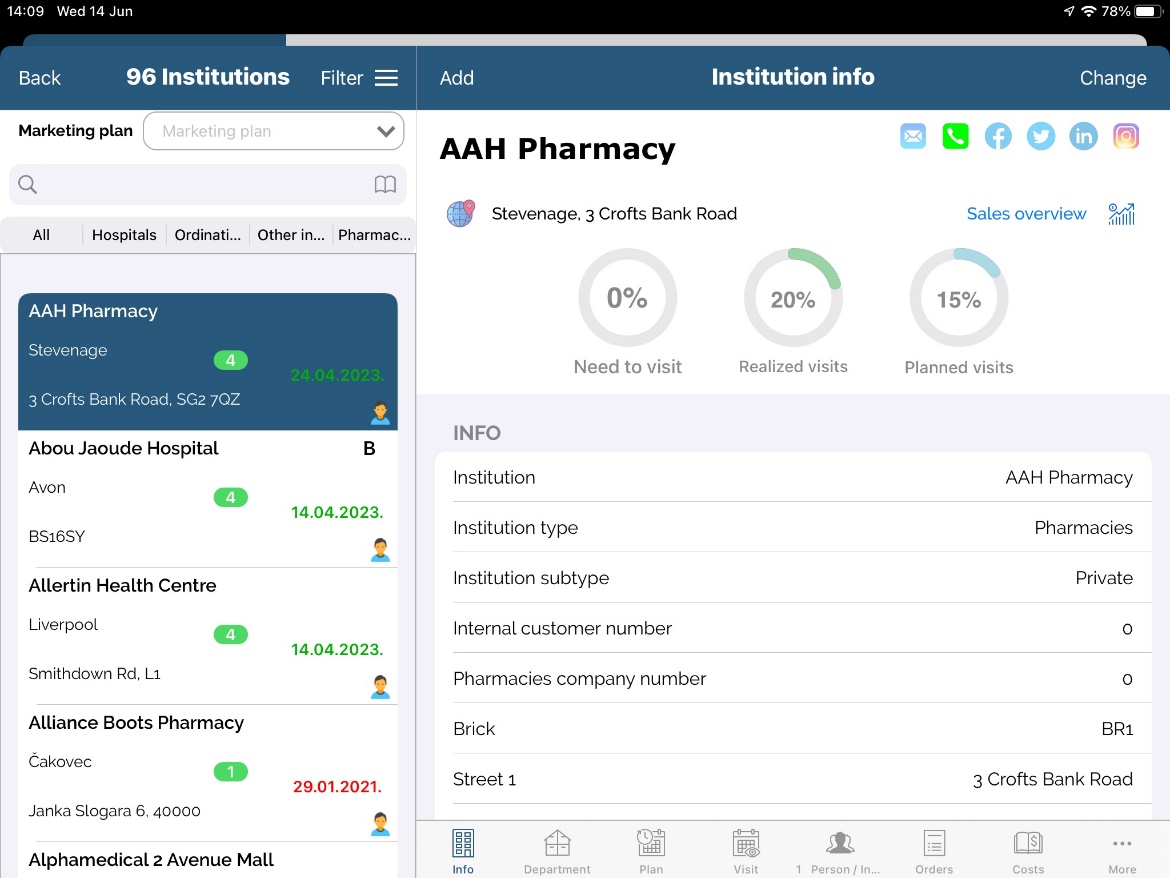
In Institutions module by default all types of institutions are shown .
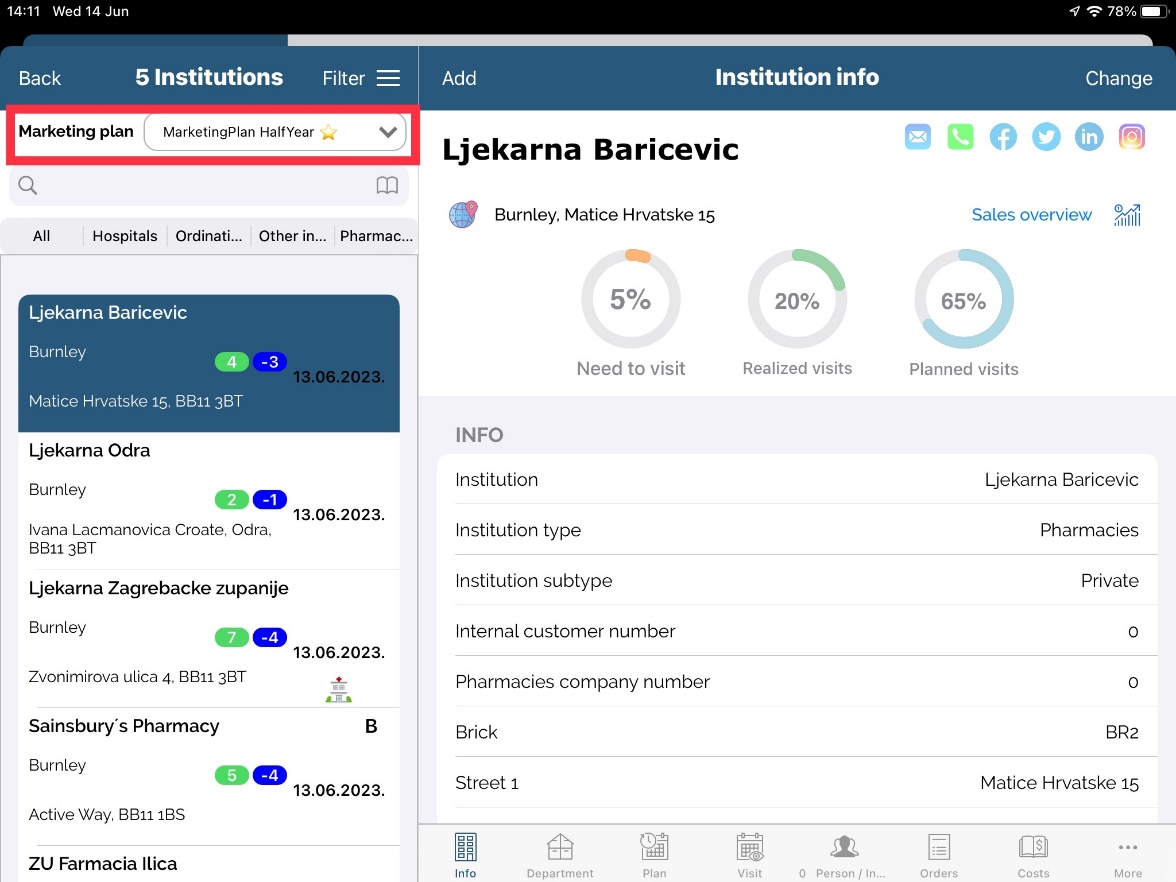
If system option for Marketing plan filter is on, the list will contain only targeted institutions:
Search filter
To find a certain institution in Sales Vision, the same way as with person's module, you can use two options. The quickest one is to use a Search toolbar to search by institution's name. Search will automatically show all institutions that contains entered letters no matter where they appears in name. When using quick search you can additionally filter data on Marketing plan filter.
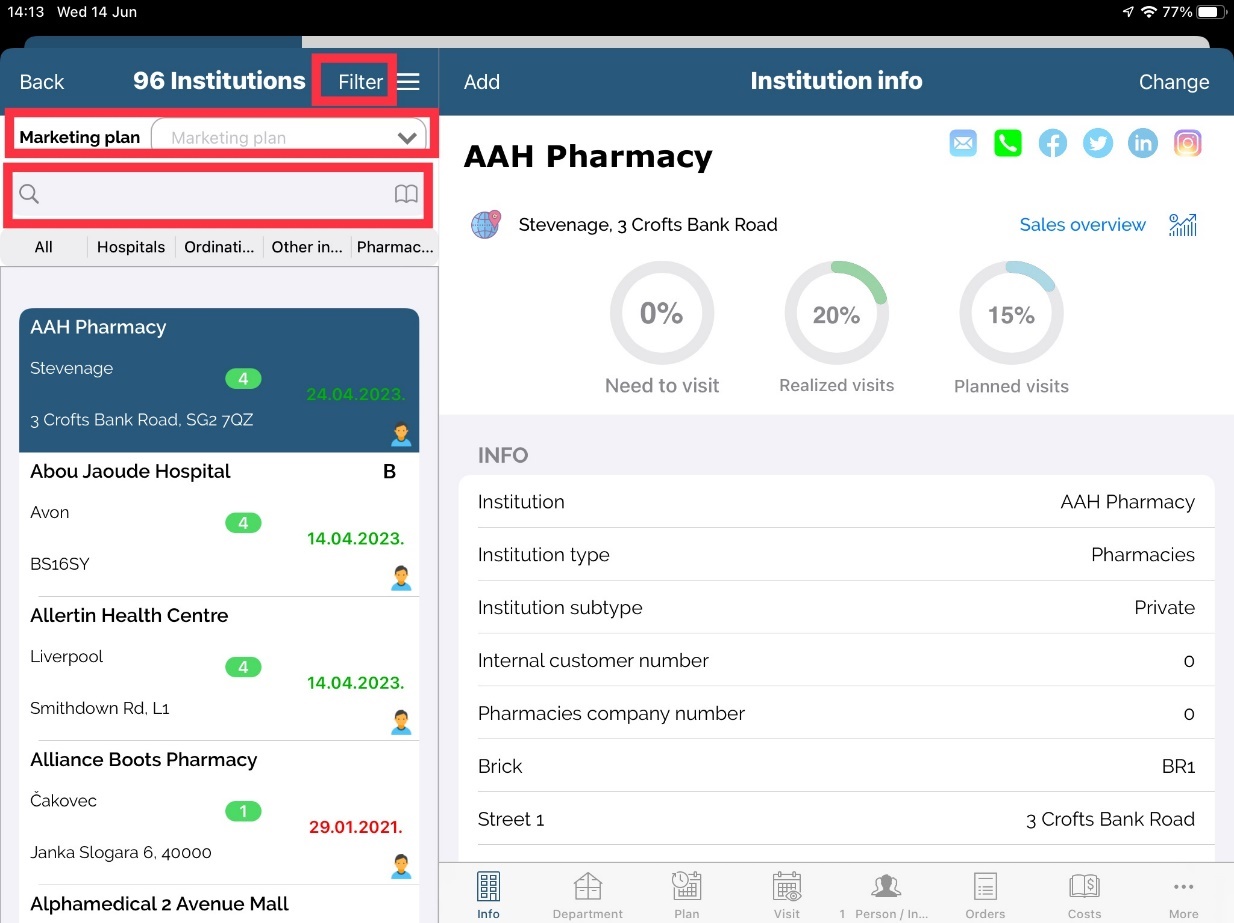
When using Search toolbar you can find type of institution: All institutions, Hospitals, Pharmacies, Ordinations and Other institutions.
Quick search criteries
Same as quick search criteria in “Person” module, there is a quich search option in “Institution” module. Procedures are the same, as described on page 15.
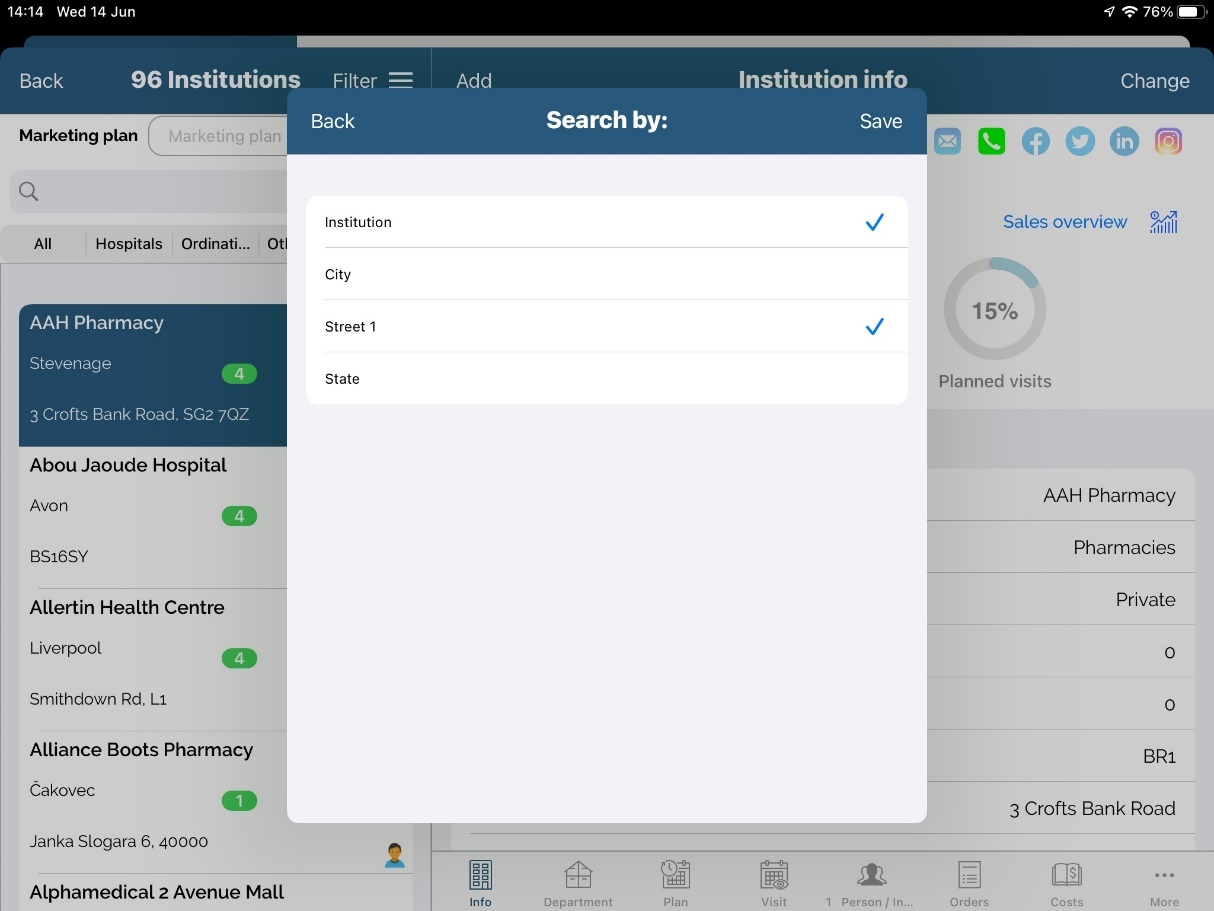
For more complex search, you can use Filter. Press on the Filter button and window like the one on picture below will appear. Here you can search an institution by name, type of institutions, classification and other information. If you wish to clear all entered data in your filter, press Clear button.
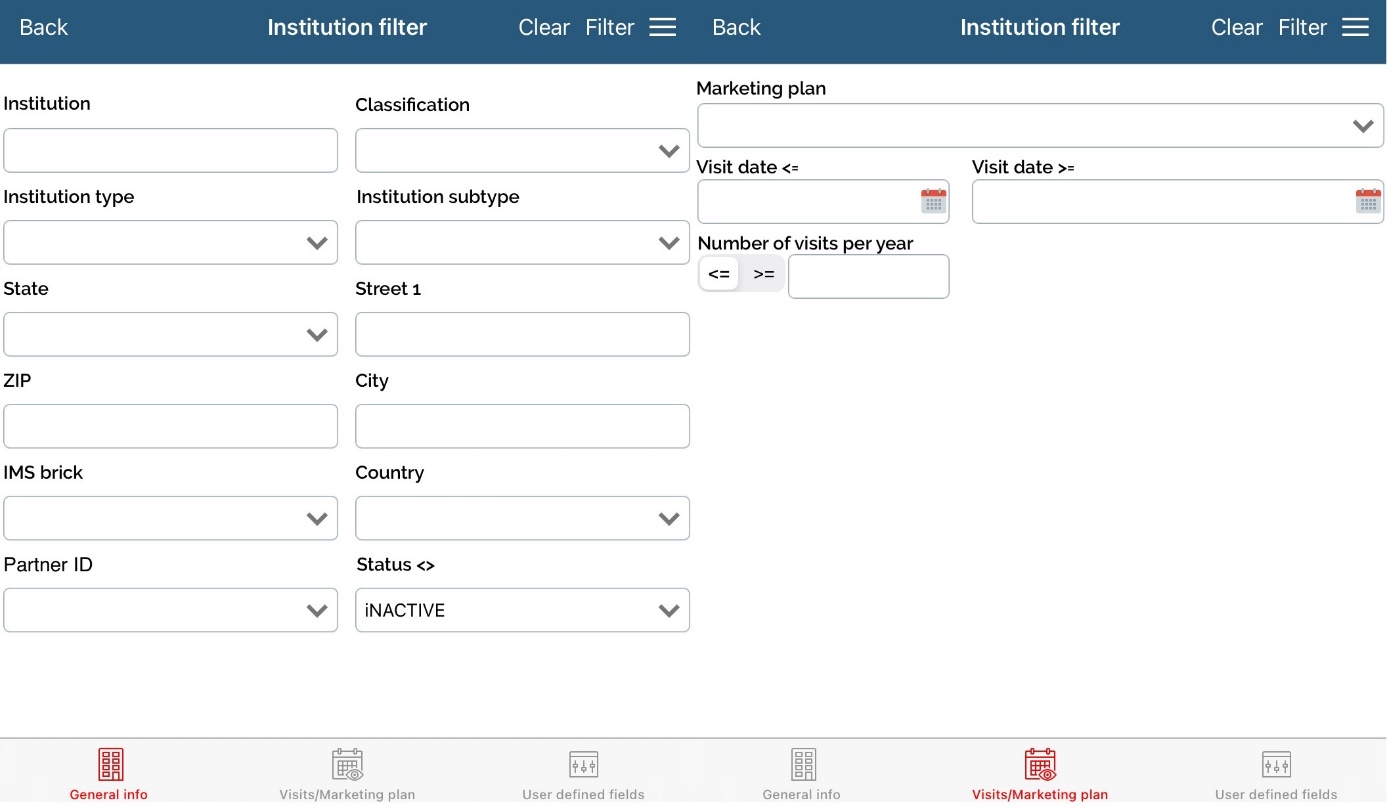
When filtering we can save entered filter for future use by clicking on „≡“ button and choosing Save. Also, we can choose existing filters and delete them.
Adding a institution
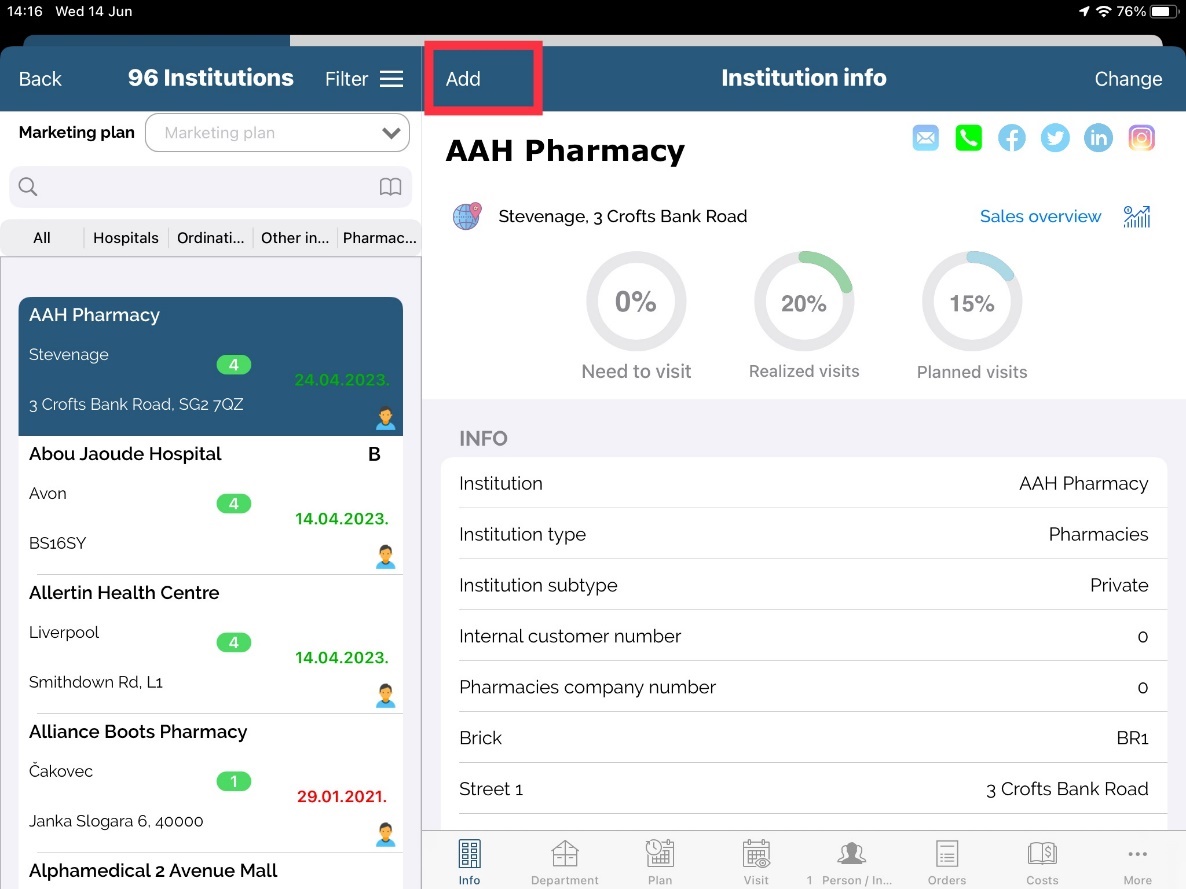
Press Add button in the institution's module to add a new institution. Window for adding a new institution will appear.
Fill in data for new institution. Fields Name, Type and City are mandatory. Press Save button after finishing. If you do not enter data for one of this fields and press Save button you will get a message which fields are mandatory.
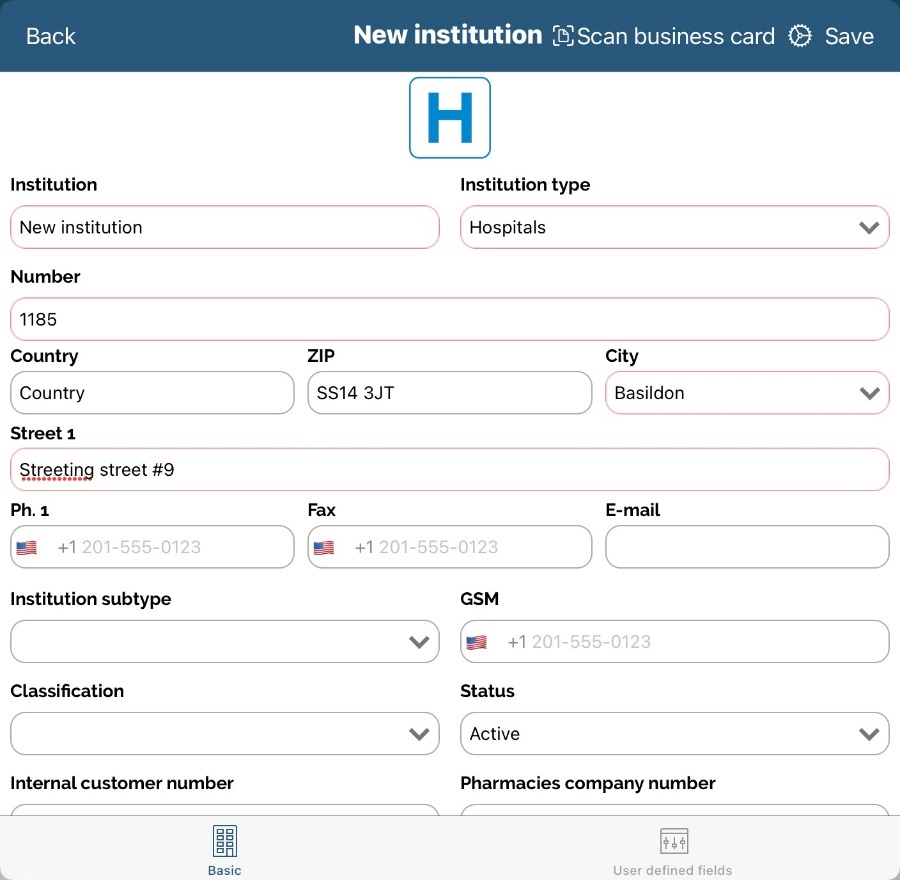
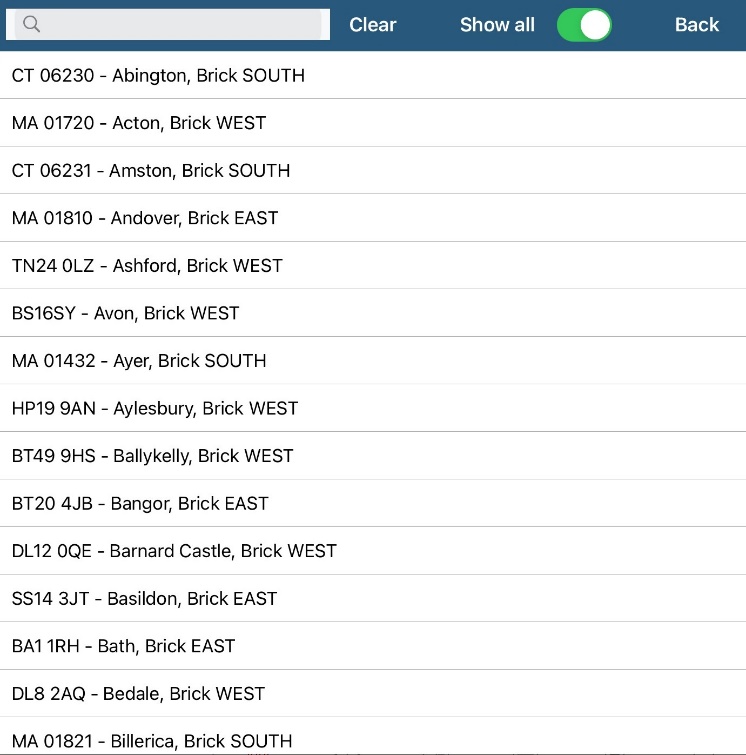
When selecting city, it is possible to see all cities that are in database no matter if you have joined territory for that city or not. This can be done by enabling Show all option.
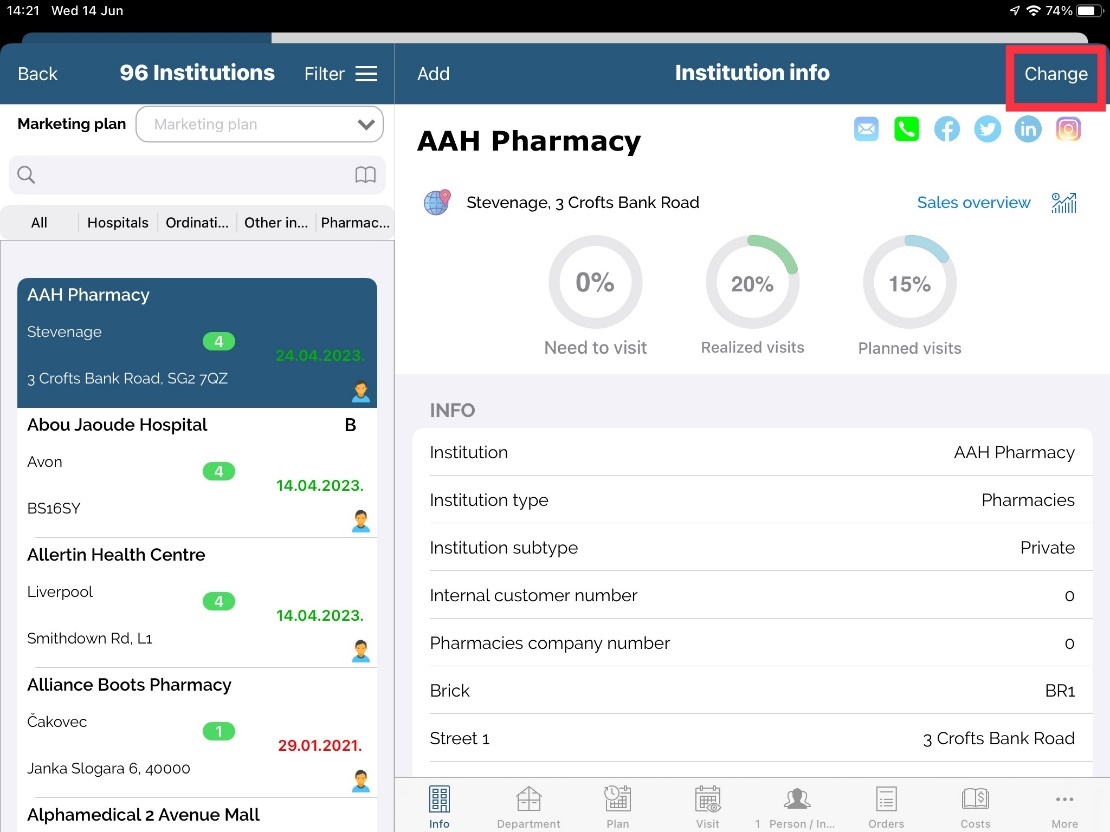
Editing/changing an institution
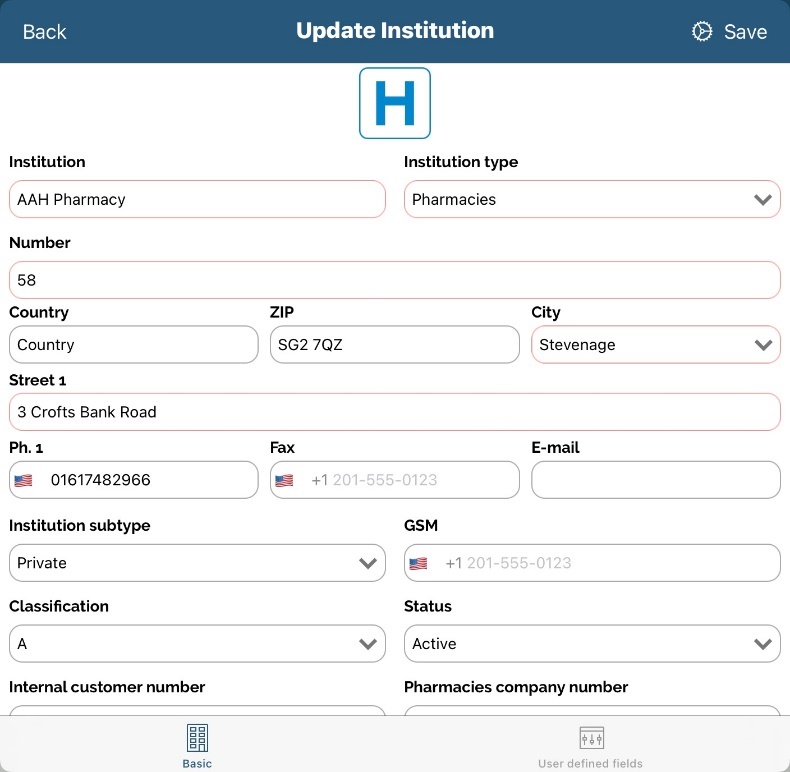
If you wish to edit data on institution press Change button. A same view as on adding an institution will be shown. You can edit data and press Save after finishing.
Institution info
By pressing on institution you were looking for, some additional tabs will appear as shown on the screen: Info, Department, Plan, Contacts, Persons, Order, Costs, Storypad etc.).
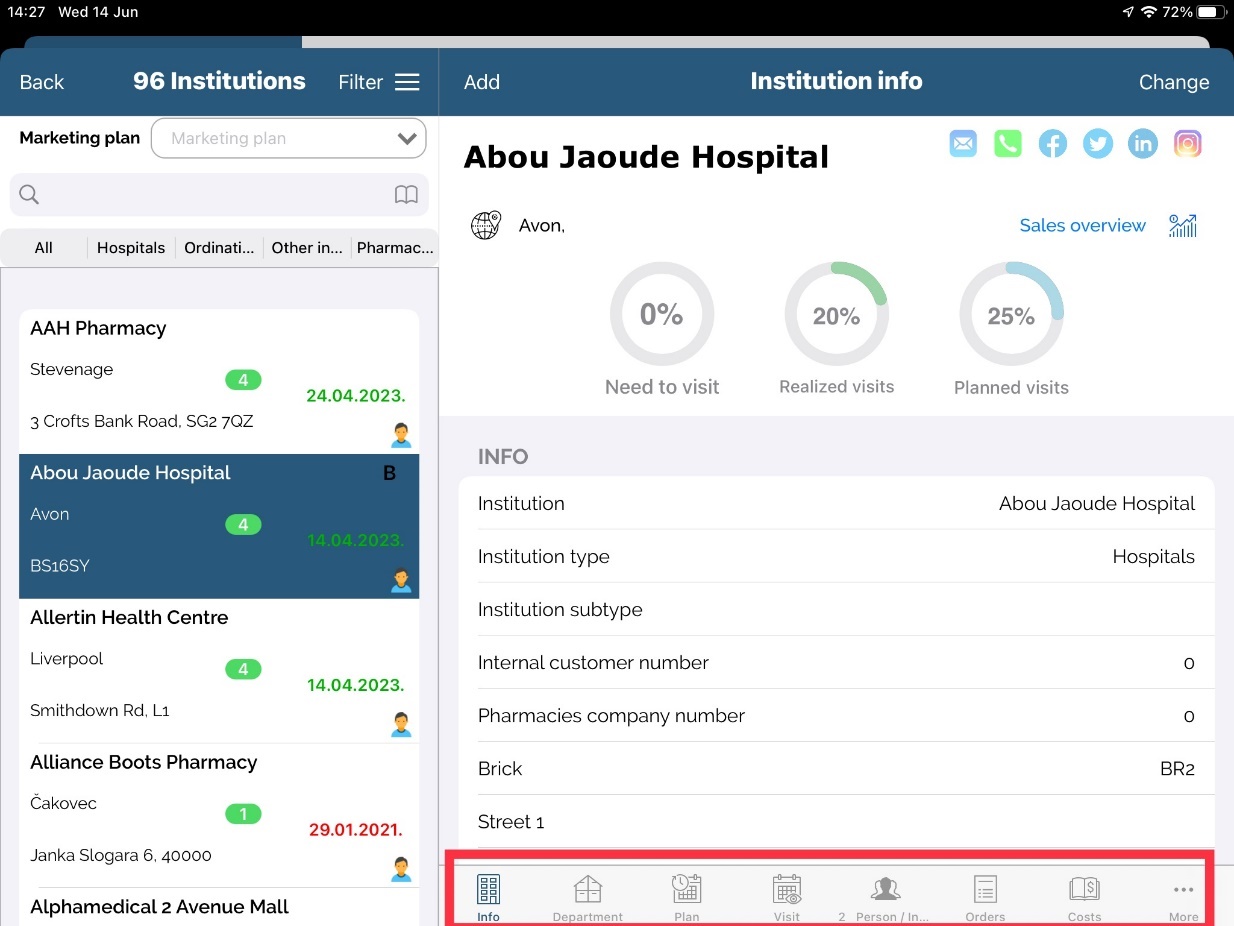
On the right part, the same as in person's module, info on this institution will appear.
You can see a name of institution, under that there is a Classification, Last visit and total visits for current year. Below that is shown institution info with all the information (for more information scroll down).
One thing that need’s to be highlighted is in Institution info is field Doctor’s journey where you can see who selected this exact institution in theirs Doctor’s journey.
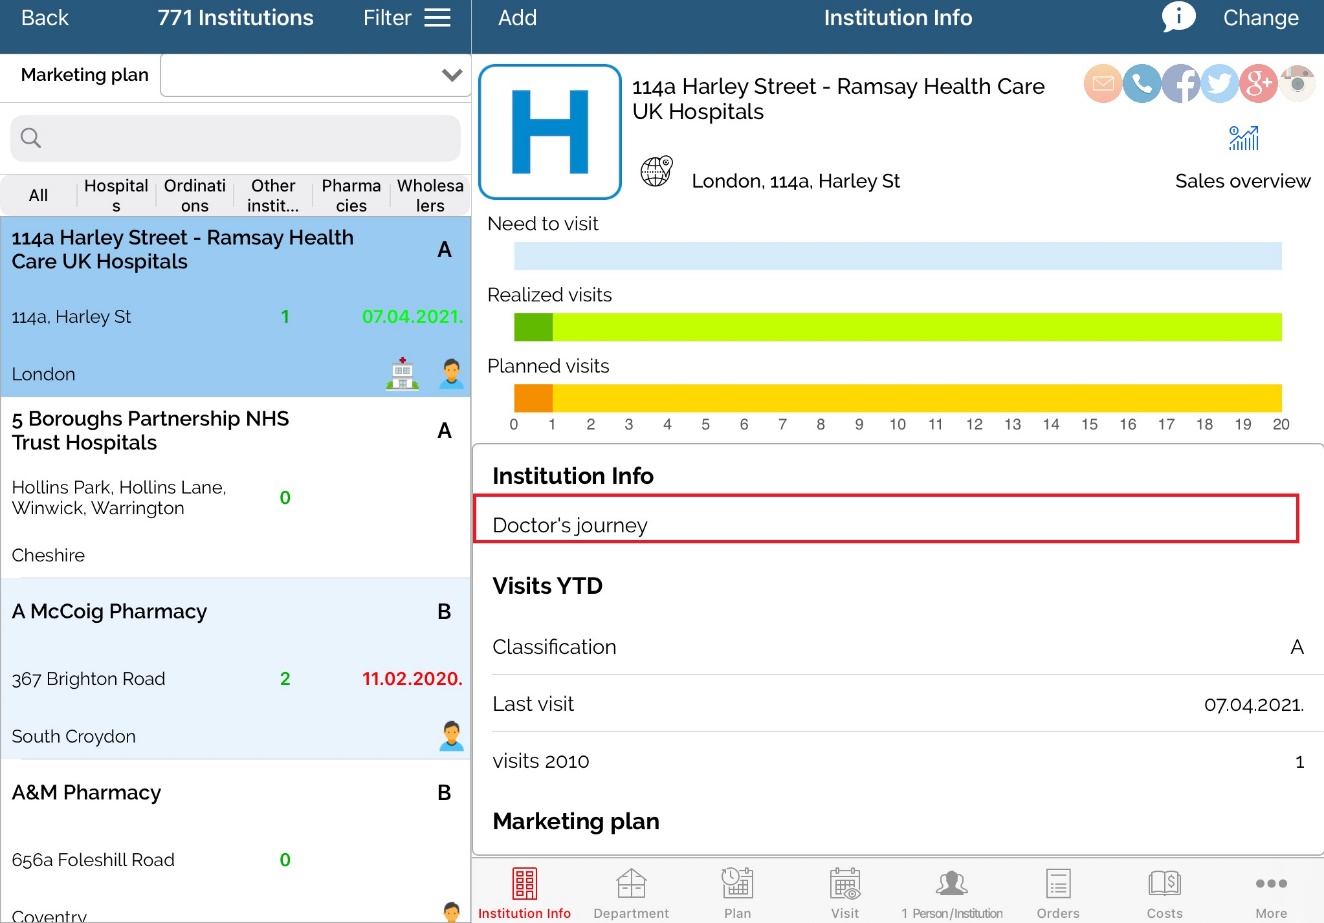
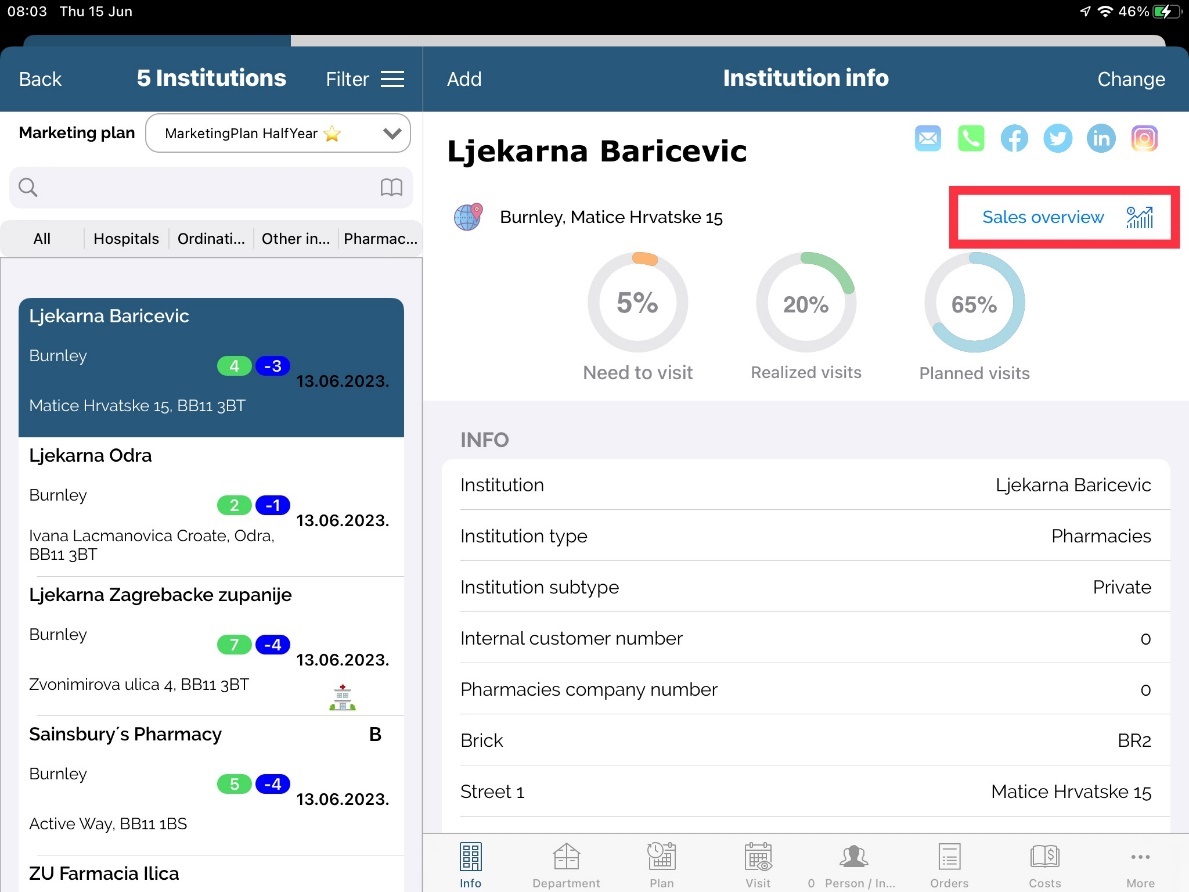
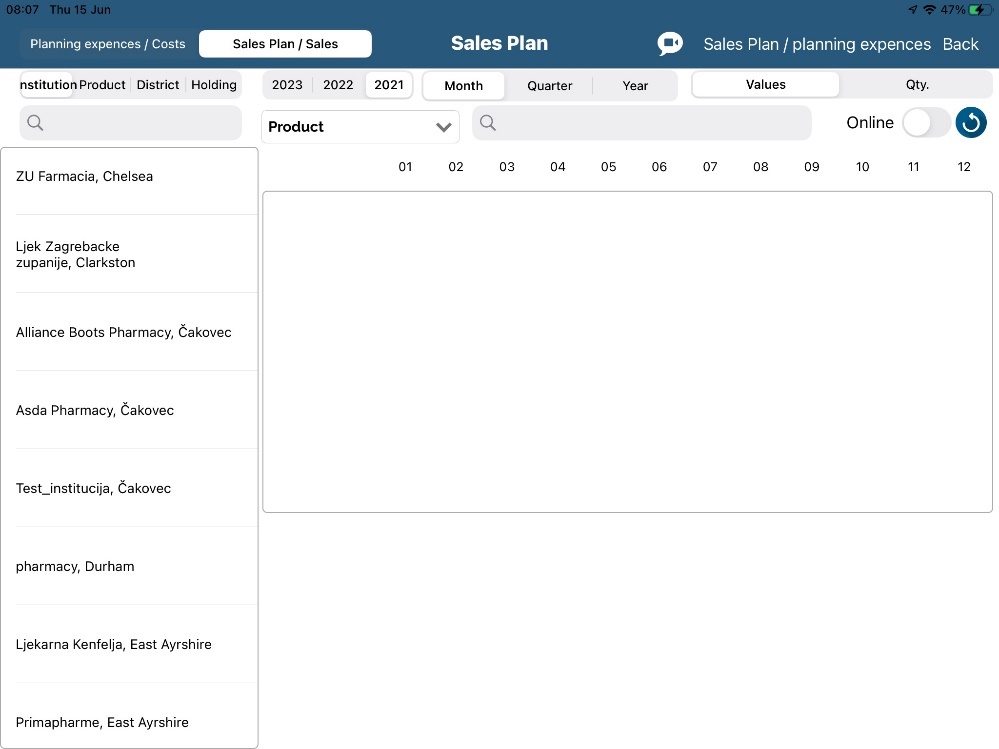
Also, sales for selected institution is available by clicking on Sales overview button in top right part of the screen. When sales opens, institution will be automatically selected and sales will load.
Except institution informations, we can see simple graphs that are showing three values Need to visit, Realized visits and Planned visits.
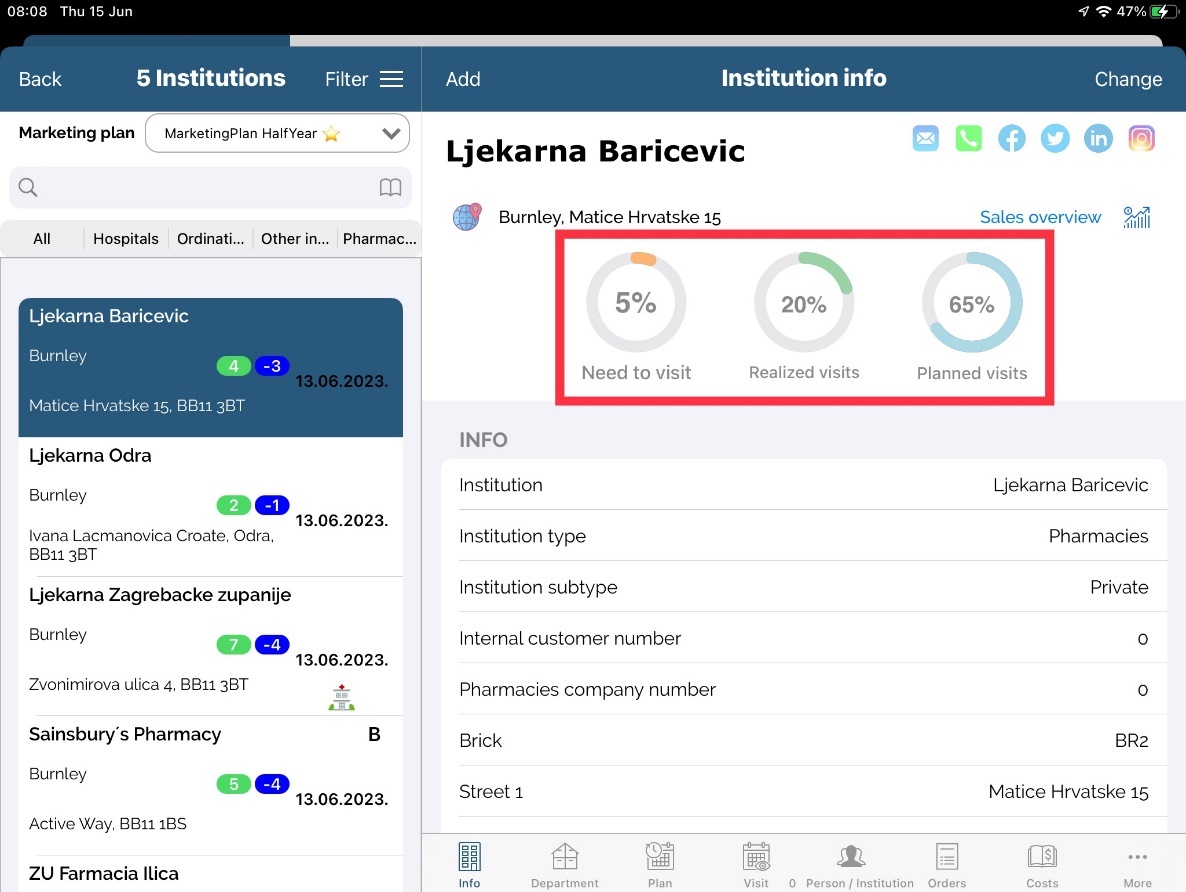
Need to visit is set by Marketing plan values. If there is no Marketing plan this will be filled from number of visits from Admin application. If that is also not set, this value will be set by default to 0.
Realized visits will show visits that are entered for that institution. If there is Marketing plan it will show values depends on entered data in it.
Planned visits will show plans that are entered for that institution. If there is Marketing plan it will show values depends on entered data in it.
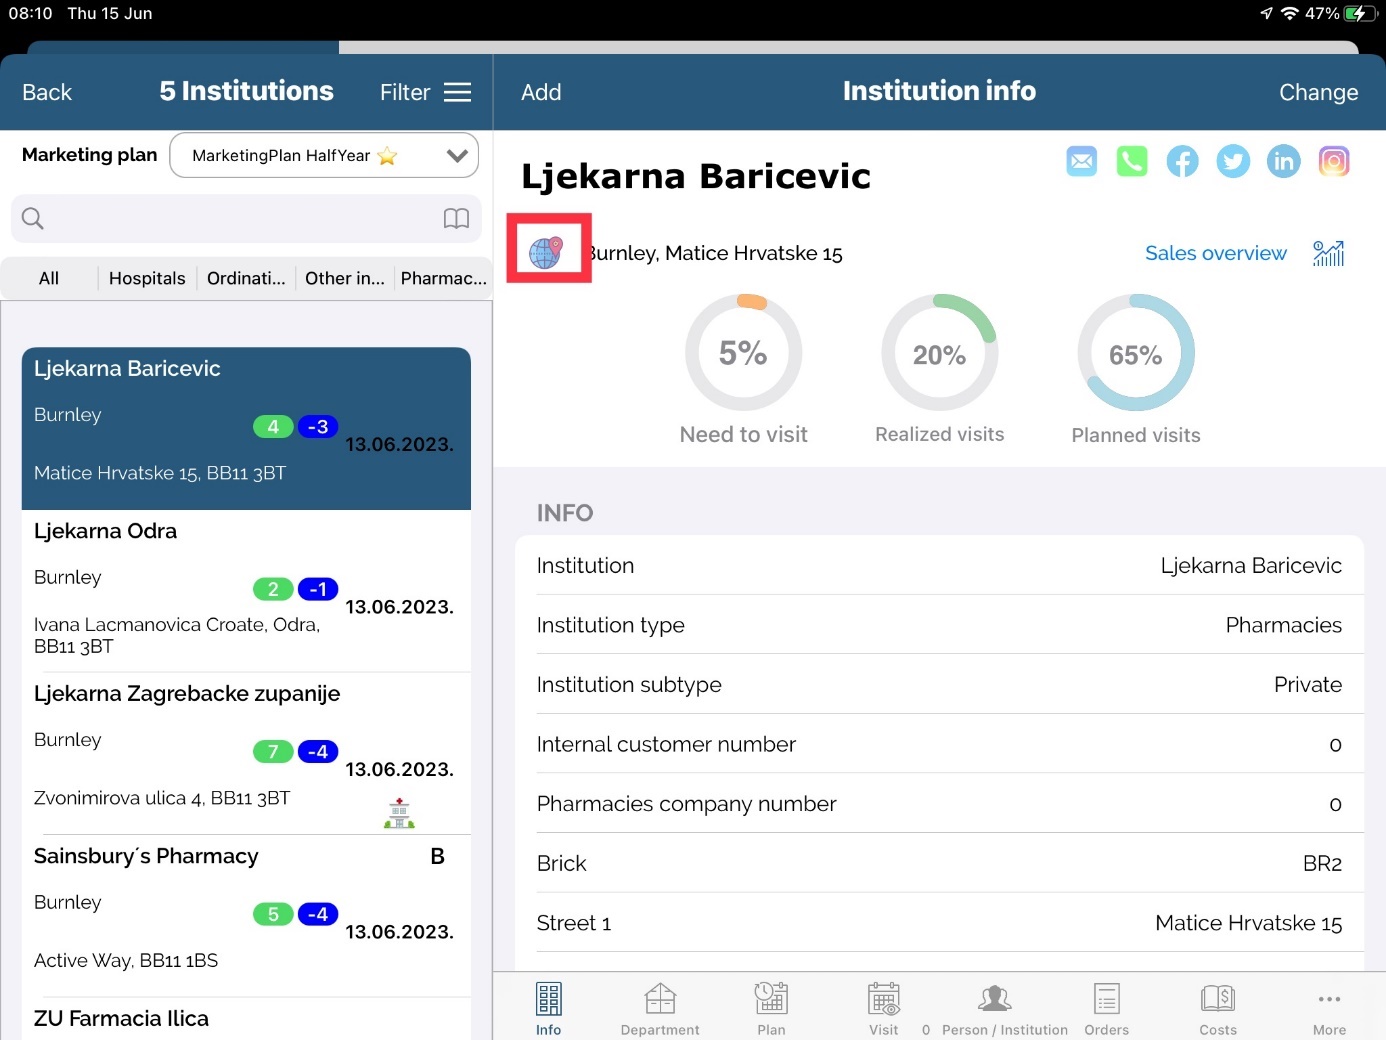
Map
The same as with persons, in institution we can find a location on the map. You can set coordinates of an institution, by pressing on Map icon on Institution info and Get GPS position. Application will automatically find location and then press Save button to save location you are currently located.
As described in adding a GPS position for persons, while entering GPS position, you have to be on the location entered as a working address. Otherwise, a wrong position will be saved.
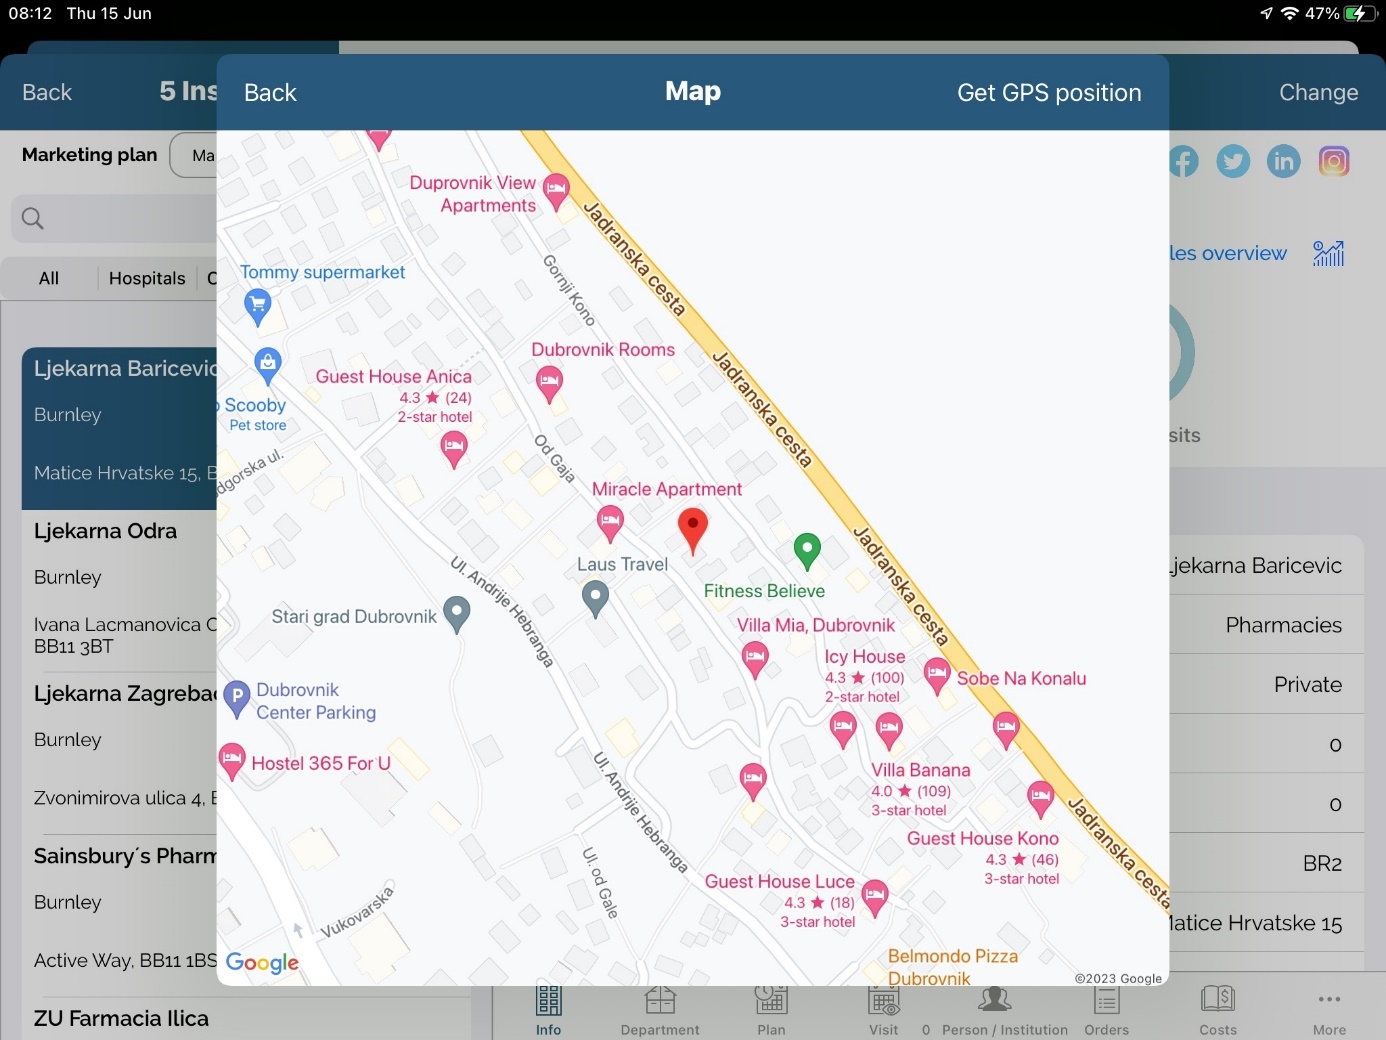
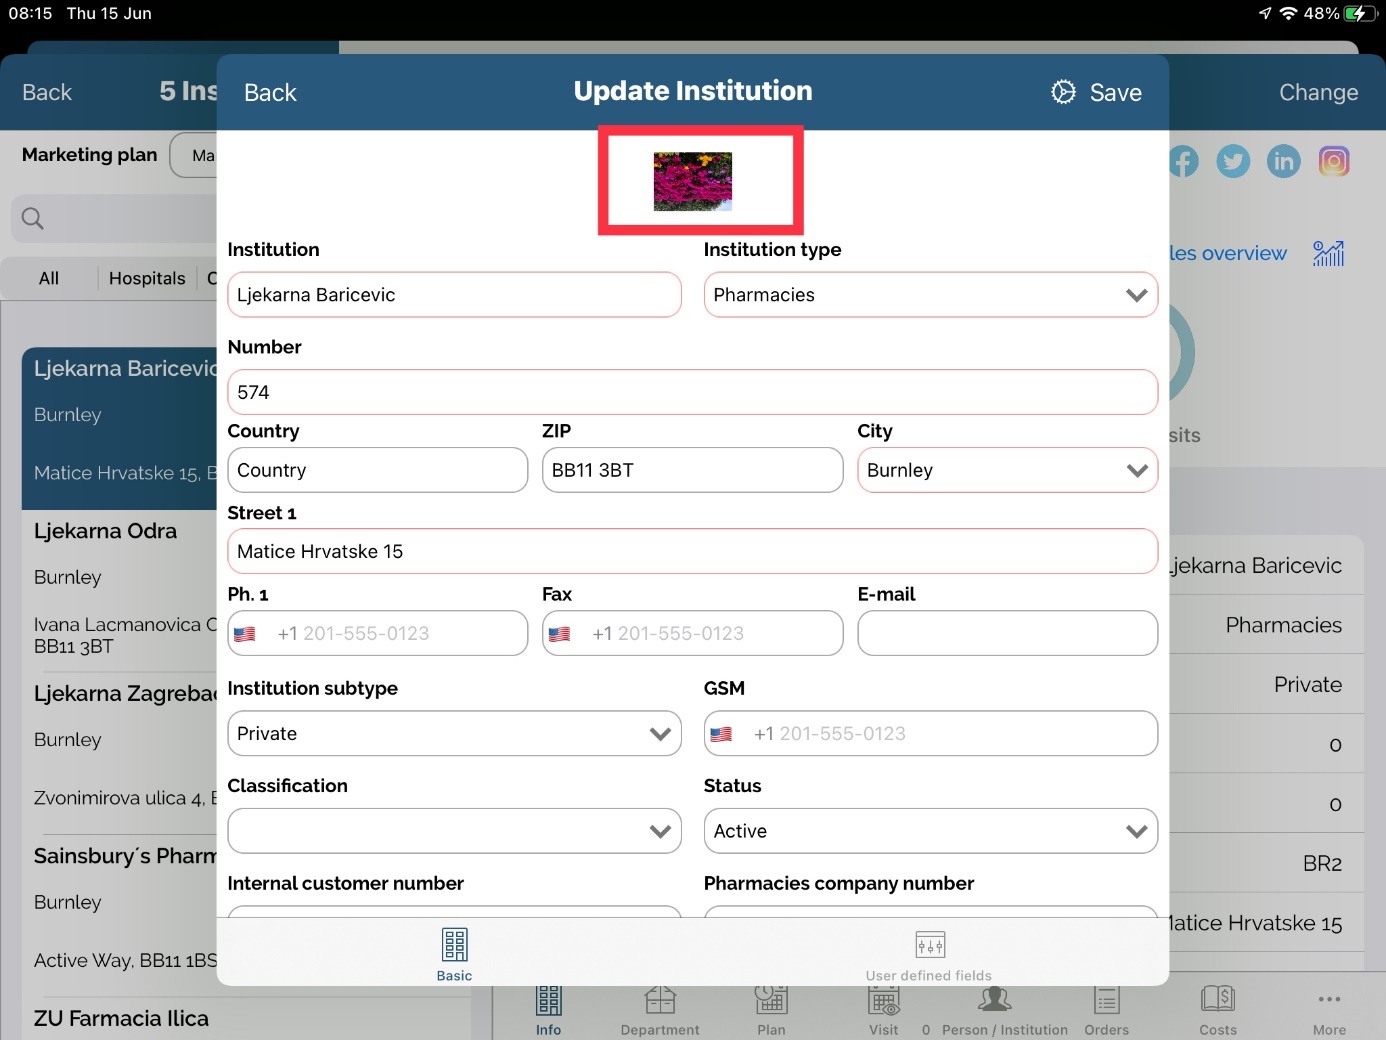
Photo of an institution
Application gives us an opportunity to upload photo of an institution. This can be done when editing an institution. Click on the Upload picture button to add photo of an institution. We can choose among two possibilities: uploading photo from an album on you device or directly using camera.
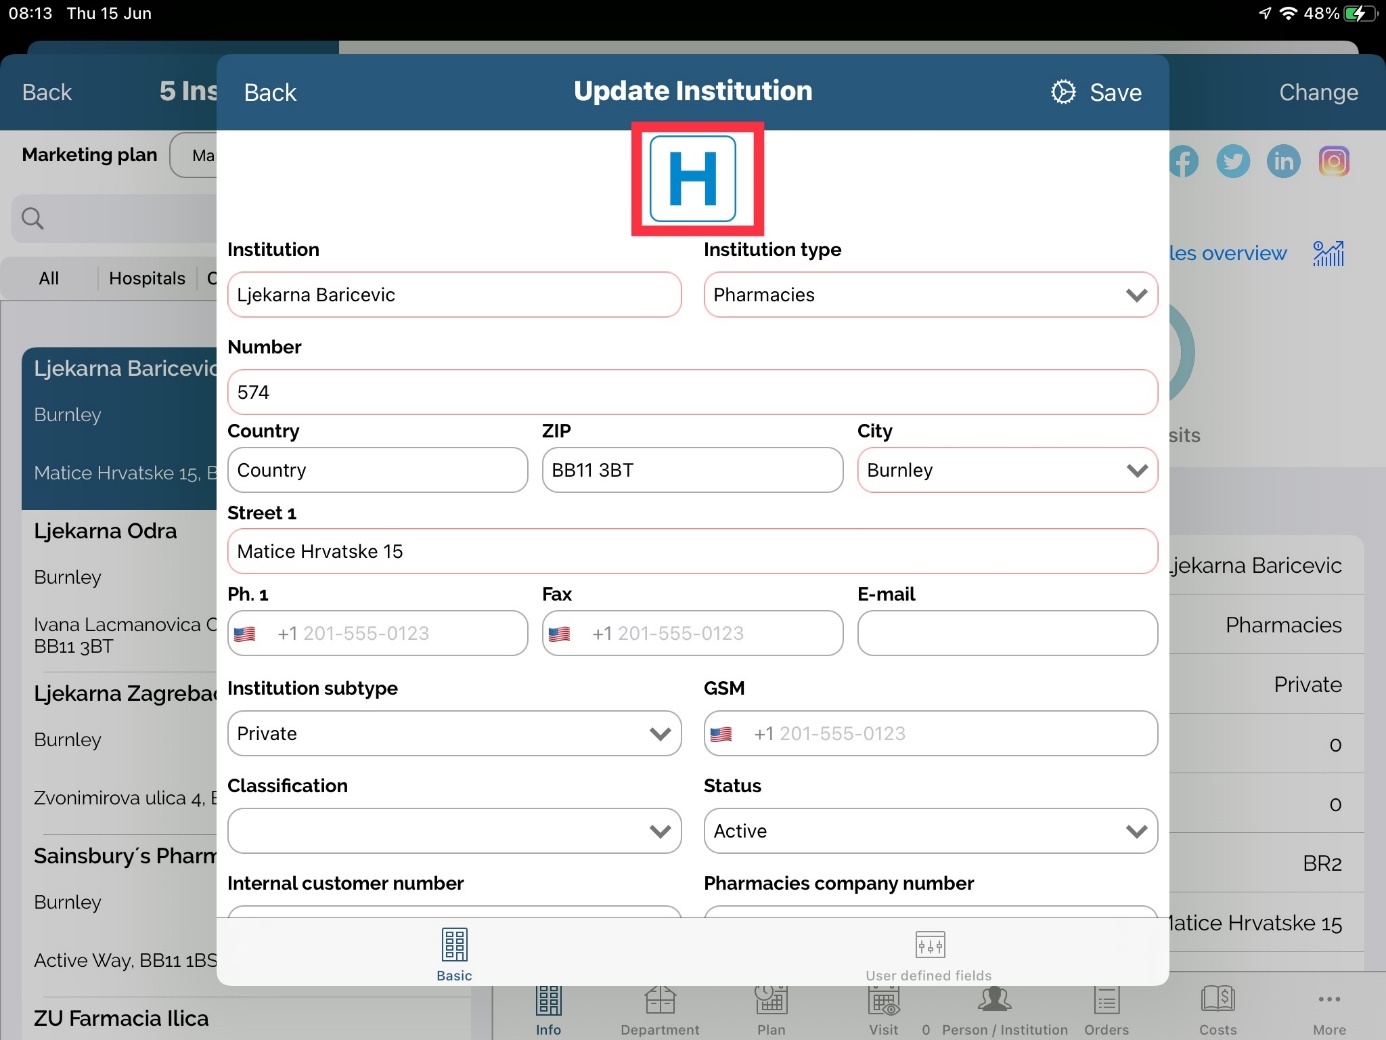
As a standard procedure, you will have to allow Sales Vision to access your album. Click Save button to save picture you have chosen to update.
Picture will be visible on Edit of an institution.
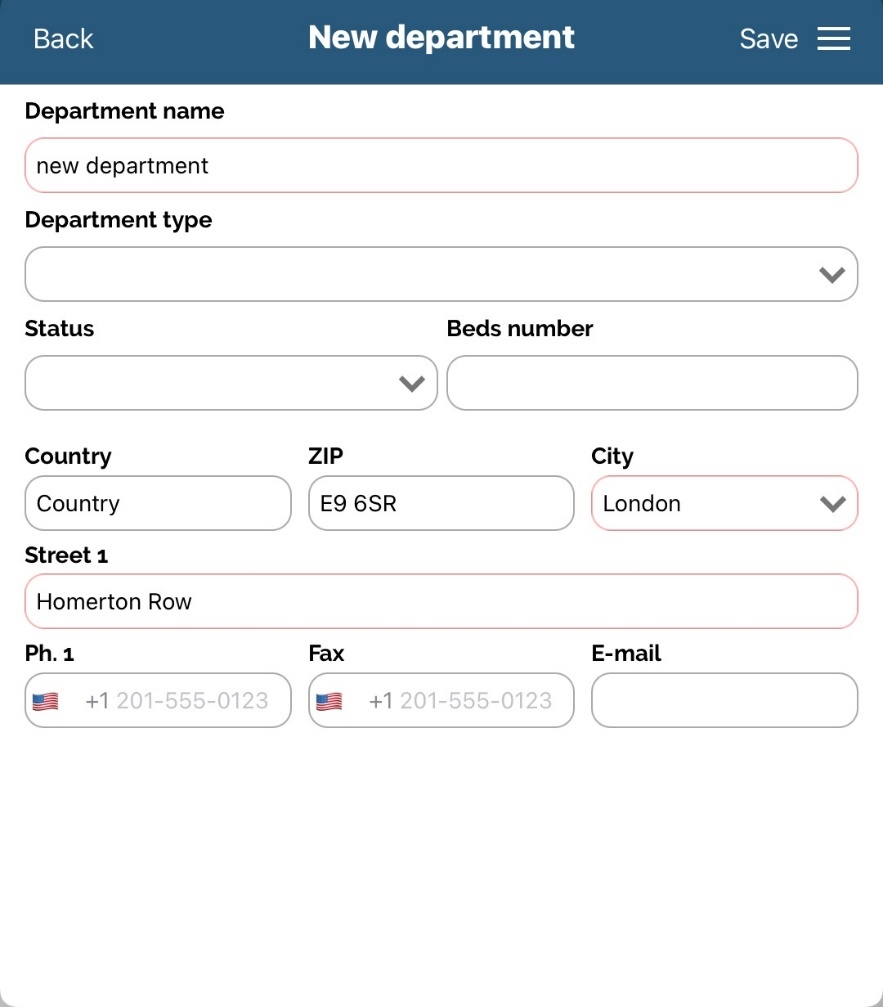
Department
Press Department button next to info. Here you can see a list of entered departments (if that institution does not have any department this view will be empty). You can not add a department when you are adding a new institution. Only way to add it is after you enter and save institution. To add a new department, simply press Add. Fill in data such as Name, Department type, Phone and so on. Press Save button after finishing.
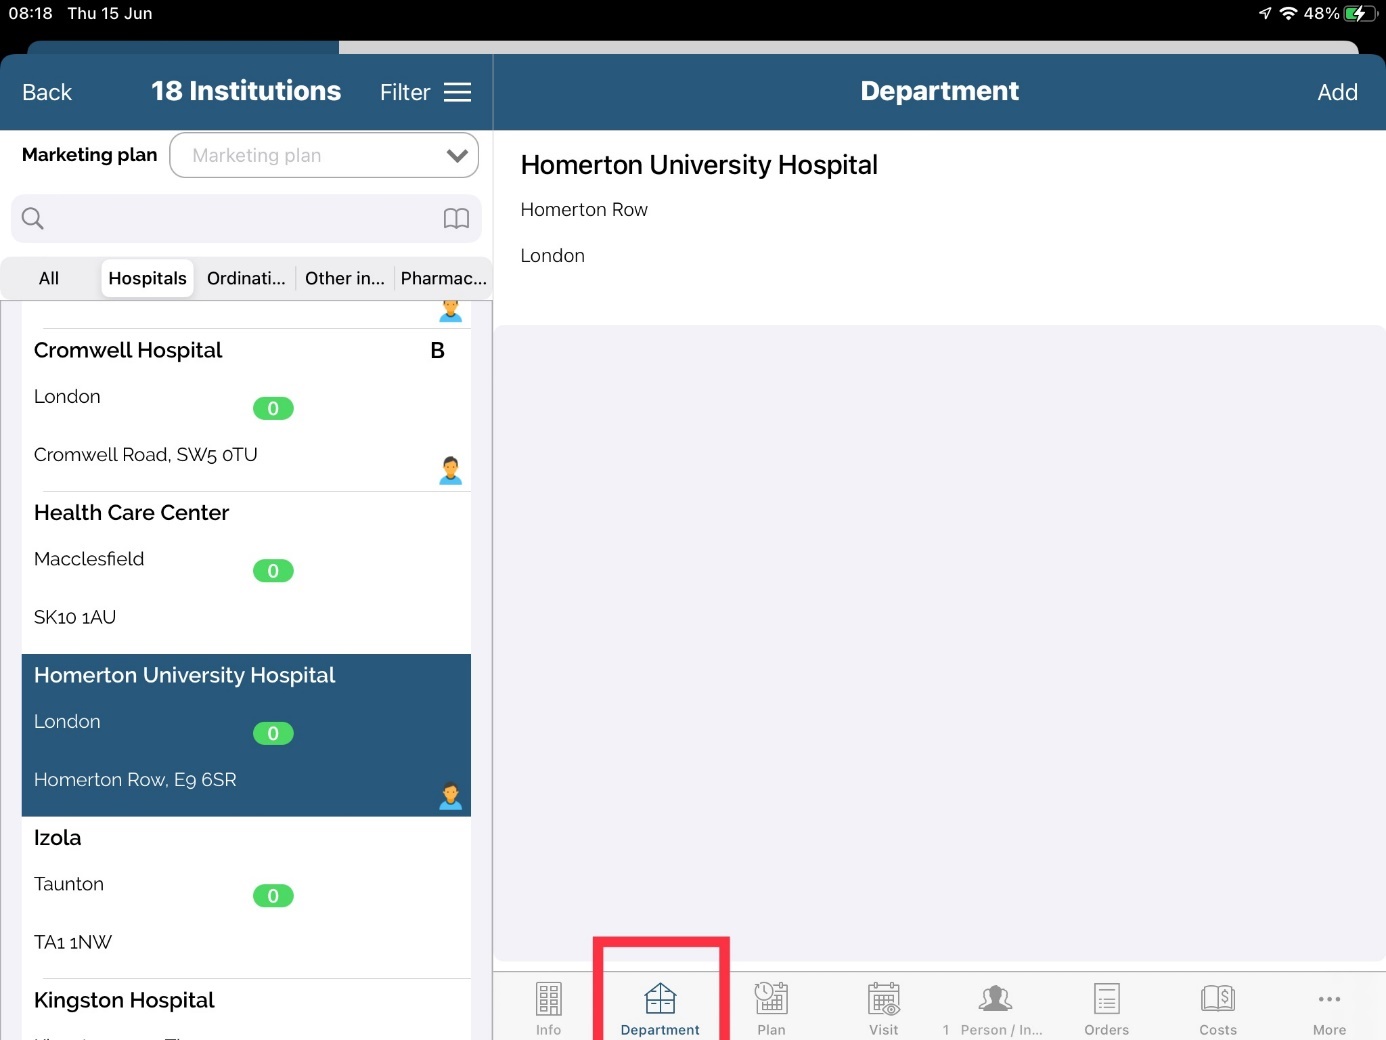
To view or change an existing department press on the name of department you wish to edit/view and change data. To delete an existing department, press on the “=” and Delete button.
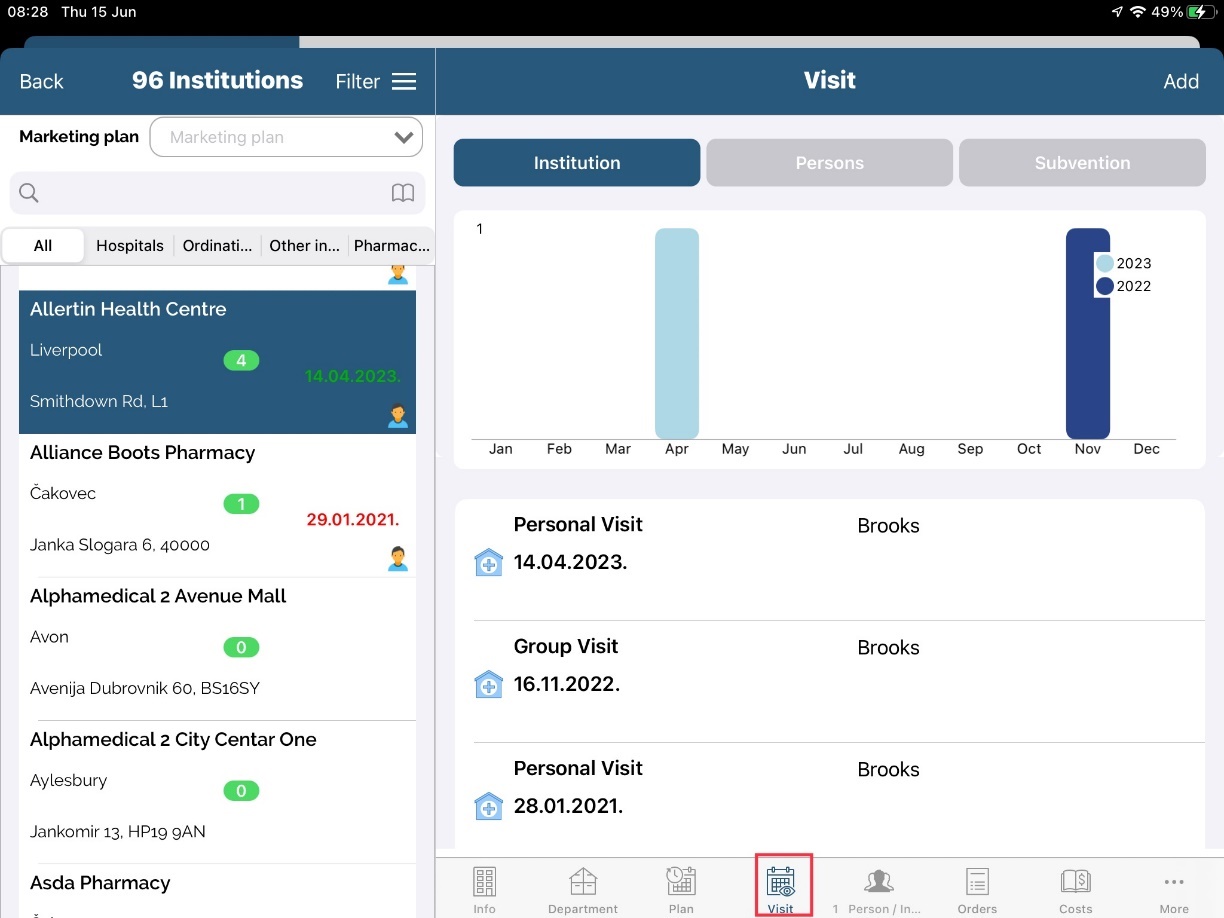
Plan and visit/contacts tabs
Tabs Plan and Contacts allow us to view past contacts for each institution.
Two buttons are available on screen, Plan and Contacts. By opening each of them we can check last planned and realized visits for a certain institution. Along with the visit frequency by months for a certain year, a detailed description of visit is seen, when (Date) and who (Representative) has planned and realized that visit. Here you can add a new visit or plan by pressing Add button which is described in details in Calendar module.
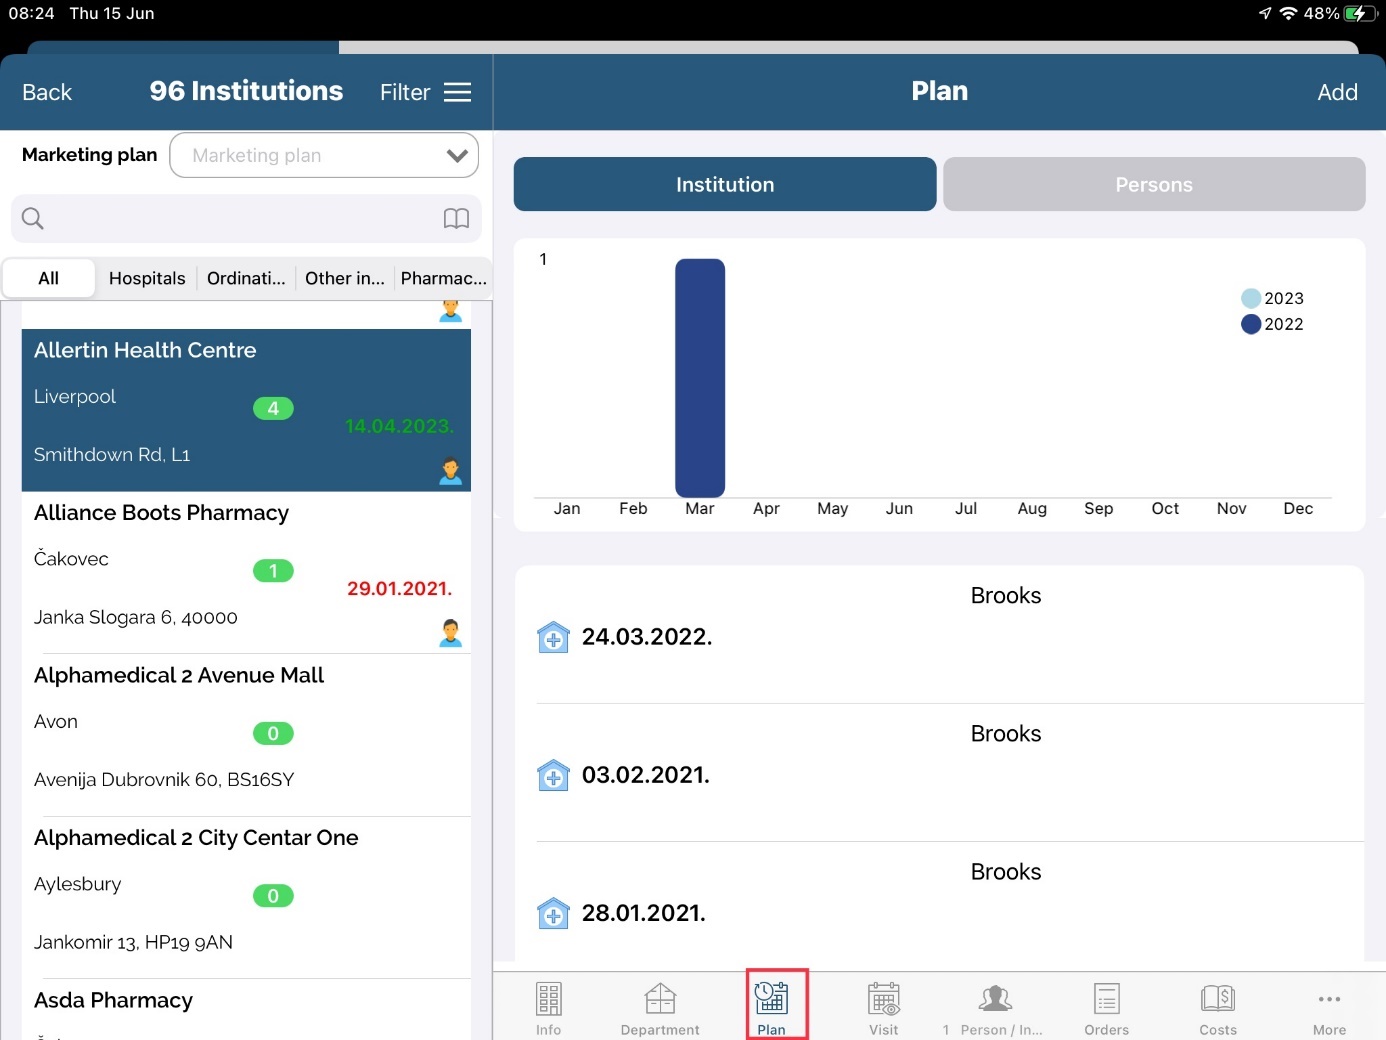
Also, there is a graph with statistics of last year and current year and number of plans and contacts.
In our newest feature you can add persons who are outside selected institution when creating visit to an institution. First you position on option Visit and then you tap to Add button.
After you tap on Add button, list of chosen persons in this visit will appear. Since we didn’t choose any person so far, list will be empty. To add person tap on Add person.
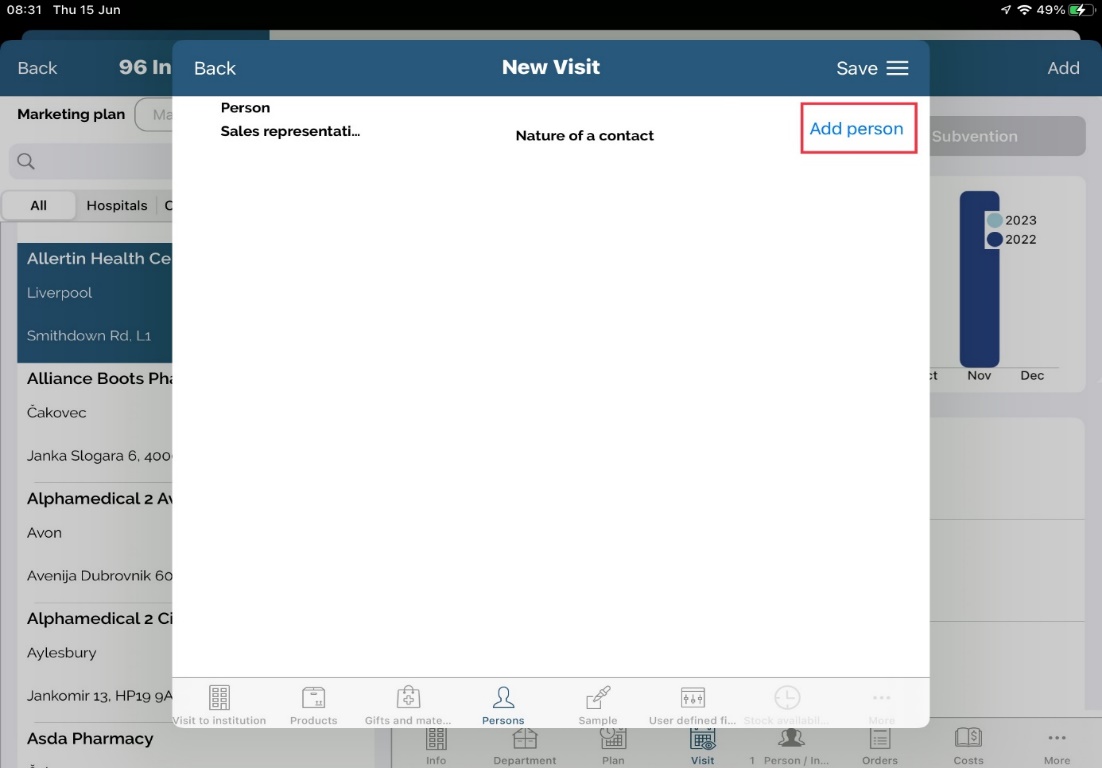
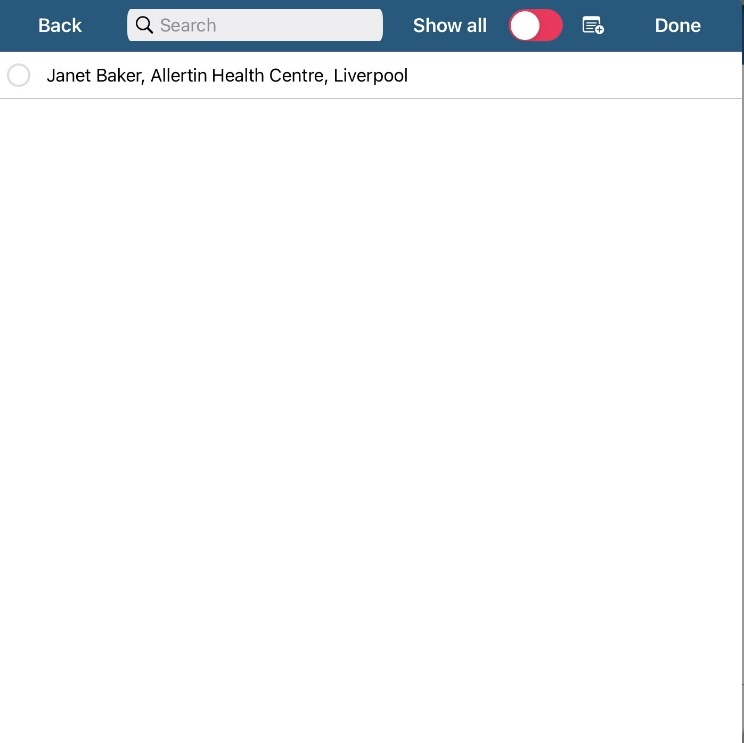
First, list will show persons that are in chosen institution and if you want to select them, just tap on the persons name.
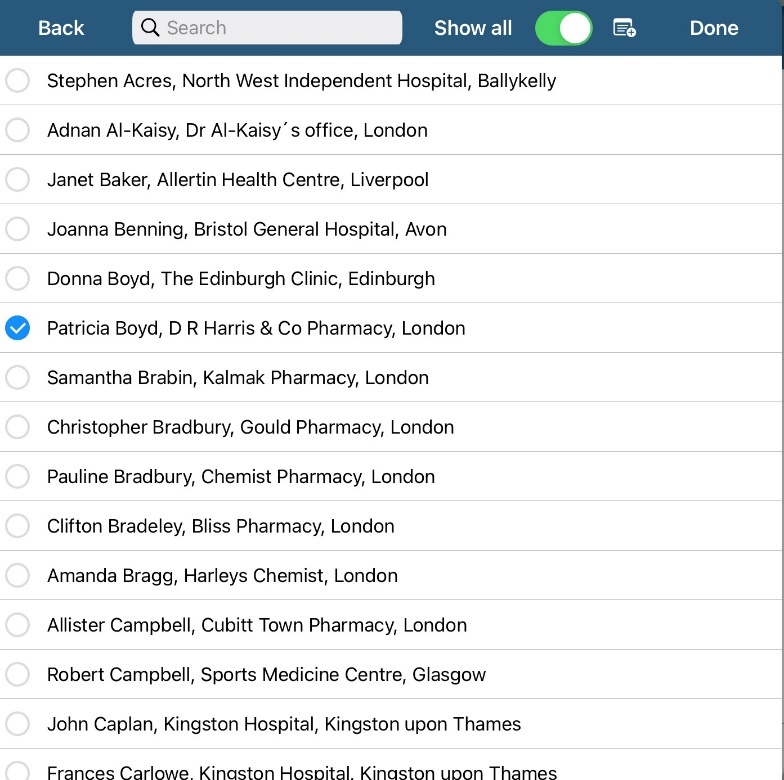
In second step, if you want to add persons that are not in this institution you have to switch option Show all to active. After that, full list of persons in you database will appear and you just tap on person you want to add to visit.
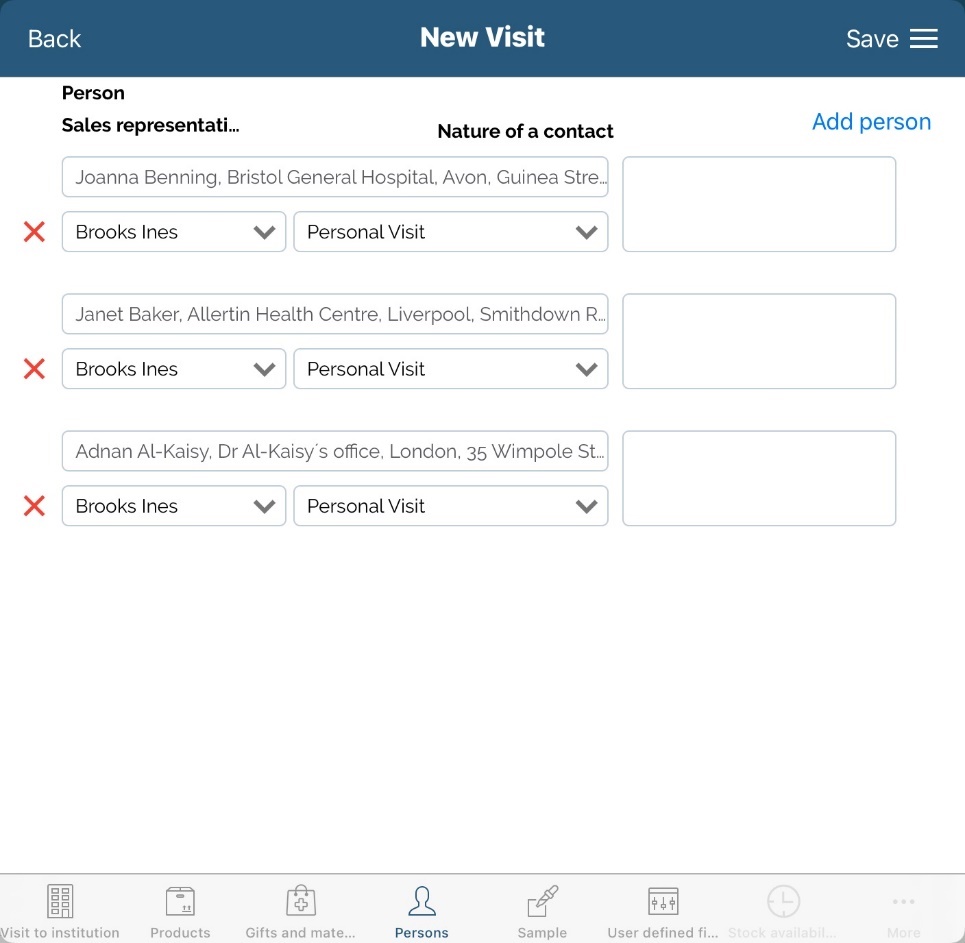
After you have chosen wanted persons, just tap on Done button and list of chosen person in this visit to selected institution will appear.
To conlude this visit, just tap on Save button and visit to selected institution will appear. Important notice: If there is no persons in chosen institution, list of all persons in database will appear first by default.
Persons in institution
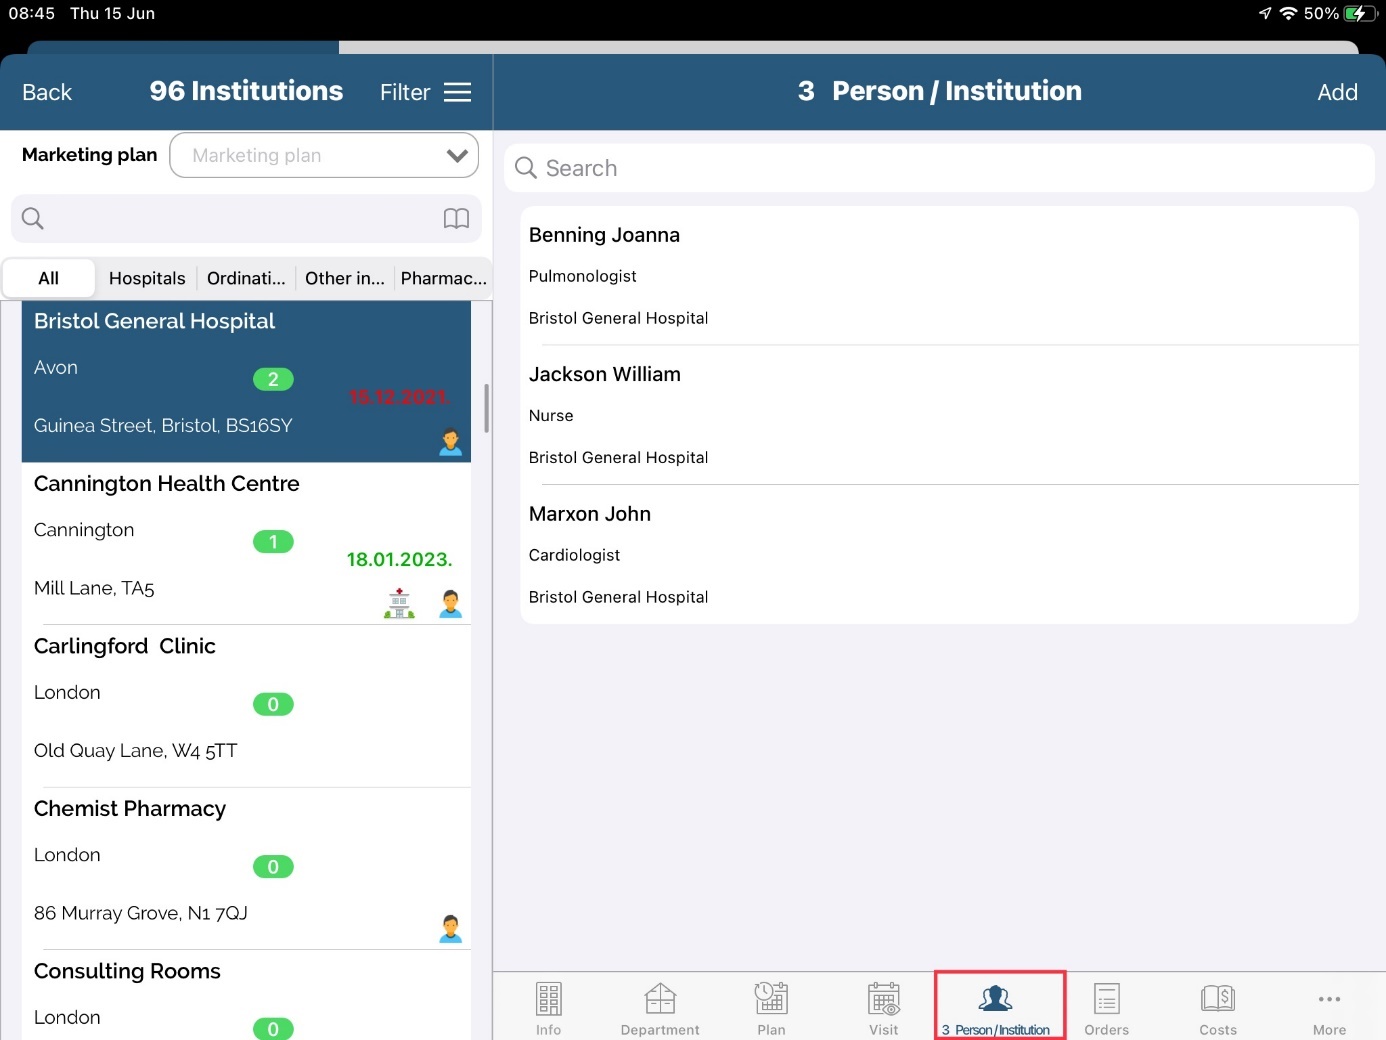
To view all persons that are working in this institution and are marked as interesting, press Persons tab. Here you can preview, edit and add more persons. Use this module to connect person with institution that he/she belongs.
Survey/MT
Survey/KAM
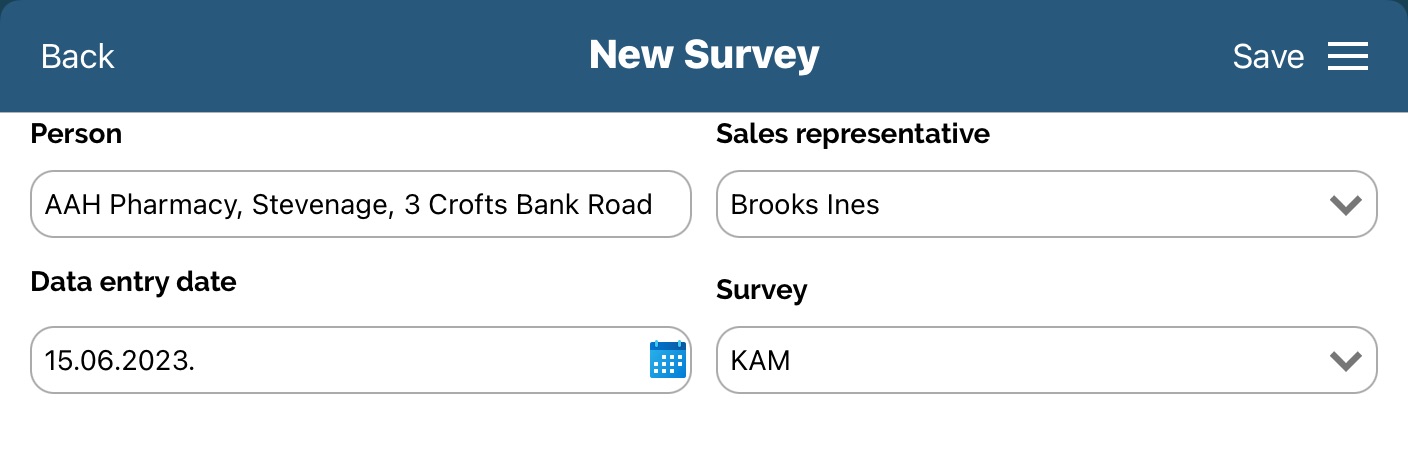
The questionnaire can be used in case you want to create surveys. To be able to use this option, questions and answers must be created by the administrator. Survey can be added while adding a visit to a person or institution or as a single option under Survey tab in person's and institution's module.
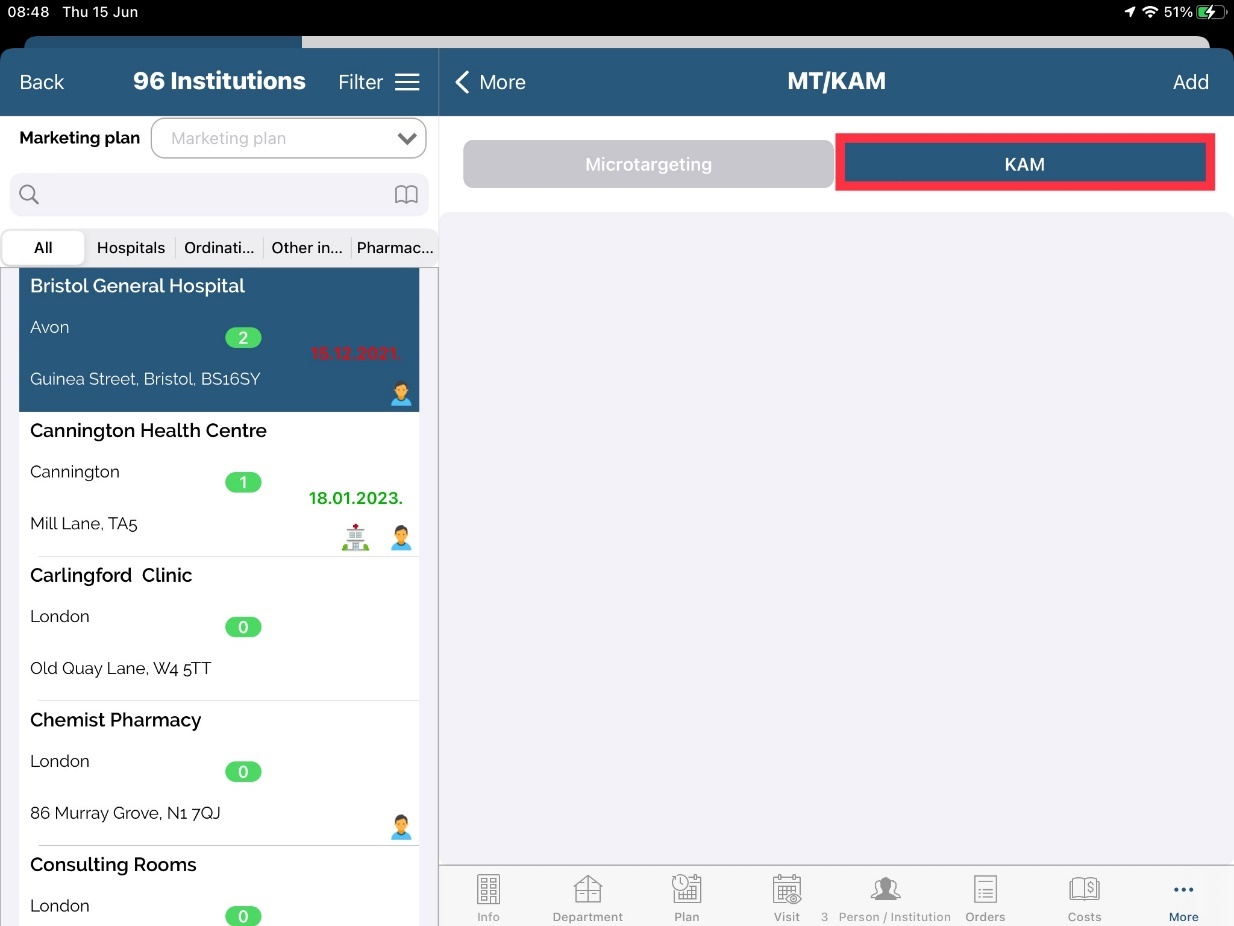
Click on the institution you wish to add survey for and click on Survey tab. Press Add button and fill in data. To save data press Save button.
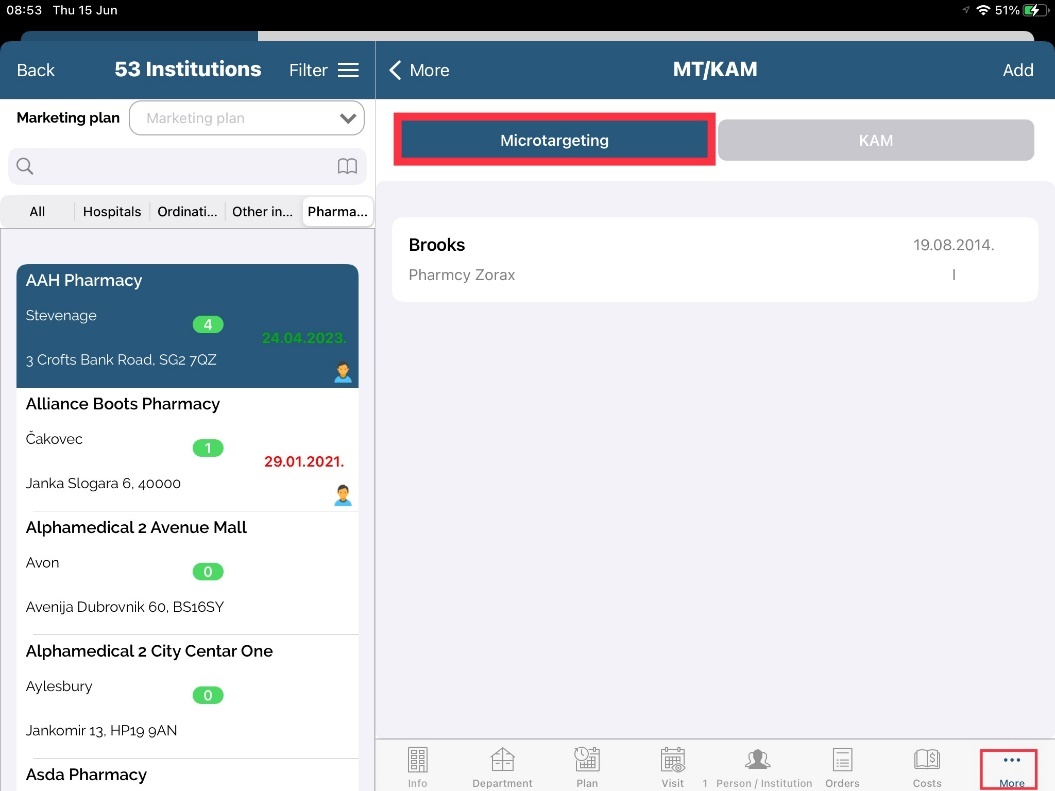
Microtargeting
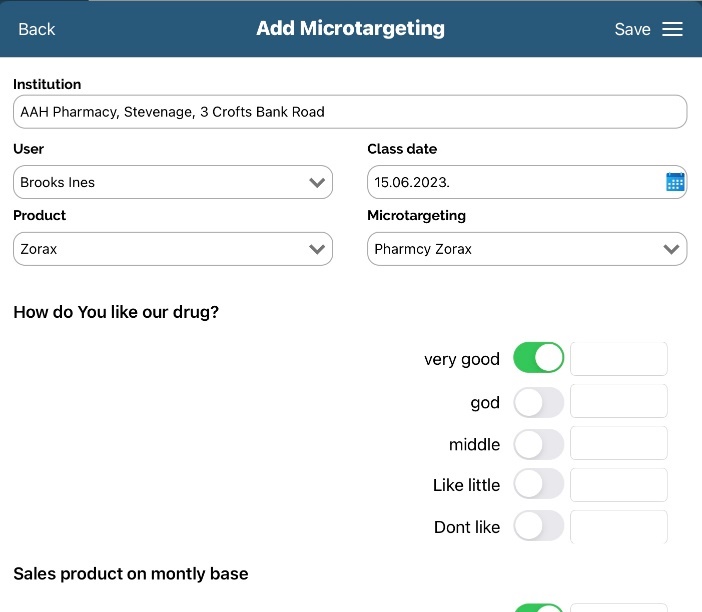
Tab Microtargeting gives an overview of all microtargeting actions performed on this institution. Clicking on the Add button opens a new window for adding new microtargeting. Different questions will appear, according to assigned type of institution to microtargeting. For example, if Admin set MT for type Pharmacies, then MT can be added only to institution with that type.
After you populate question with answers classification will calculate. If you have some unanswered questions, you will get an info note that all questions have to be answered in order to save microtargeting. When you save, new record will appear with new classification.
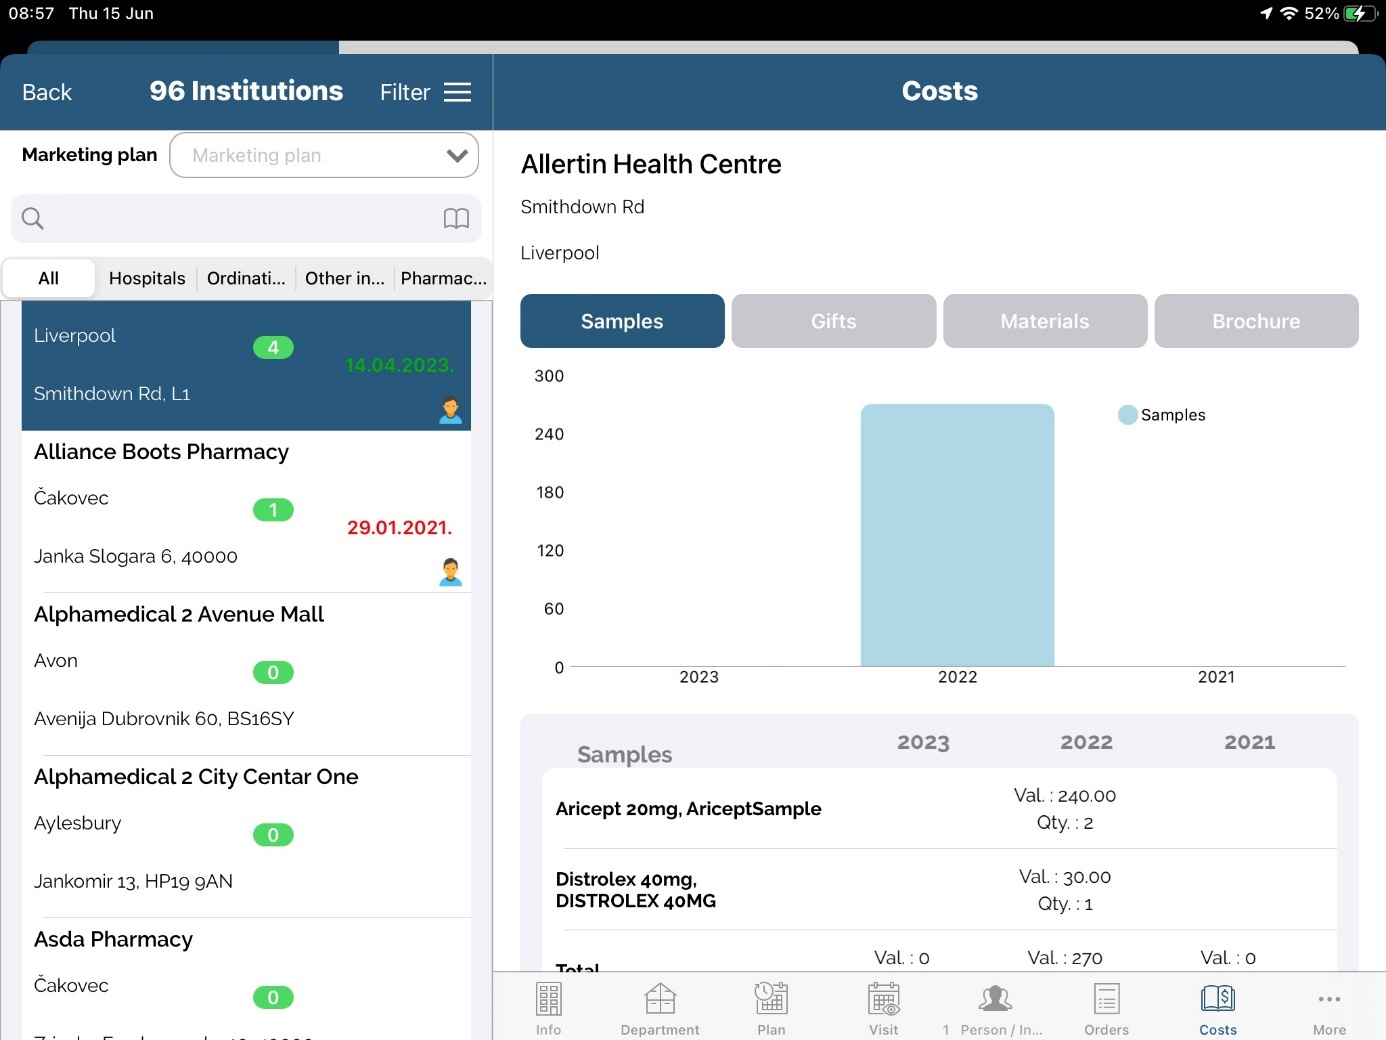
Costs
By using Costs tab you can view statistics on all cost related to this institution: costs on samples, gifts, materials, subventions and other.
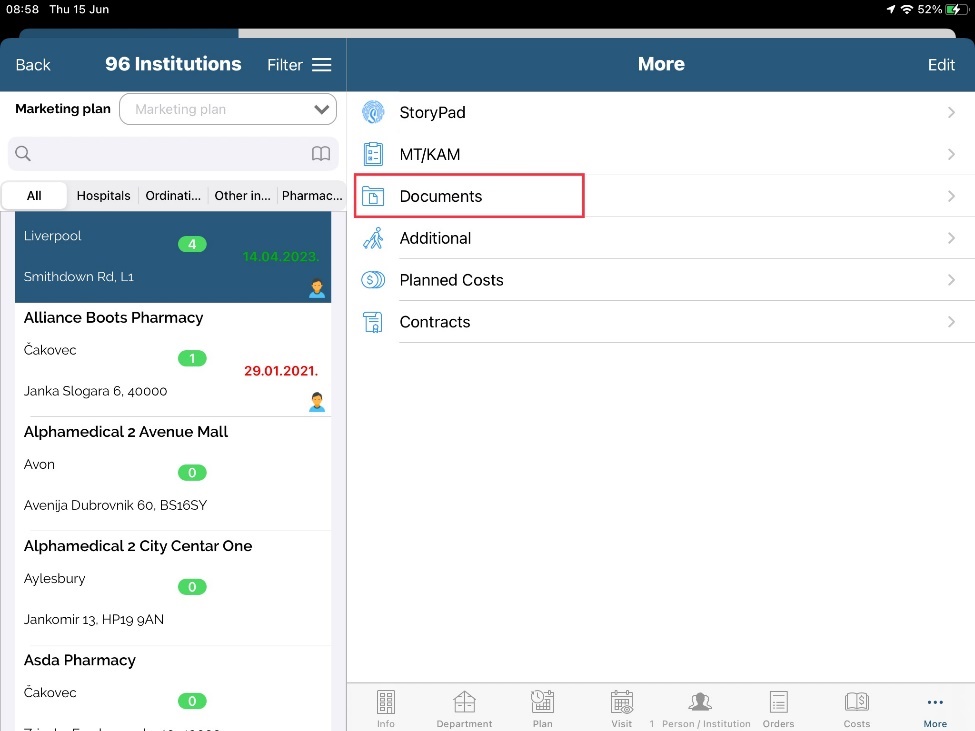
Documents
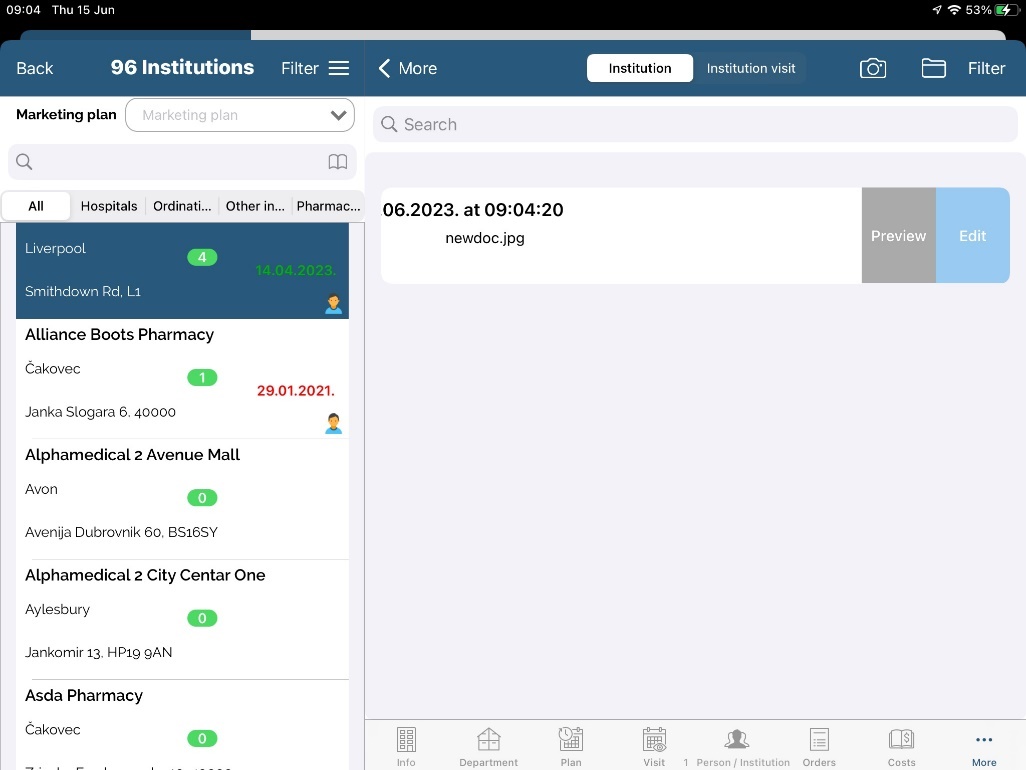
Documents are used to upload and preview images. To access it press tab Documents. This tab is hidden for some clients by default.
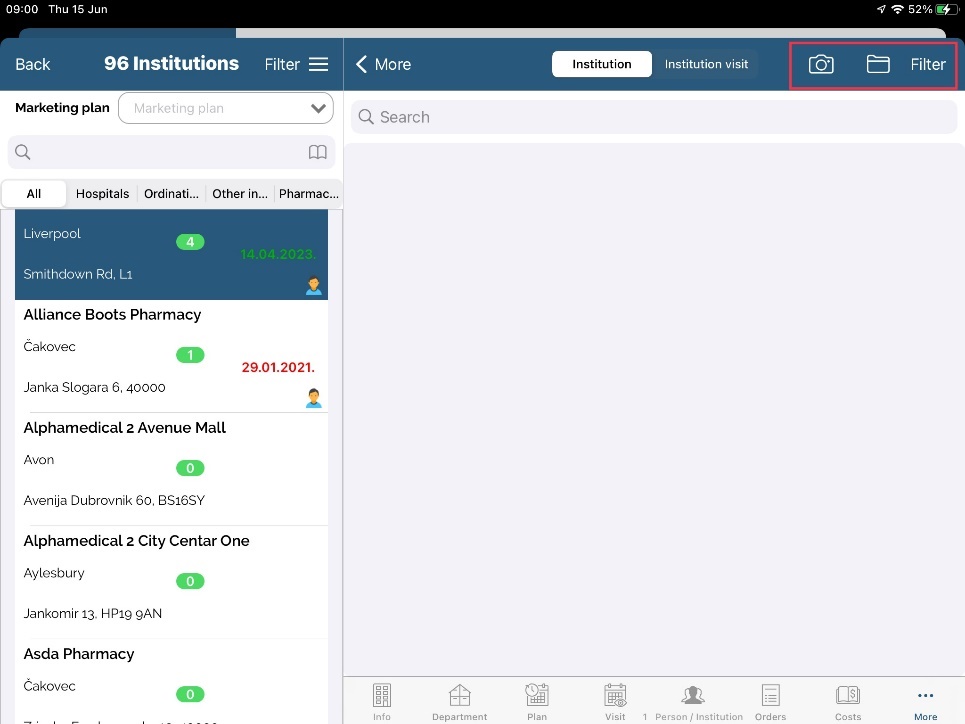
On top right side of the window we have three buttons: Taking new photo, Choose photo and Filter. Button Taking new photo will automatically open Camera on iPad to take photo and upload it. Choose photo is used to select already available photo in gallery. To filter already uploaded photos, use button Filter.
After choosing photo to upload, window as one shown below will open.
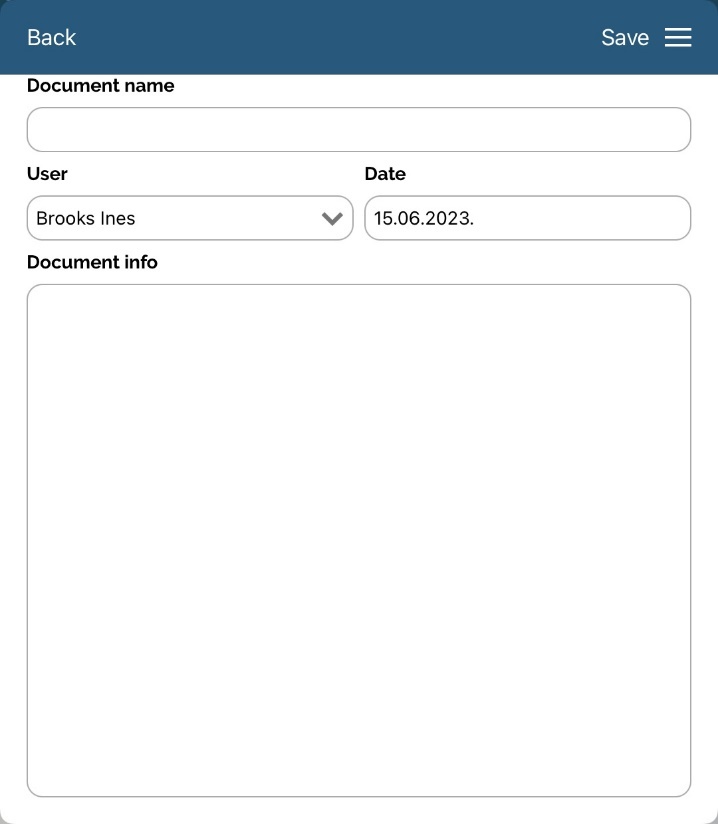
Document name needs to be entered. After saving, it will start uploading photo to server. It may take some time, depending on internet connection.
When document is uploaded, it is possible to Preview or Edit. To do that, swipe left on desired document and press Preview or Edit.
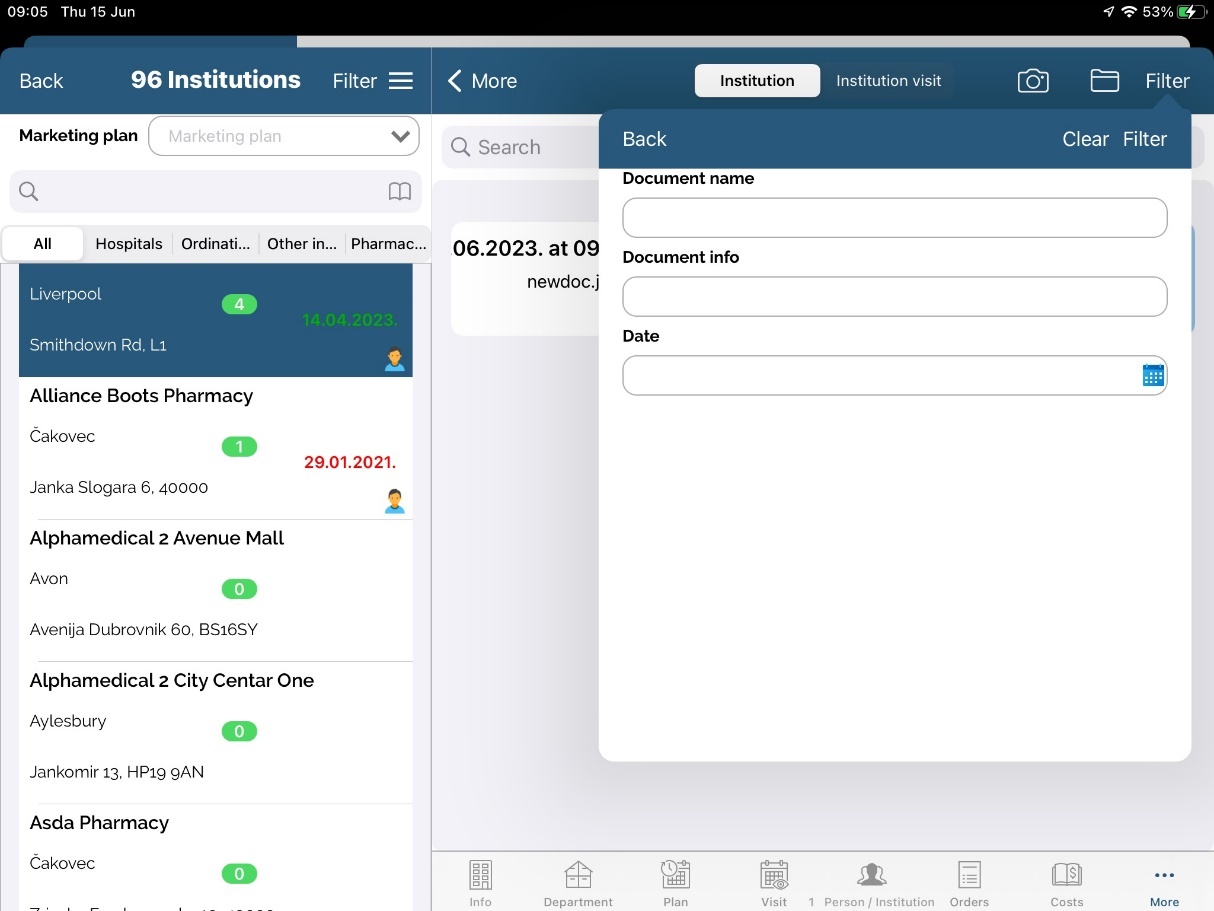
As mentioned earlier, button Filter is used to filter previously uploaded pictures.
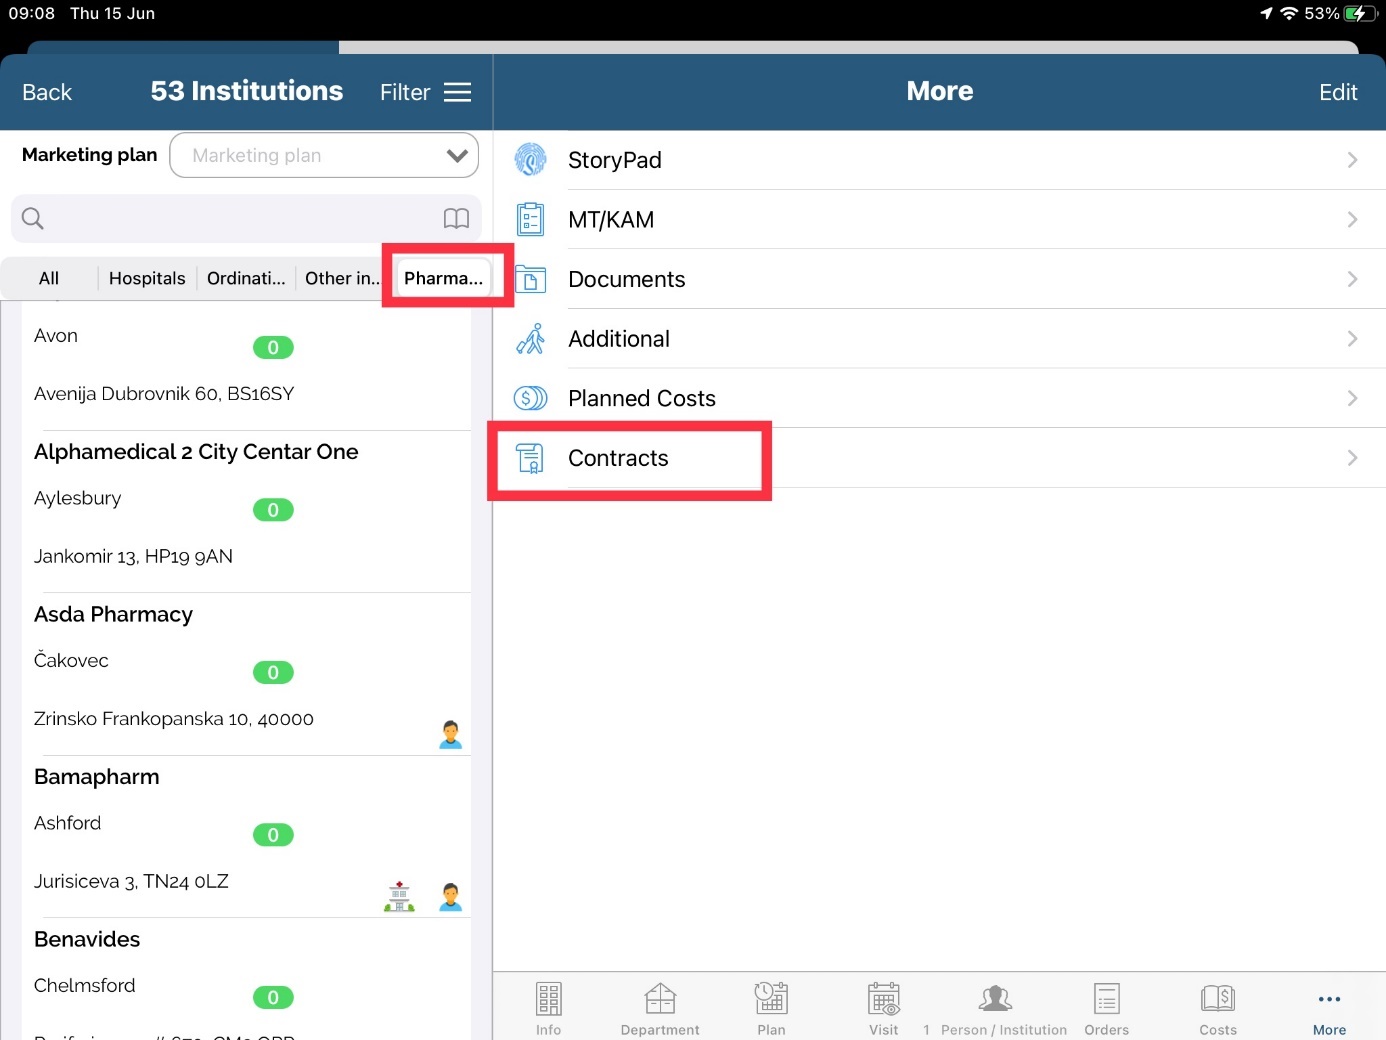
Contracts
Function “Contracts” is used to determine the date of displayed products. From when to when products are displayed. How many products must be on the shelf and which side they must be facing.
To select this option, chose “Institutions”-“Pharmacies”-” “Contracts”.
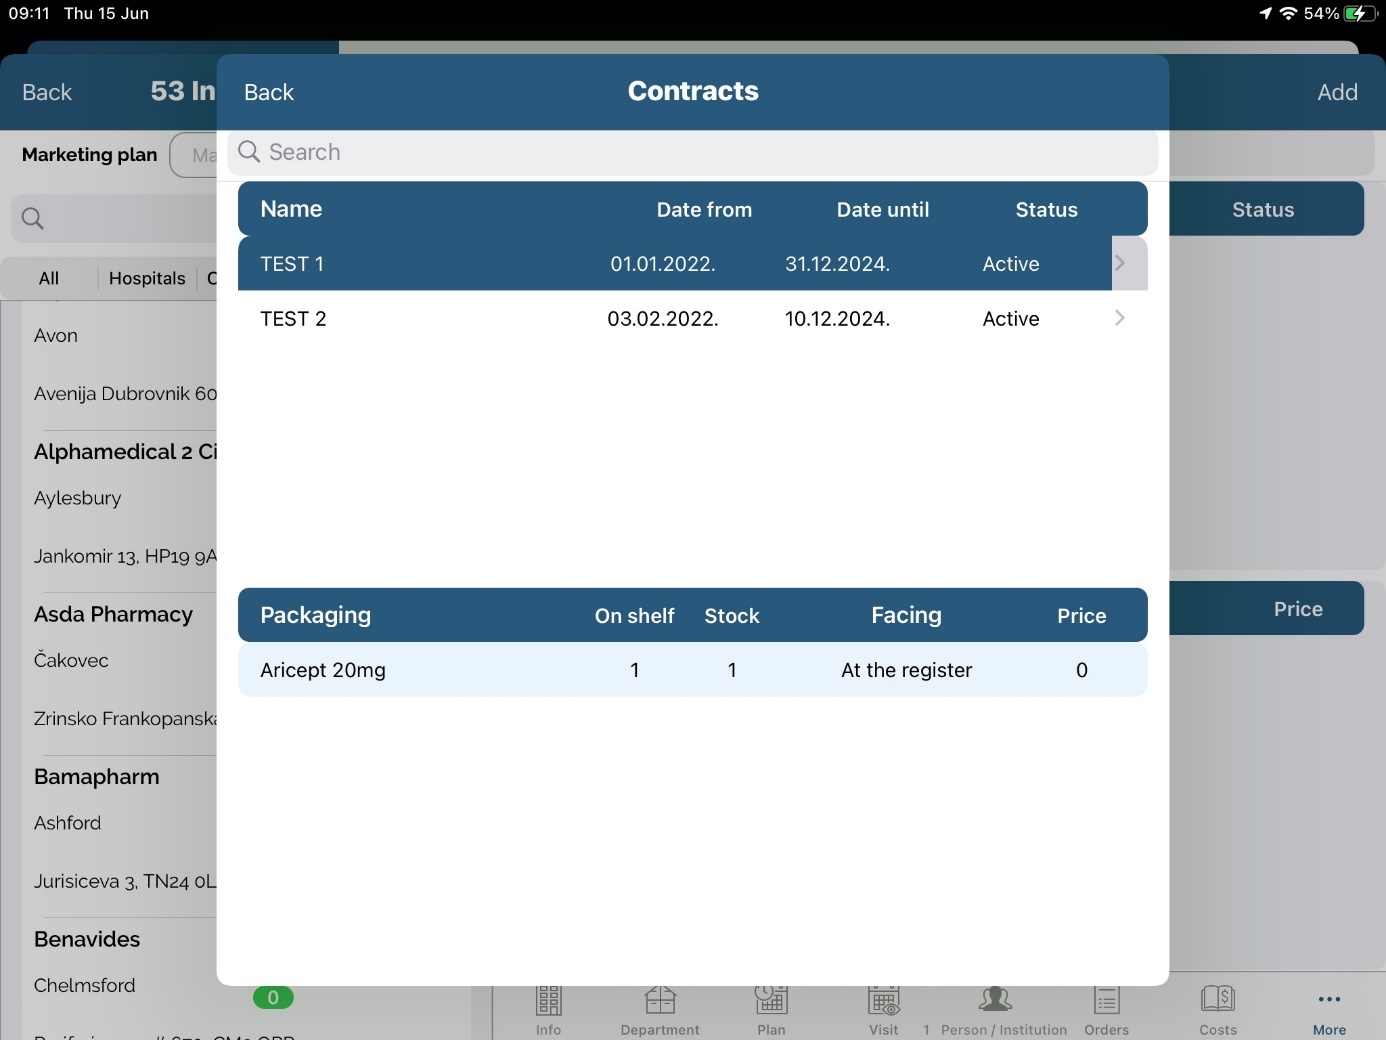
ADD button – by pressing add button you can add new Contract.
Date from – Date until : it is displayed from when to when this contract is valid.
Status : by swaping on that field you can change status from active to inactive an vice versa.
Packaging: type of product
Facing: determins if product must be turne to front side or back side
On shelf: how many products must be displayed on shelf
Stock: how many product must be in stock
Price: shows price of the product
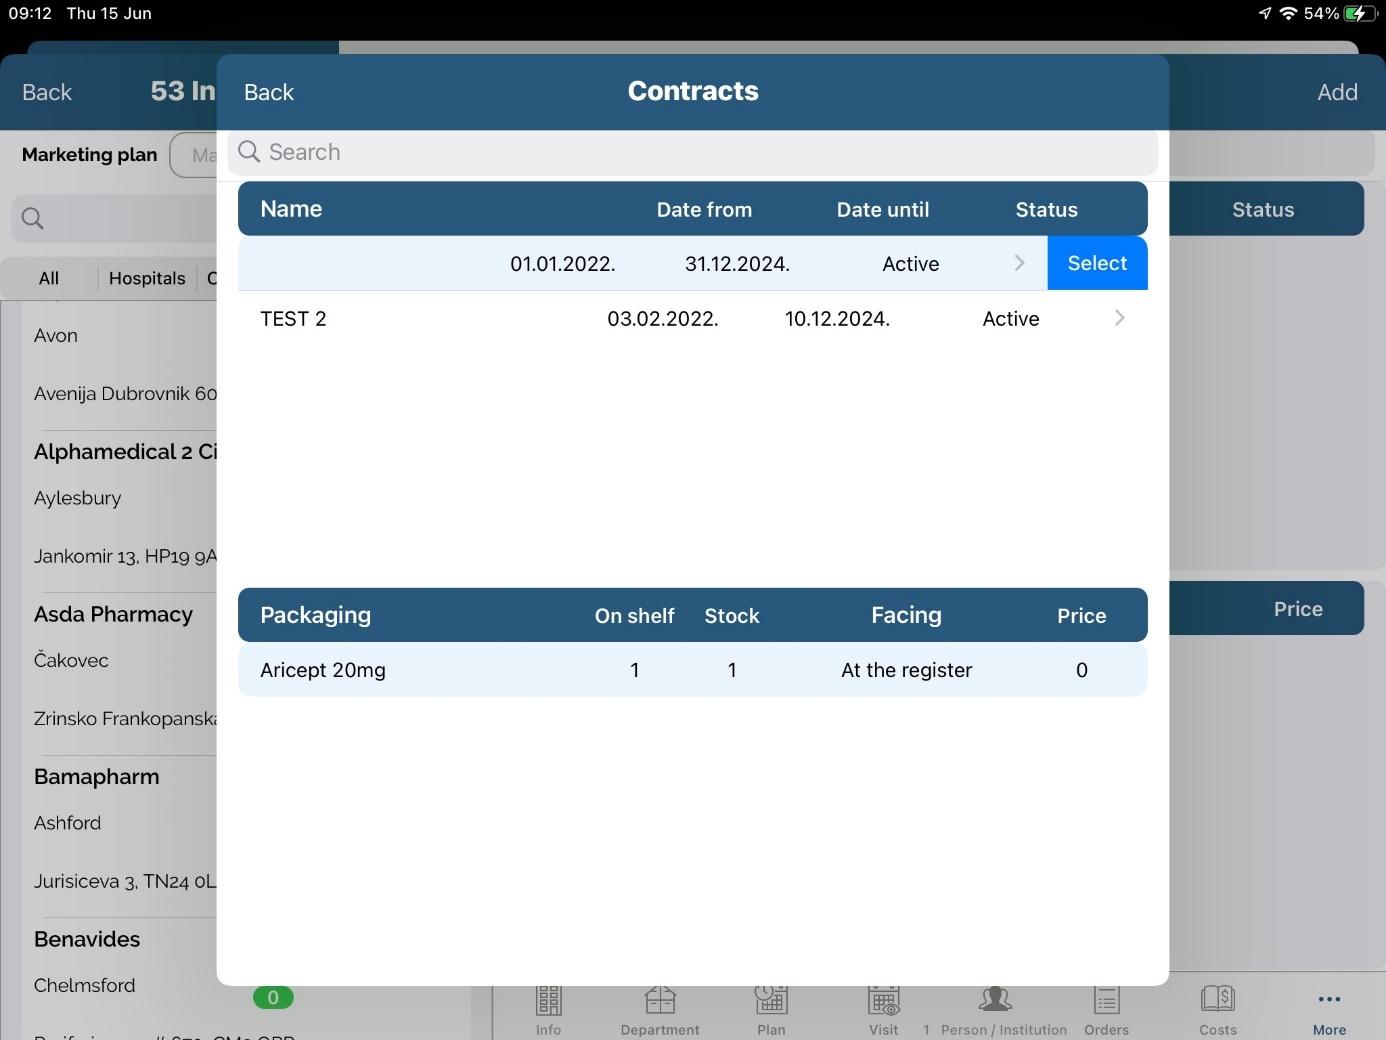
To select contract click Add. New window will open. Then select contract and swipe on it. Click SELECT and you will chose this contract.
To change Contracts data, chose “Institutions” – “Pharmacies” – “Visit”- “Stock Availability”.
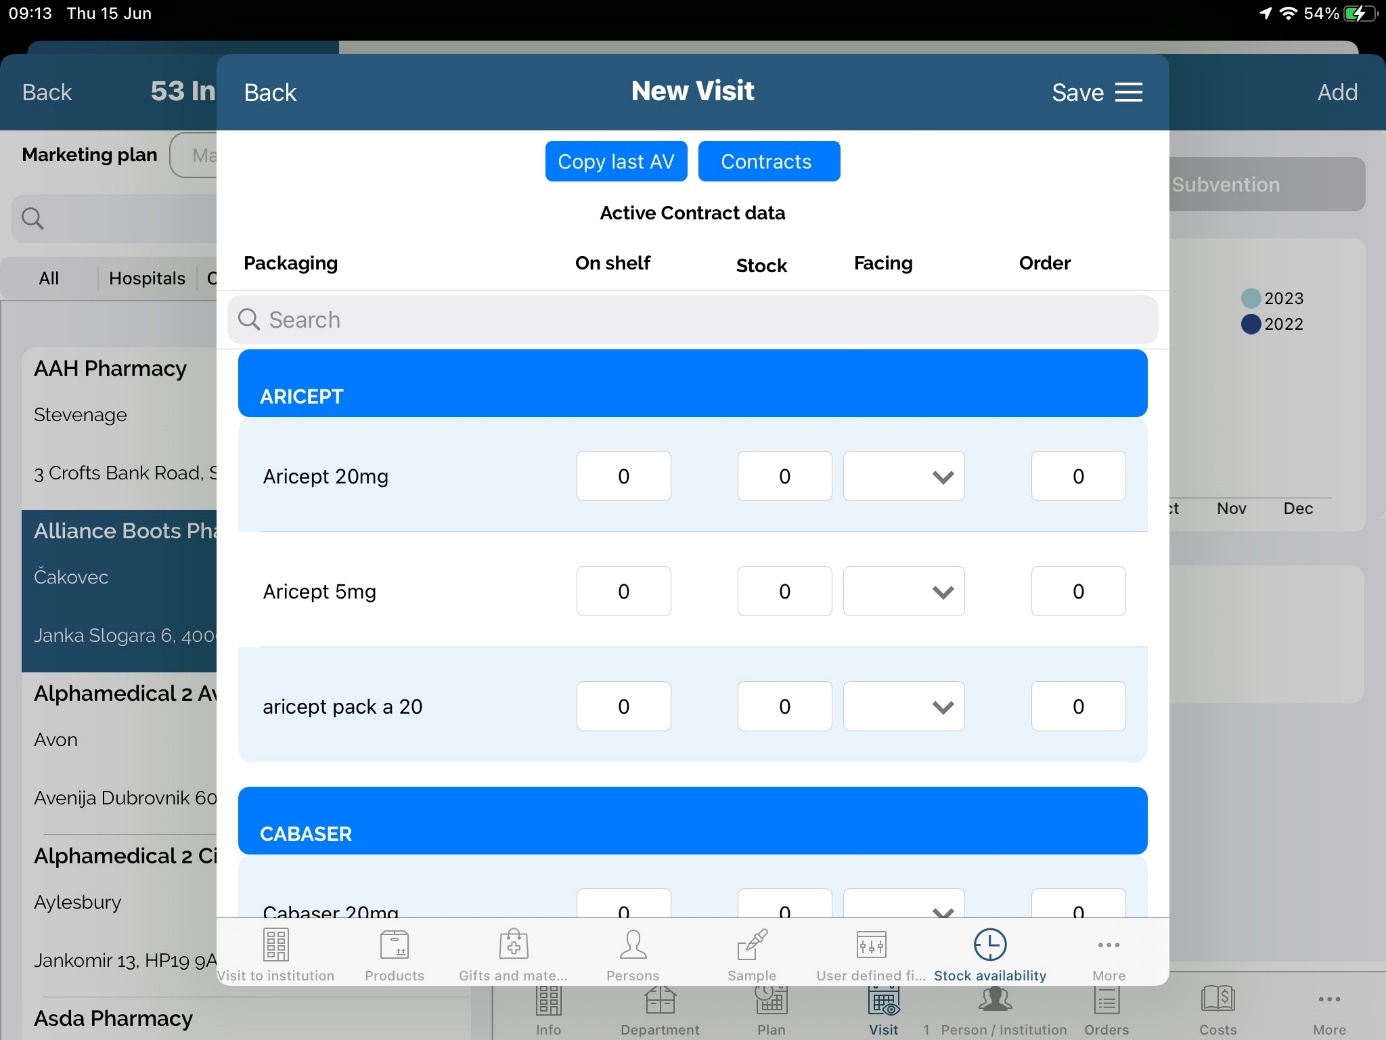
In this window you can change:
On shelf: Number determines how many products should be on the shelves.
Stock: how many products are in stock. If number of products is less than it should be on shelves,
number will turn red, if number of products in stock is higher than determined number of
products on shelves, number will turn green.
Facing: shows you on which side product should be turned. Front side, back side..
With sliders you can chose between Availibilty or Per contract.

Copy last AV: When creating a new Contract, click on new Contract, than select Copy last AV.
Data from last contract will automatically copied.