Wholesales sales
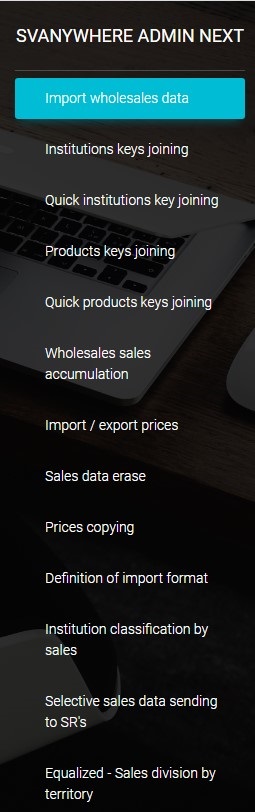
In Sales Vision system, you have more than one way to track sales. One of them is wholesaler’s sales. To open this module, click on Wholesales sales in main menu.
Definition of import format
To import sales data into the system, you can use .txt or .xls/xlsx type of files. Before import you need to define import format for each wholesaler. Click on Definition of import format in Wholesales sales submenu
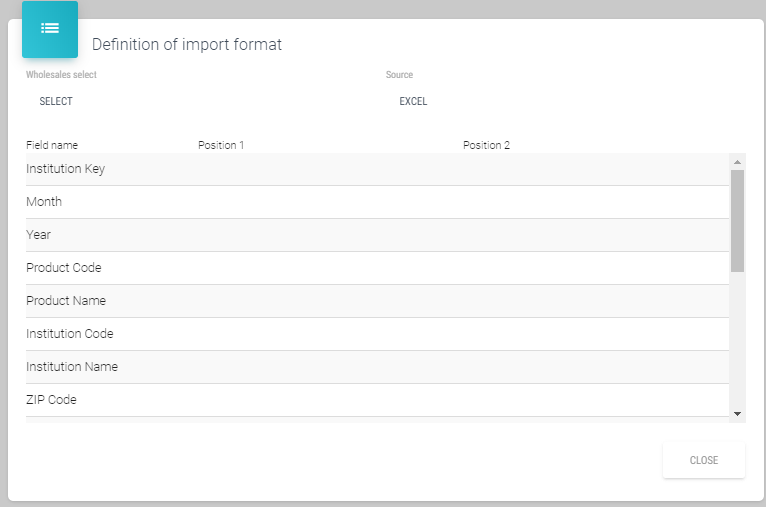
A new window will appear: Wholesales select – choose the wholesaler you want to define import format for, Source – here we choose which file format we will import for the selected wholesales. NOTE: To see some institutions like wholesaler, this institution must be defined in Sales Vision like other Institutions and input type Wholesaler.
Text format import: Position – here you need to enter valid record starting position number, Length – here you need to enter number length for this record.
Excel: Position 1 – here you need to enter record column number, Position 2 – if you have import file with same group of data in two columns, then you need to enter record number here for the second column. In that case, records in Sales Vision from position 1 and position 2 will be joined in one record.
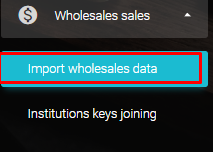
Import wholesales data
After you are done with definition of import format, then you can import sales data into Sales Vision. Click on Import wholesales data in the Wholesales sales menu.
A new window will open:
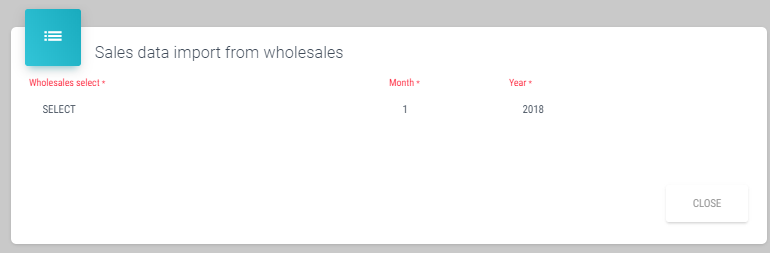
Wholesales select – choose the wholesaler for which you want to import sales data, Month/Year – enter month and year of import sales data,
After we select a wholesaler for which we want to import data, the following window will be shown.

File for data import – click on (…) for browsing the file for import sales data, Imported data view – here you can see month and year of already imported data for this wholesale. Data preview - before you import data, here you can check if the data will be imported correctly. Simply click on the Data preview button. It is also possible to go through records by clicking Next record button. If the preview is not visible (as on the previous figure), check the Definition of import format again. Import data button – start importing data, Close button – cancel form. After clicking on the Import Data button we get notification on the e-mail that import has started and again when import is finished.
Institutions key joining
When you import wholesales data, you need to connect Sales Vision data with wholesaler data.
NOTE: This connection should be done only once. Connections stays in Sales Vision and during the next importing, data will be connected automatically. Only for new data joining should be done.
In this module, you must join name of institutions from wholesaler with the name of institution from your database (Sales Vision).
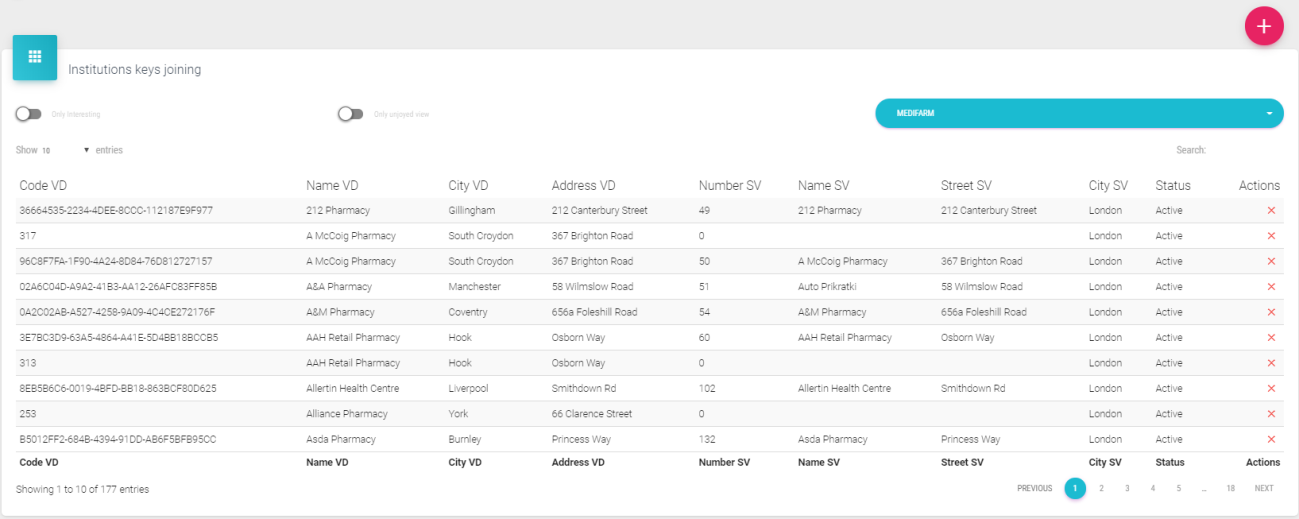
Wholesales select – choose wholesaler, Only interesting – will be displayed only active institutions, Only unjoined view– will display only institutions without connections.
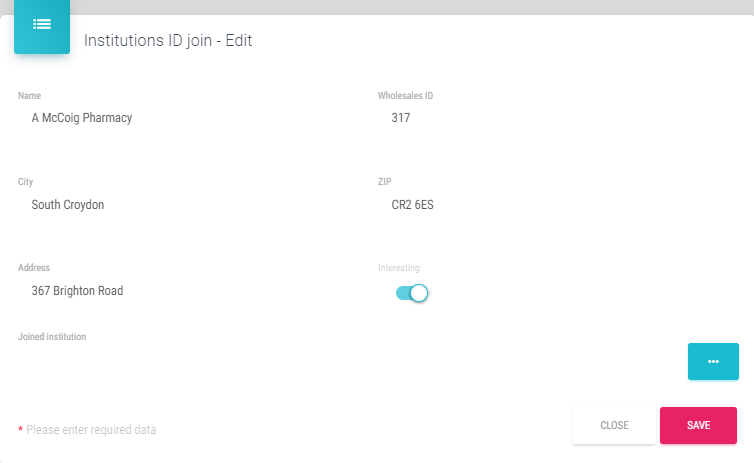
To join an institution, click on institution; new form will appear (Institutions ID join):
Name, Wholesales ID, Address, City, ZIP – displayed data about institution from wholesaler database. Joined institution – click on (…) button to open a list of institution and find institution which you want to join with. Click Save button to save this connection. If you don’t have this institution in your database, click on the „+“ button in the upper right corner to add a new institution. The following window will open (Institution ID join – Add):
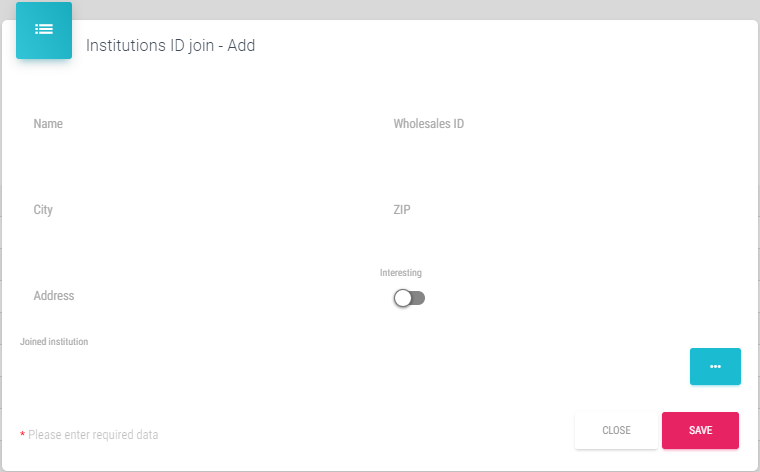
Don’t forget to join a sales rep to this new institution and join it to holding, if necessary.
Quick institutions key joining
You can choose Quick institutions key joining as well.
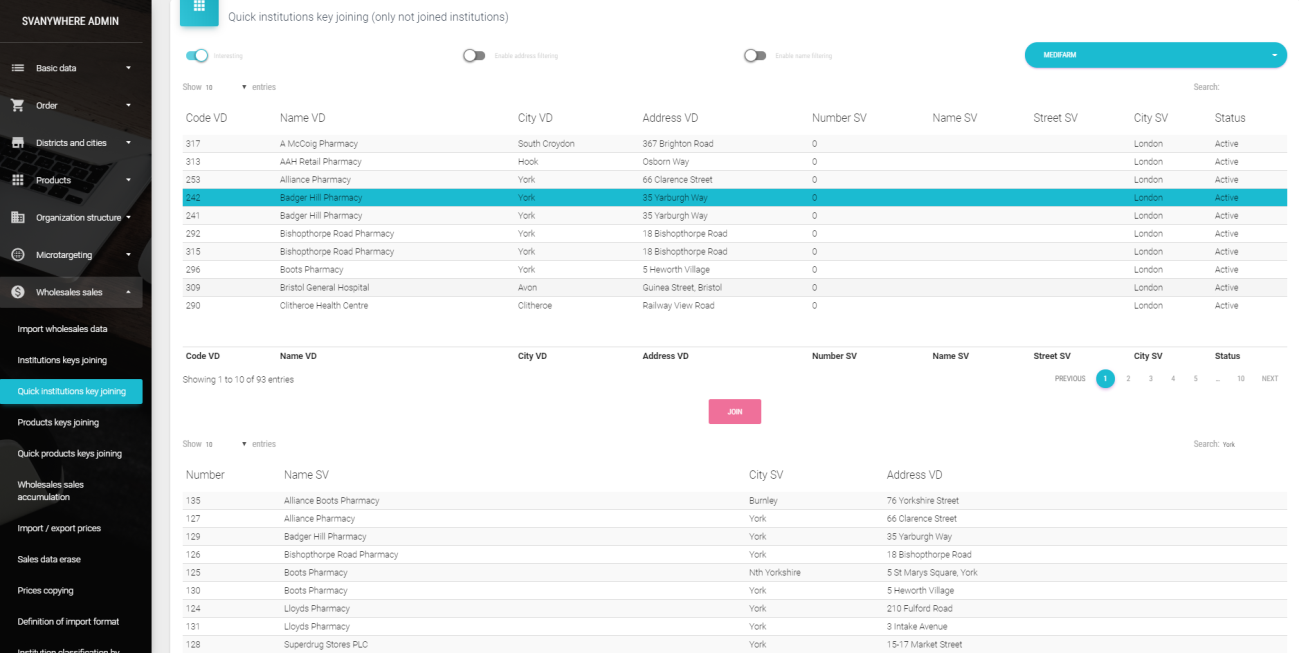
In the upper part of the window, after you select wholesaler, you will be able to see a list of institutions which are not joined. If you select one institution, system will automatically suggest institution from Sales Vision which will appear in lower part of window. When you select correct institution from the list, click on button Join to join this record.

Notification window will pop-up where we confirm this join by clicking on OK or CANCEL if we do not.
Products key joining
After joining institutions, the same thing should be done with products.
In Products key joining you can join names of products from wholesalers with Sales Vision names of products. Click on the Products key joining in the Wholesales sales submenu. New window will appear.
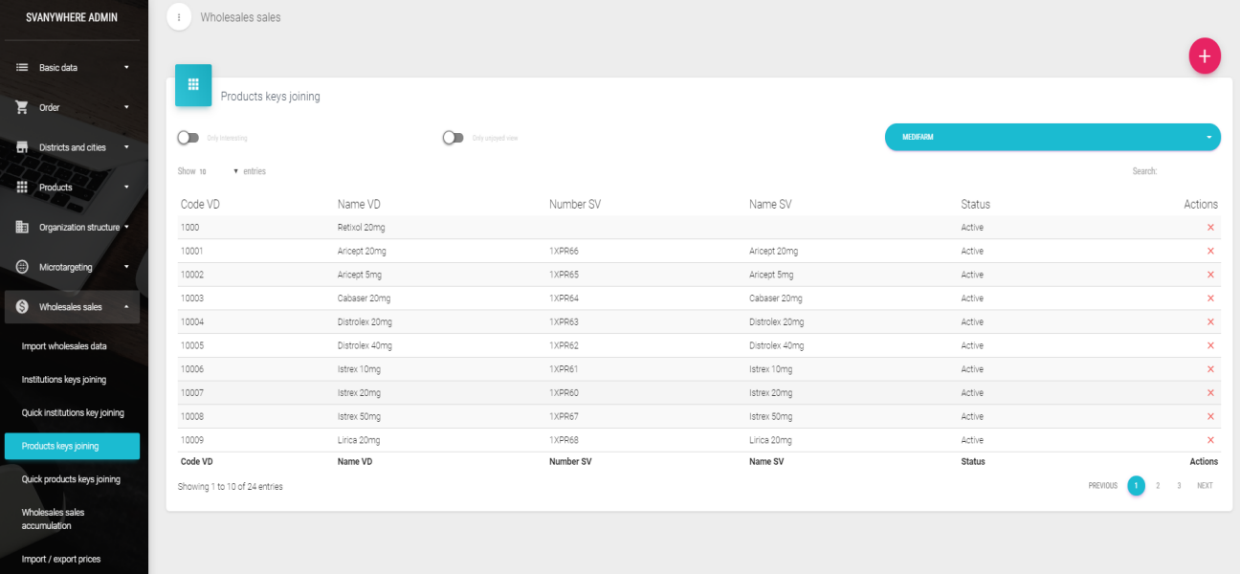
Select the wholesaler; from Wholesales select drop - down menu. Click on the Only unjoined view button to activate him in order to see only unjoined products.
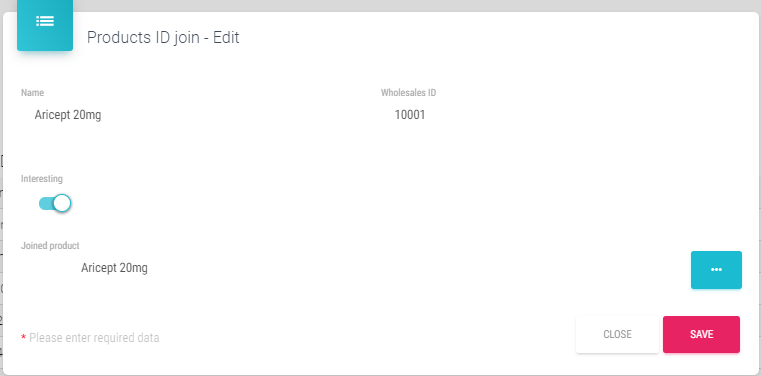
To join product, click on it and Product ID join window will appear.
Click on list button (three dots) to open list of products from Sales Vision database. Choose correct product from list. Click on button Save to save this connection or Close to cancel it.
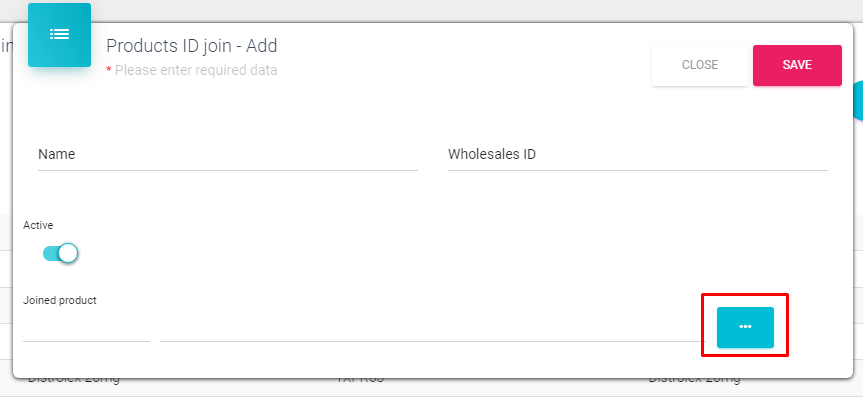
If you don’t have this product in your database, add it as a new product and/or packaging by clicking on the „+“ button in the upper right corner. The following window will appear to enter new product.
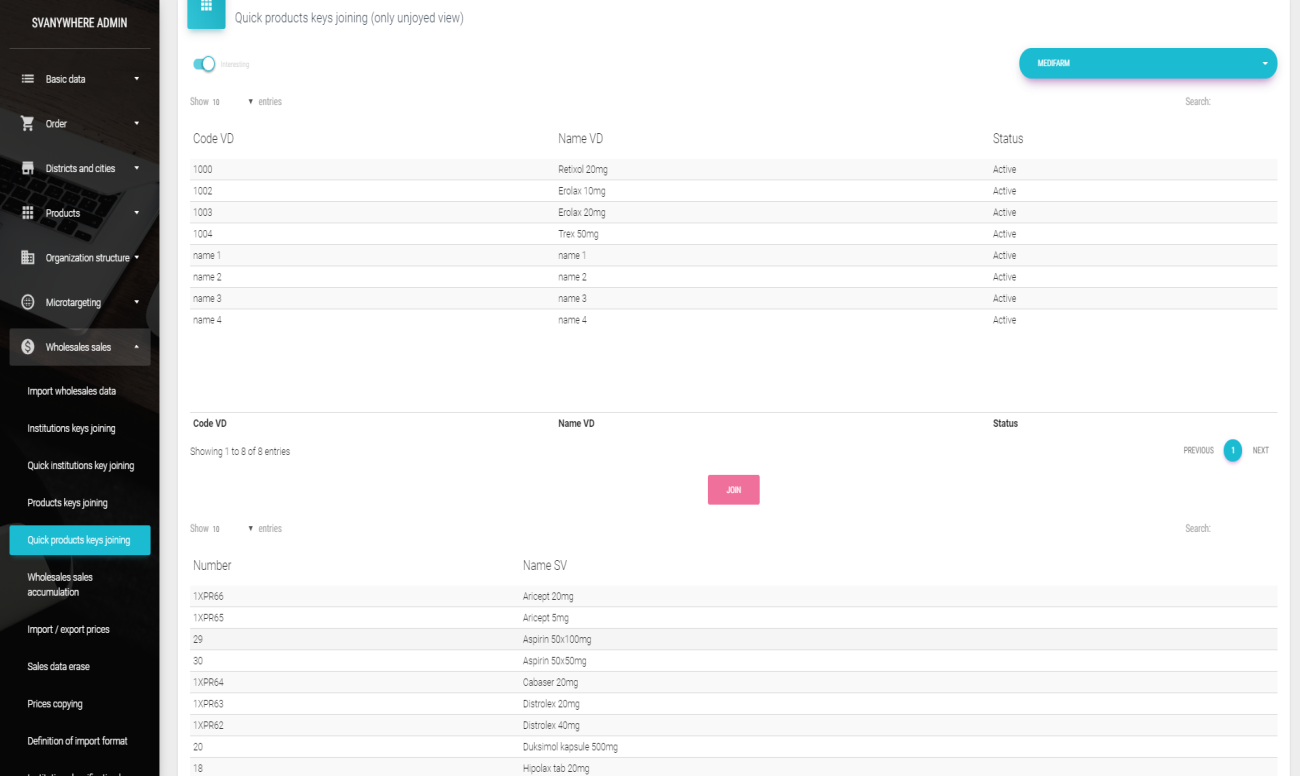
Quick products key joining
Quick product key joining is the same procedure like in Quick institutions key joining described earlier.
Import/export prices
If you want to import or export prices, click on Wholesales sales from main menu and then click Import/export prices.
New window will appear. Enter month and year for getting data which you want to import or export and then click on Import from Excel or Export to Excel.
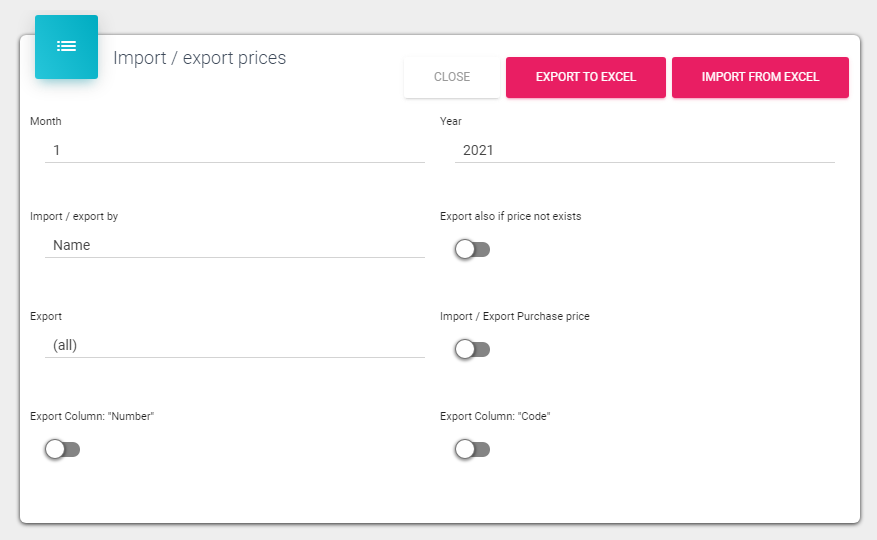
Import from Excel - new window will appear where you will need to choose file from where you want to import prices.
Export to Excel - Excel exported file will be automatically downloaded into your browser download folder. NOTE: Prices should be entered for packages before, otherwise Sales Vision won’t show prices in list.

Price list must be in .xls./xlsx format and data must be organized like in the figure below:
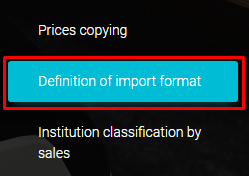
Prices copying
To copy prices for all or some packaging from one month to another, choose Prices copying from Wholesales sales submenu:
Window like in picture below will appear. Choose month and year for packaging from which you want to copy prices and after month and year to which you want to copy prices.
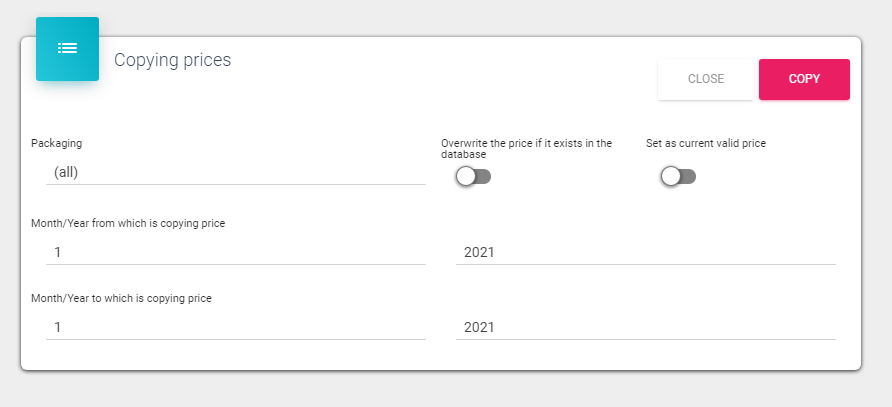
If you want to copy prices, click on Copy button, if you want to cancel, click button Close.
Wholesales sales accumulation
After all these previous steps, sales still won’t be visible in Sales Vision. You need to run Wholesales sales accumulation. After this step, all data from sales will be visible in the system.
To run accumulation, click on Wholesales sales in main menu and then click on Wholesales sales accumulation.
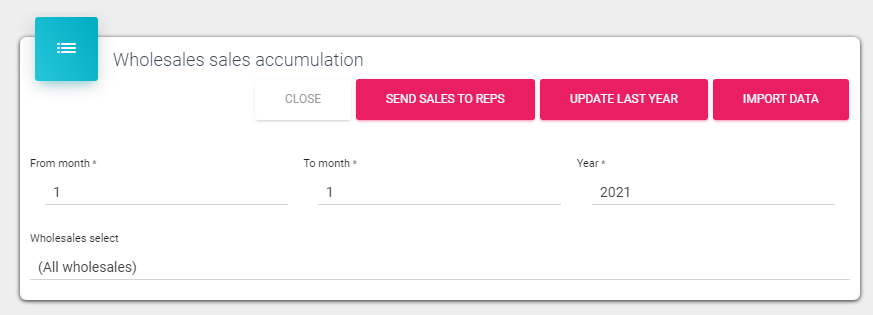
New window will appear:
From Wholesales select drop - down menu select the wholesaler (if you want to run accumulation only for a particular wholesaler) or choose option All wholesales to run accumulation for all wholesalers. Enter the month (period) and year. To run accumulation, click on button Import data. To send sales to remote users, click on button Send sales to reps. If there are some changes in sales for last year, click on button Update last year. Button Close will close this window and cancel the action.
Sales data erase
If you want to erase some sales data, click on Sales data erase from Wholesales sales submenu.

A new window will appear:
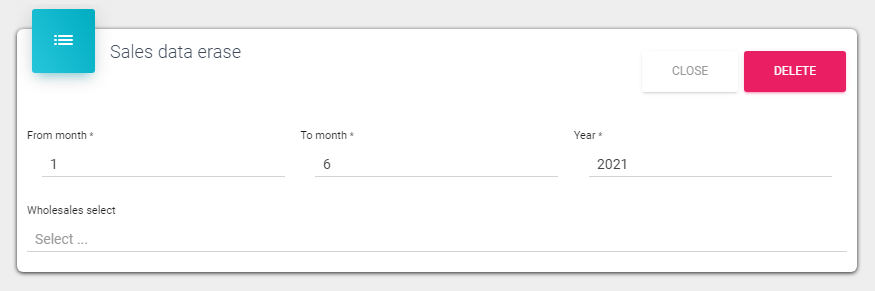
Enter the period (months) and year for sales data which you want to delete.
Click Delete button to delete sales for that interval.
Click Close button to cancel this action.
Selective sales data sending to SR
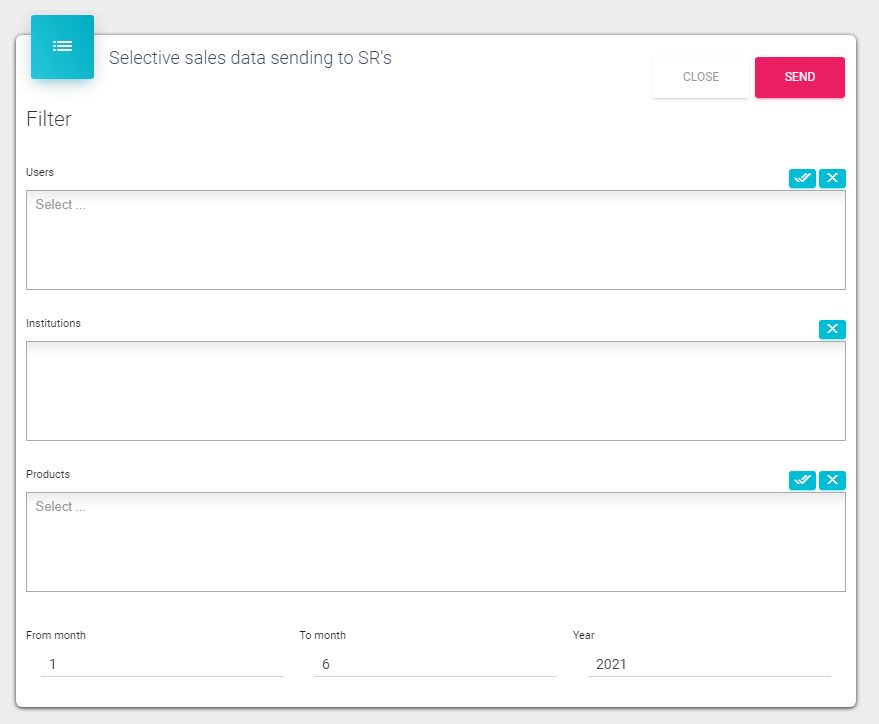
If you want to send sales data to SR click on Selective sales data sending to SR’s.
Fill in the form and click on Send button to send data or Close to cancel.
Institution classification by sales
In Sales Vision Admin you can make classifications for institutions by their sales. In Sales filter select a time period for sales by institutions you want to classify, also products if you want to. Then for each classification set criteria according to their values.
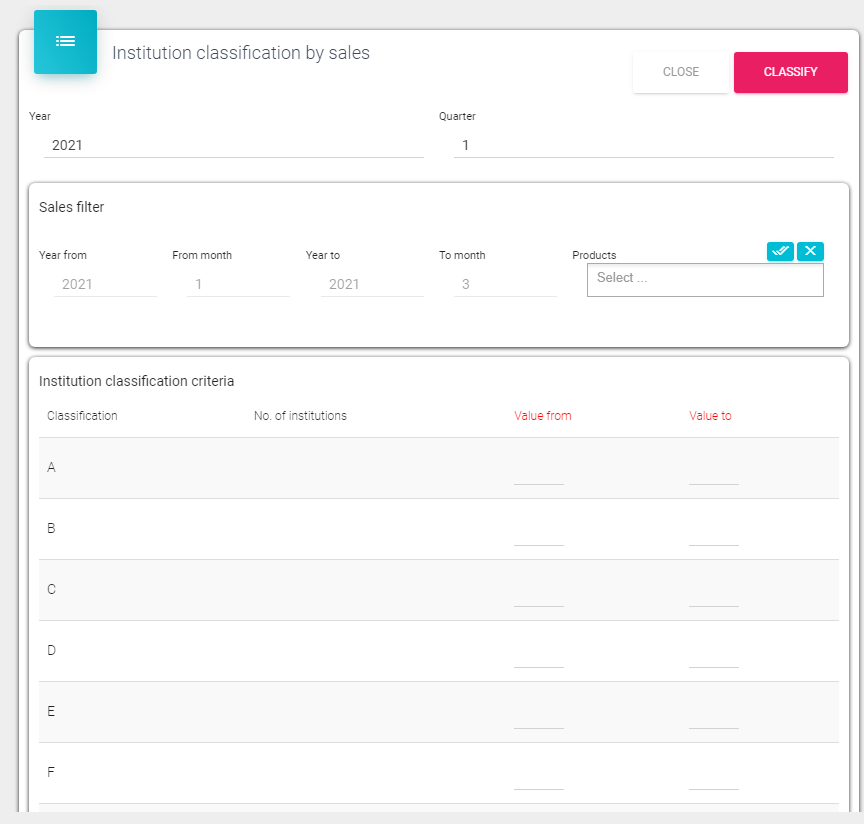
Press Classify button to save your entry or Close to cancel (button are at the end of window, scroll down to see them).