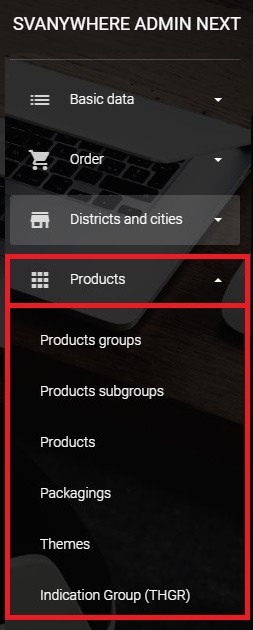
Products
In menu products it is possible to add, modify or delete information related to products.
Groups and subgroups of products
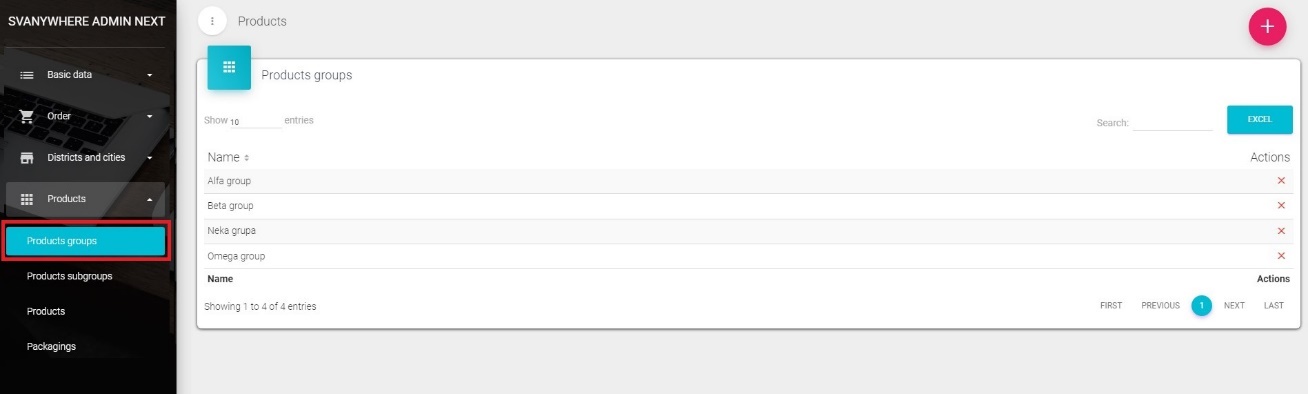
Sales Vision provides the possibility of grouping products in the group and subgroups so later in the analysis it is a lot easier to reach the desired data. To define the names of groups – open the Products groups. To add new group you will need to click on the “+” button.
Following window opens where it is necessary to fill the name for the new group.
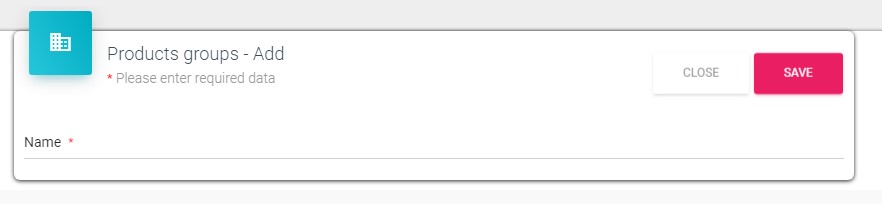
By clicking on the Save button you will store the entry, and click on Close will close the window without saving. Change data of already existing groups can be done by clicking on the desired group. The same window as for adding will appear where it is necessary to make changes and save them.
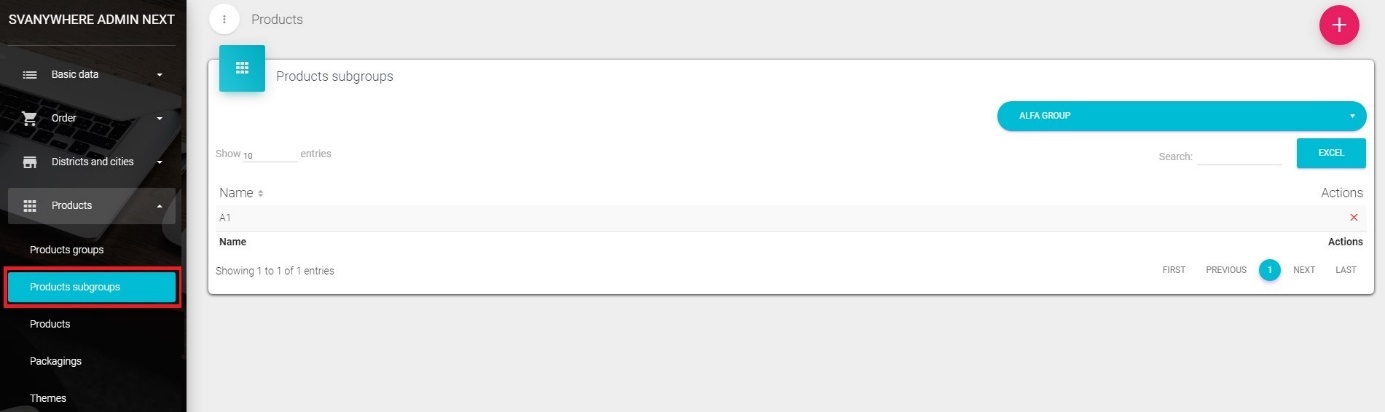
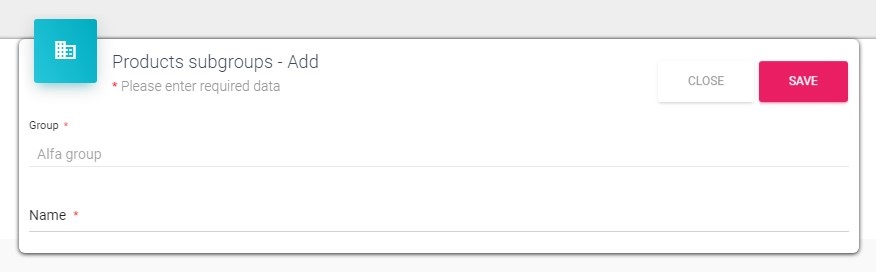
To add a new subgroup open the Products subgroups on the left submenu. To add a new subgroup you will have to choose in the dropdown menu the product group for which you want to create the subgroup and then click on the “+” button.
As new window opens fill in the name field with the name of the new subgroup. Click on the Save button will save your entry.
Editing or deleting data for subgroups is identical as for Products groups.
Products
Here you can define your products, materials as well as gifts and publications related to the products. Click on Products in main menu and choose submenu Products, new screen like the one below will appear.
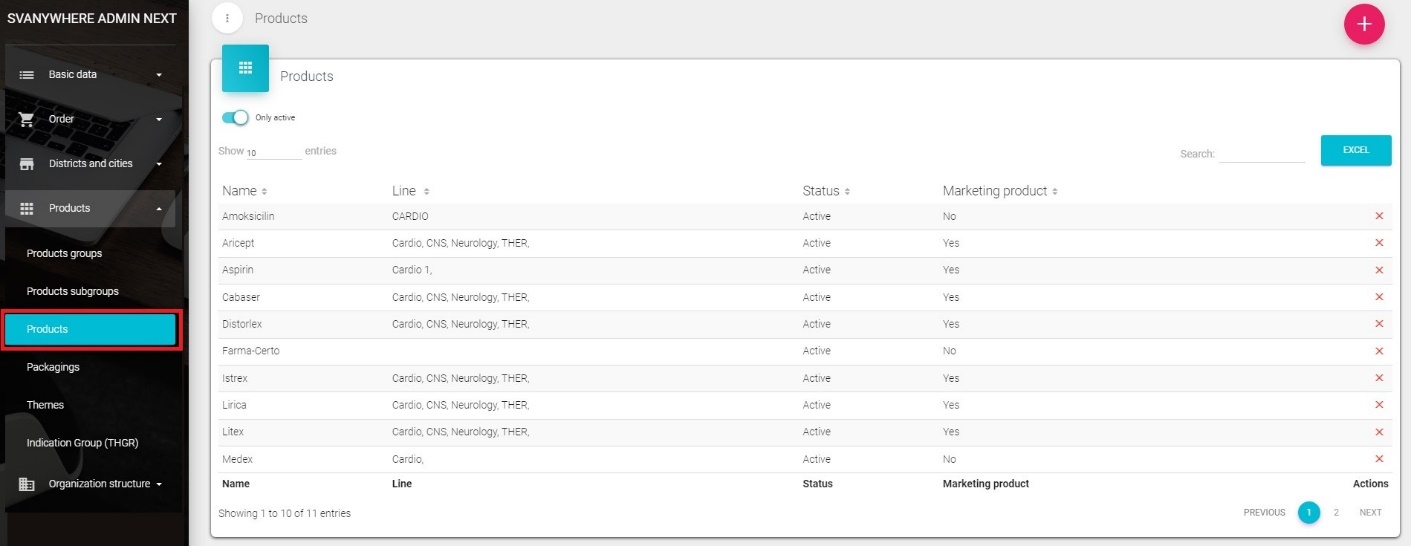
On the screen are listed products per pages. We can also use search to find the product we want and select between 10, 25, 50 or all entries to be listed. More entries we choose to be listed longer it takes to load the webpage.
Adding, changing and deleting products
If you would like to add a new product go to the Products under Products submenu in the admin application. Click on the “+” button.
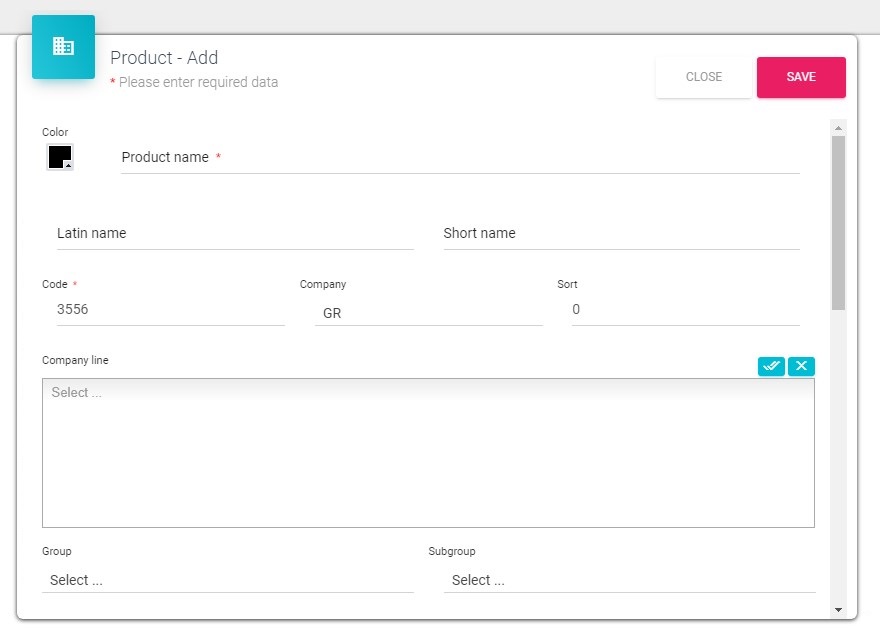
Adding and changing products will result in opening a window like the one below. It is necessary to fill the data in this window. Products name– enter in the field product name Color– you can also choose the color of the new product Latin name – write down name in latin. Short name – short name of product Code– Enter the code in the code field Company – you can choose the company from the dropdown list Marketing product – has to be active if you want the product to be visible in representatives database. If not, product will be visible only in central database (not for promotion) Interesting – if active, product will be visible in database and active Company line – select to which product line product belongs to in a way to click on the text field and write down the line you want to select. Group/Subgroup – You can also select group of products or subgroup to which product belongs or indication groups according to IMS or created by you.
By clicking on Save you will save the information, and click on Close will exit the window without saving.
Packagings
Adding, changing and deleting packages
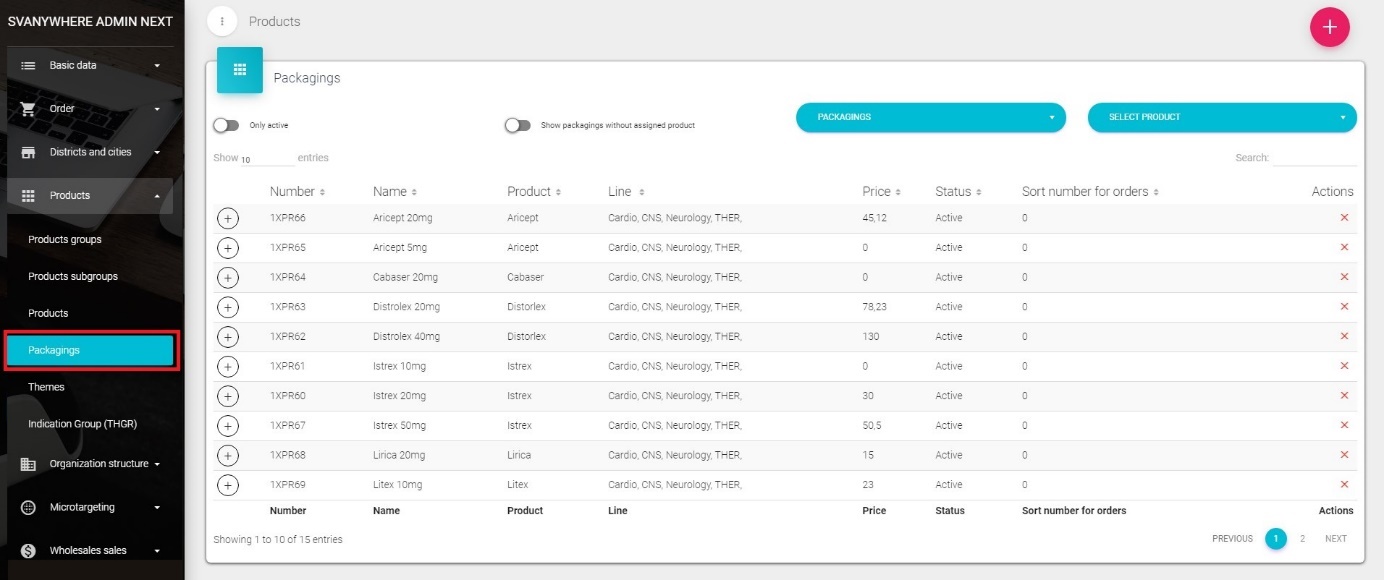
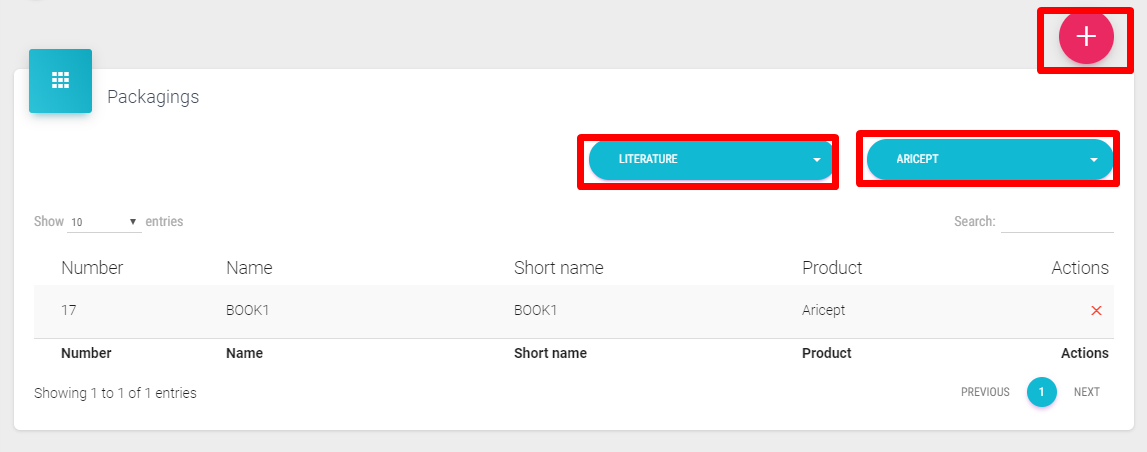
If you would like to add new package go to the Packagings under Products submenu. Next, under the first dropdown list select Packagings and in the second dropdown list the product for which you want create packaging and then click on the “+” button.
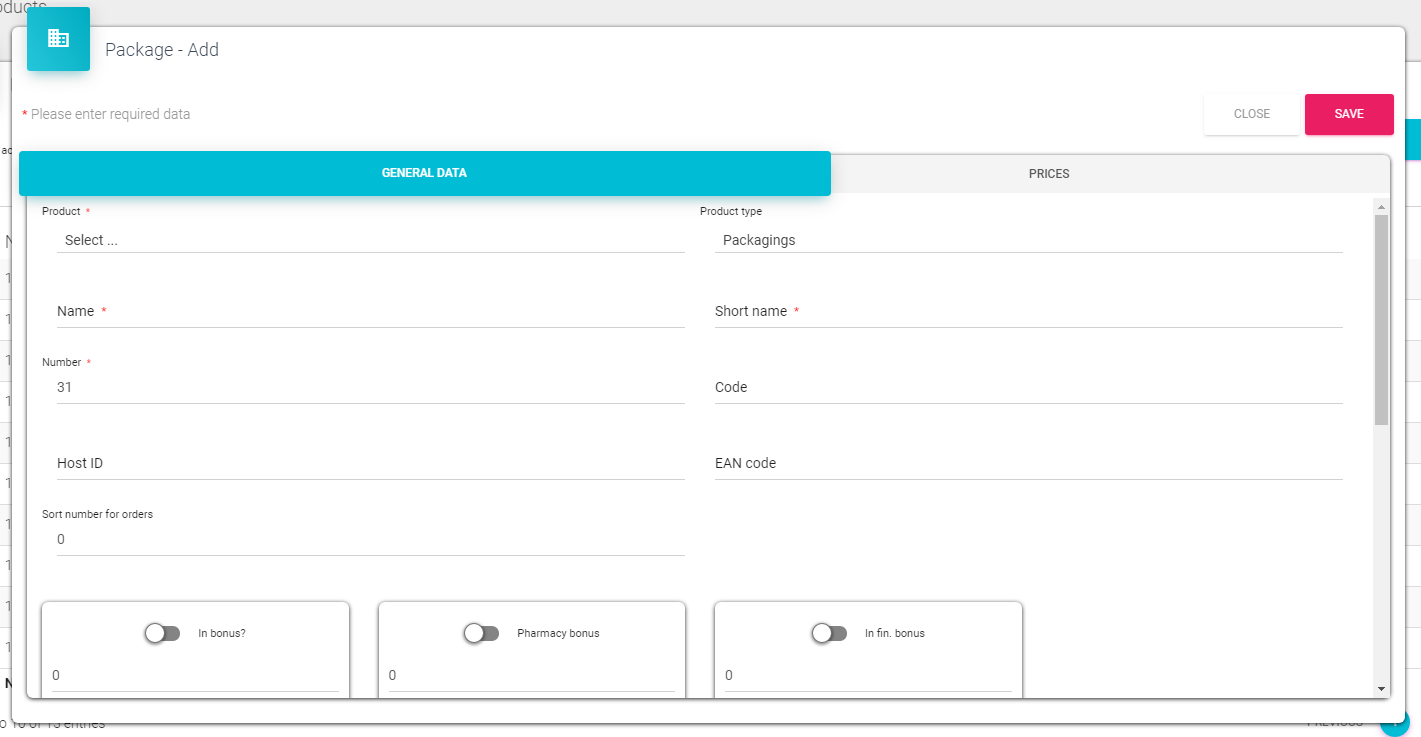
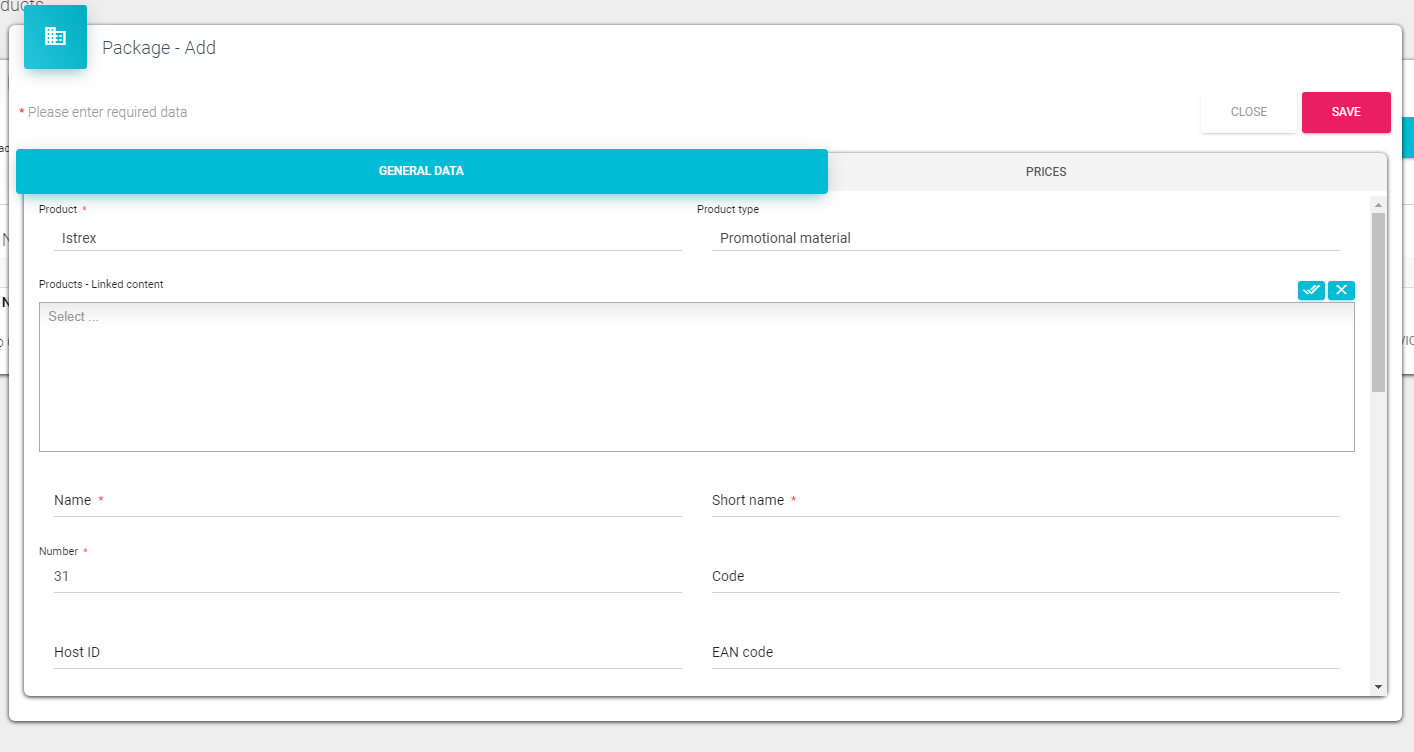
Next it opens the window (figure on the next page) where you enter all necessary informations for the packaging. From the drop - down menu, select desired product, in the Name field type in the name of the new packaging. While in the field Short name you can enter a short name for the product and enter the package code. If there is a bonus for package you can enter this information in the bonus fields by entering percentage and set to active/unactive using switch button. It is the same for pharmacy and the financial bonus No. of samples - you can define how many samples you can give in the Year, per Visit. Notify – you write down how many days before expiration of samples you want to be notified. By clicking on Save button you will save the entry, and by clicking on Cancel you will exit without saving.
To change the package, simply click on the package and the same window will open as when adding the new one. Changing the packages can be done in a same way as well as the entry of a new package. To delete package you simply click on the “X” button right next to package.
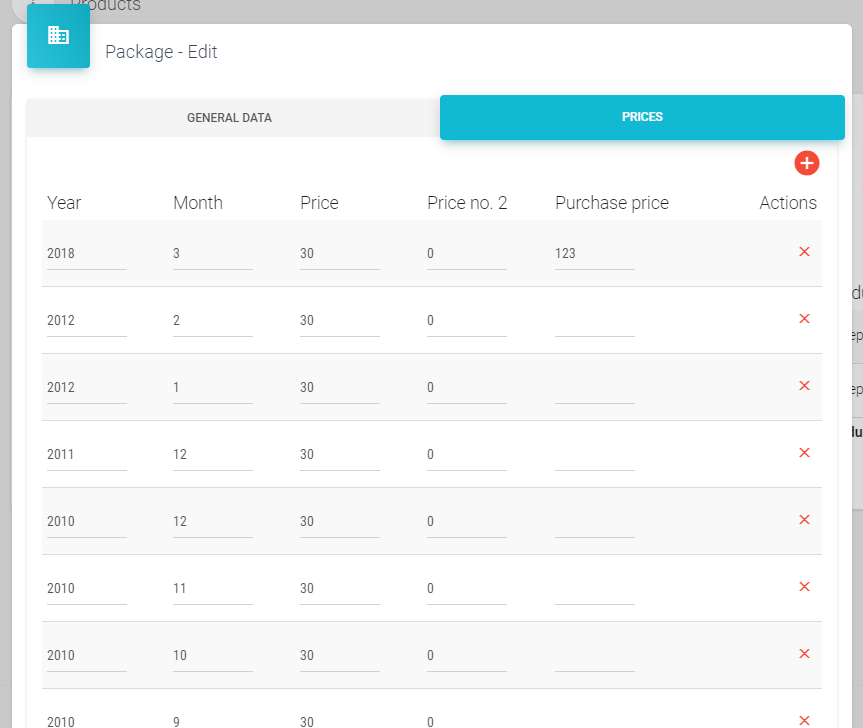
In the tab Prices, you can see the prices for each month and define them. More about the entry price is discussed in chapter 7.7.
Adding, changing and deleting samples
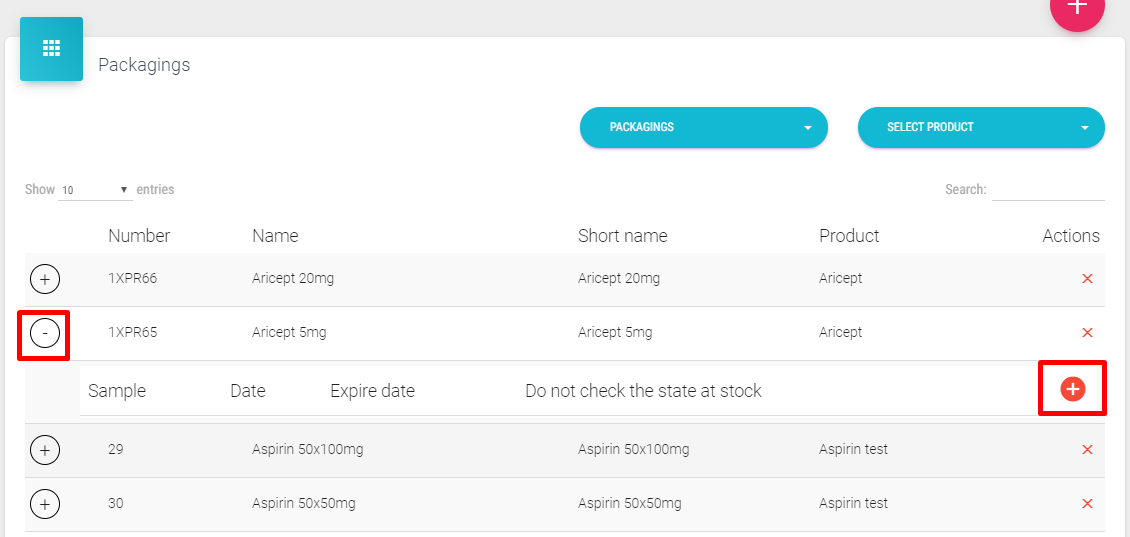
If you would like to add new, change or delete sample, you have to click on the “+” button left of the packaging. Then small menu is opened where on the right side we click on the red “+” button.
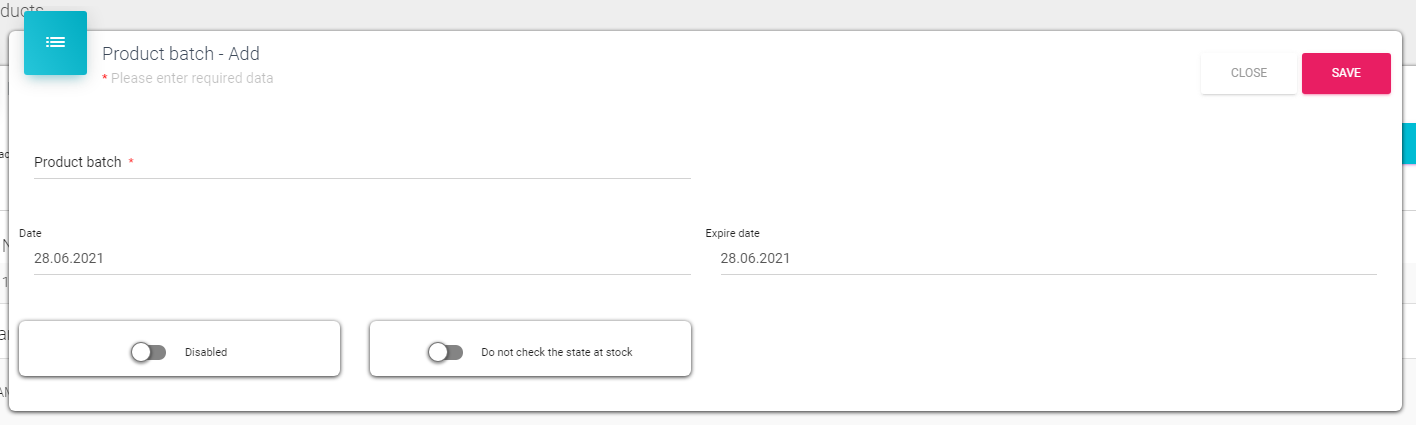
Next, the following window is open where we enter name of the sample, define start and expiration date, enable or disable sample using switch button and the same for “Do not chec the state at stock” and at last we save the sample by clicking on the Save button.
Editing and deleting is the same as with packagings.
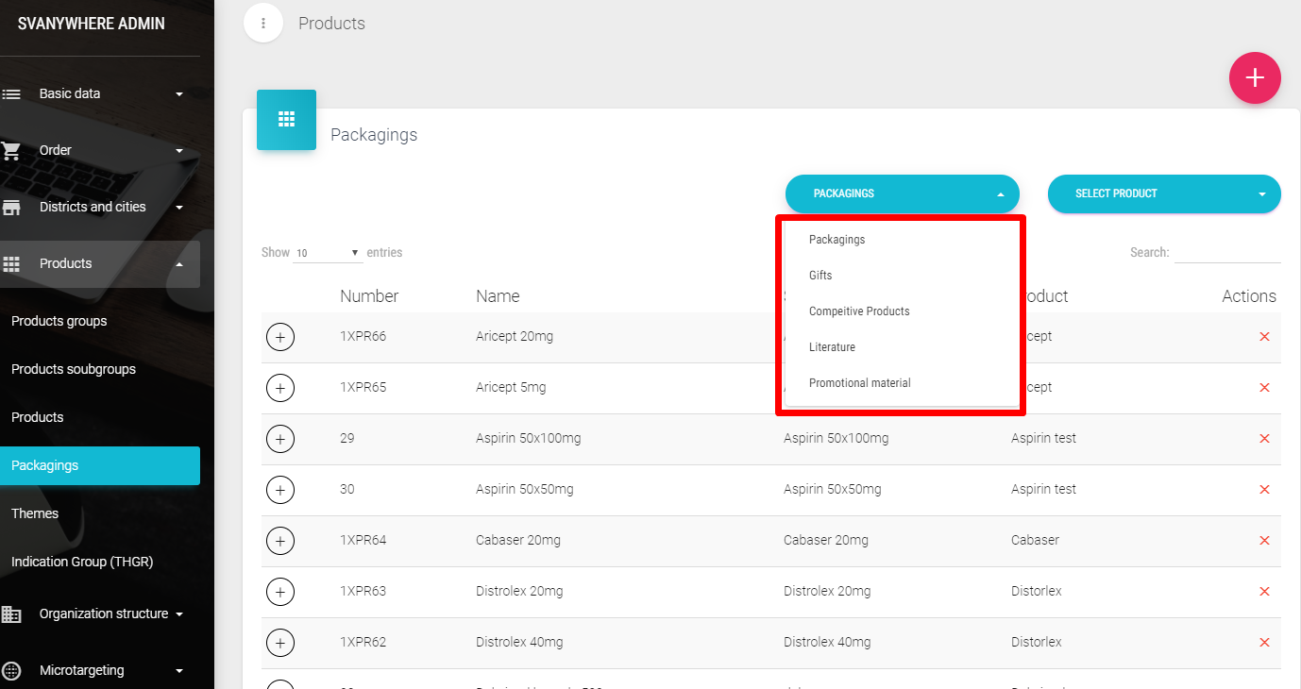
Other information regarding products
In this window in dropdown list several other menus for product (besides packaging) are available – Gifts, Competitive Products, Literature and Promotional materials.
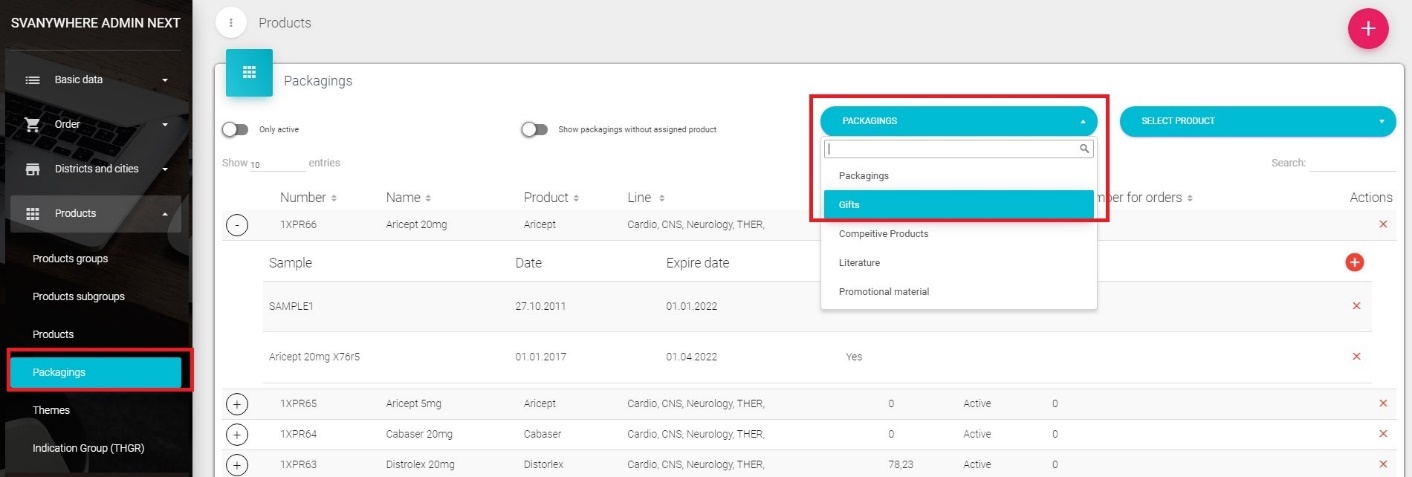
Gifts
If you want to add a gift, select gift in the first dropdown list and in the second one the product for which will be created sample. After that just click on “+” button to add new.
This will result in opening a new window shape.
Select the product from the dropdown menu if is not already selected; fill out the Name field and short name field. In the field Code type code for gifts. Define bonus if there is a bonus for the gift, and enter the percentage of bonus in the Bonus field, the same is for the Pharmacy bonus and In financial bonus. Enter the tax for the gift in the VAT field.

Status – is the current status of that record (Active/Unactive). By clicking on Save you will save the entries, and click on Cancel will exit without saving. For changing data for the gifts you just have to click on the gift. Same window will open as for the entry of new gifts. If you want to delete any gift, just click on the “X” button next to the listed gift. In the tab Prices, you can see the prices for each month and define them. More about the entry price is discussed in chapter 7.7
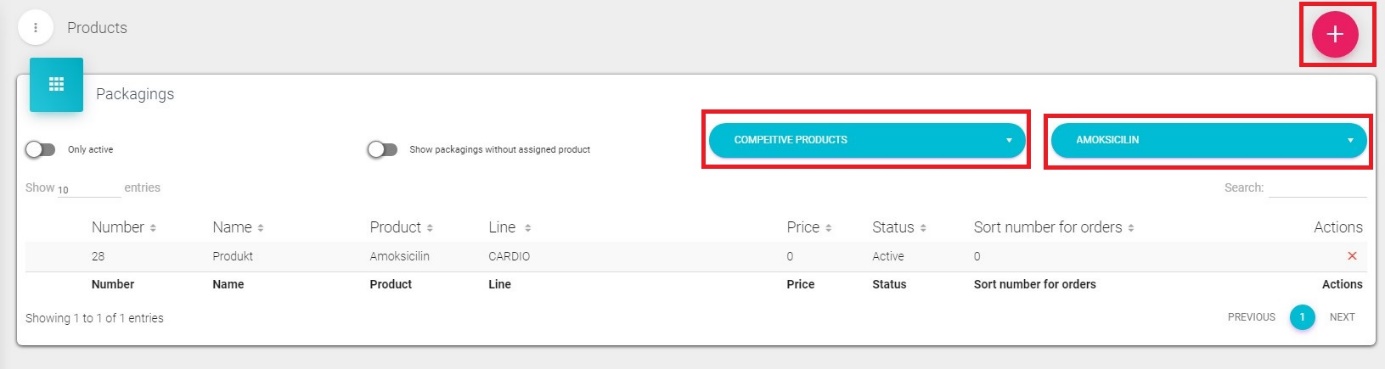
Competitive products
If you want to add a competitive product, select competitive products in the first dropdown list and in the second one the product for which will be created record. After that just click on “+” button to add new.
This will result in opening a new window shape.
Select the product from the dropdown menu if is not already selected; fill out the Name field and short name field. In the field Code type code for competitive products. Define bonus if there is a bonus for the competitive product, and enter the percentage of bonus in the Bonus field, the same is for the Pharmacy bonus and In financial bonus.
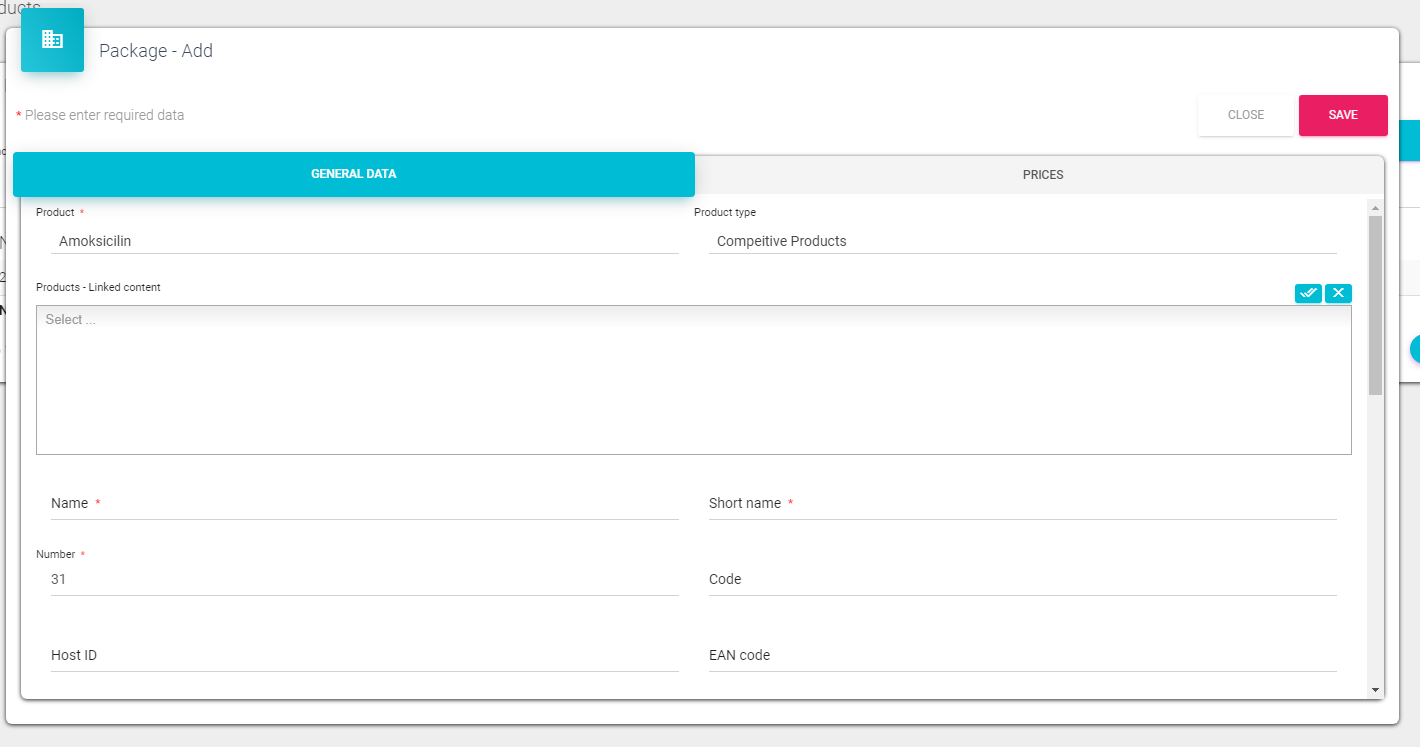
Status – is the current status of that record (Active/Unactive). By clicking on Save you will save the entries, and click on Cancel will exit without saving. For changing data for the competitive product you just have to click on the product record. Same window will open as for the entry of new competitive product. If you want to delete any record, just click on the “X” button next to the listed record. In the tab Prices, you can see the prices for each month and define them. More about the entry price is discussed in chapter 7.7
Literature
If you want to add a literature, select Literature in the first dropdown list and in the second one the product for which will be created record. After that just click on “+” button to add new. This will result in opening a new window shape.

Select the product from the dropdown menu if is not already selected; fill out the Name field and short name field. In the field Code type code for literature. Define bonus if there is a bonus for the literature, and enter the percentage of bonus in the Bonus field, the same is for the Pharmacy bonus and In financial bonus. Status – is the current status of that record (Active/Unactive). By clicking on Save you will save the entries, and click on Cancel will exit without saving. For changing data for the literature you just have to click on the product record. Same window will open as for the entry of new literature. If you want to delete any record, just click on the “X” button next to the listed record.In the tab Prices, you can see the prices for each month and define them. More about the entry price is discussed in chapter 7.7
Promotion materials
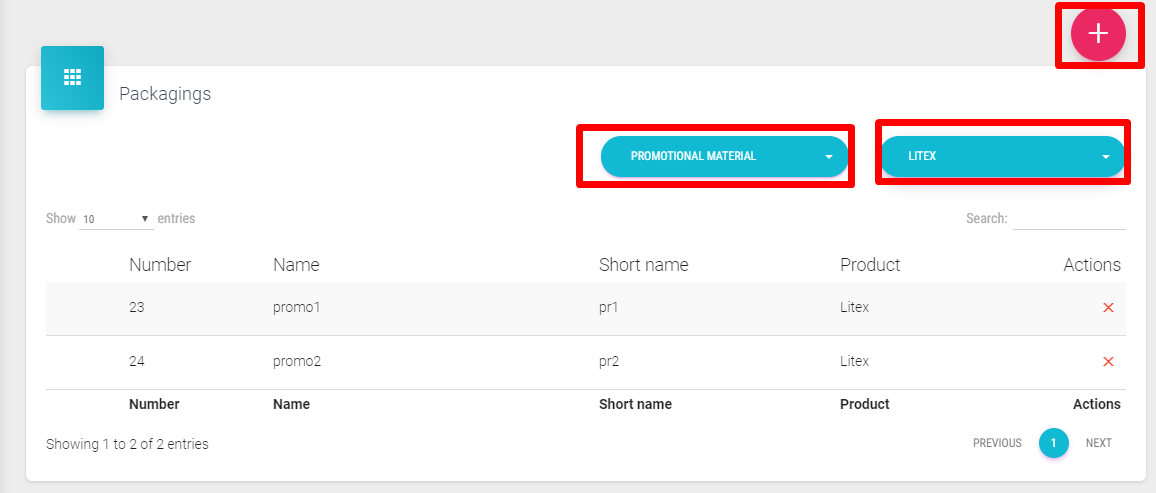
If you want to add a promotion material, select Promotional material in the first dropdown list and in the second one the product for which will be created record. After that just click on “+” button to add new.This will result in opening a new window shape.
Select the product from the dropdown menu if is not already selected; fill out the Name field and short name field. In the field Code type code for promotional materials. Define bonus if there is a bonus for the promotional materials, and enter the percentage of bonus in the Bonus field, the same is for the Pharmacy bonus and In financial bonus. Status – is the current status of that record (Active/Unactive). By clicking on Save you will save the entries, and click on Cancel will exit without saving. For changing data for the promotional material you just click on the product record. Same window will open as for the entry of new promotional materials. If you want to delete any record, just click on the “X” button next to the listed record. In the tab Prices, you can see the prices for each month and define them. More about the entry price is discussed in chapter 7.7
Adoption ladder
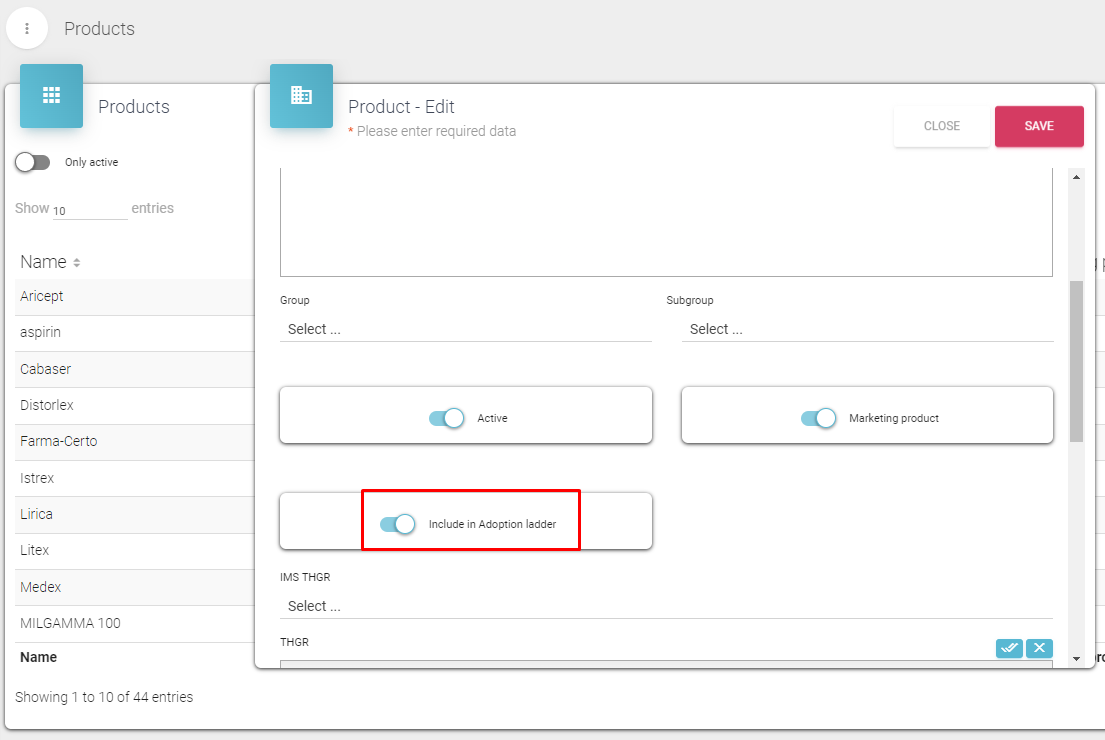
There is anew option under the Prodcut from called “Include in Adoption ladder” where the Admin can define which products should appear on a new “Adoption ledder from”. This checkbox should be visible only when the program option “Adoption ladder” is enabled.
Themes
If you want to add some info under specific product (theme info) it can be done under Themes. You have to select the product in the dropdown list and then you press the “+” button.
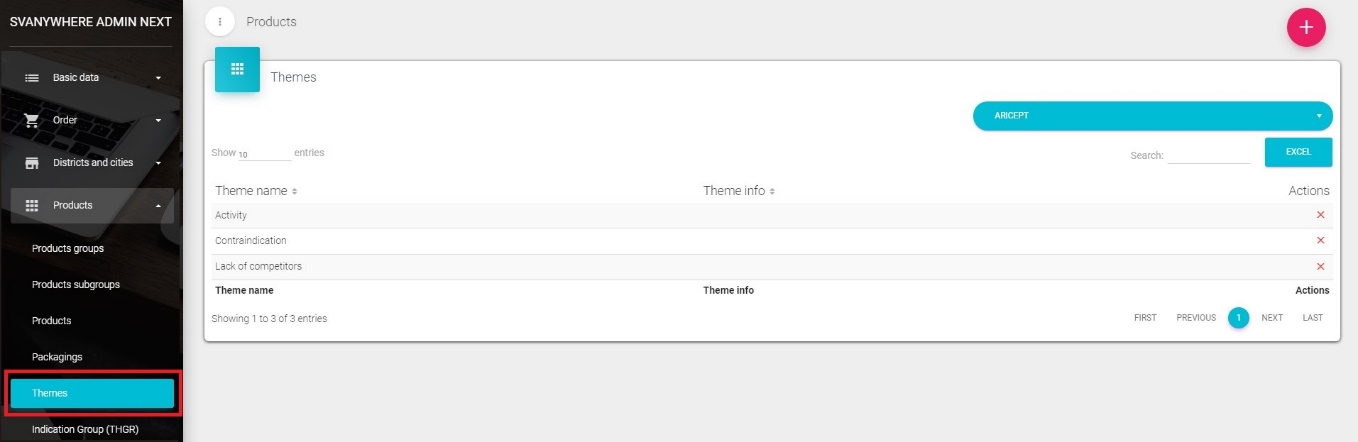
A new window will open. Product is selected via drop - down menu. Under it we must define theme name (mandatory field). Theme info is the part which will be shown under theme for joined product. After we are done it is necessary to confirm new theme by pressing the Save button. Editing and deleting record is the same as described in the chapters before.

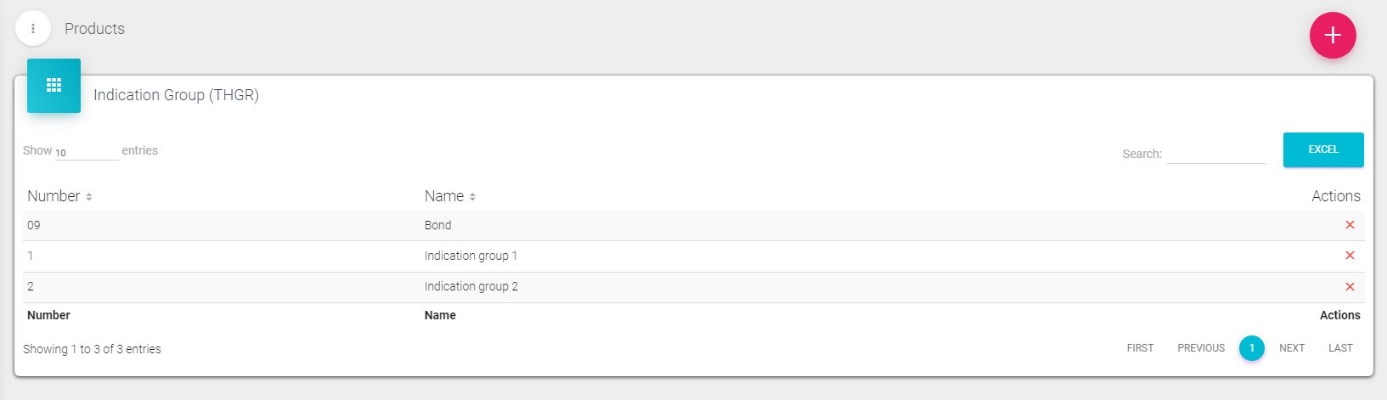
Indication group (THGR)
Here you can define your indication group. Click on Products in main menu and choose submenu Indication group (THGR), new screen like the one below will appear.
Adding, changing and deleting indication group (THGR)
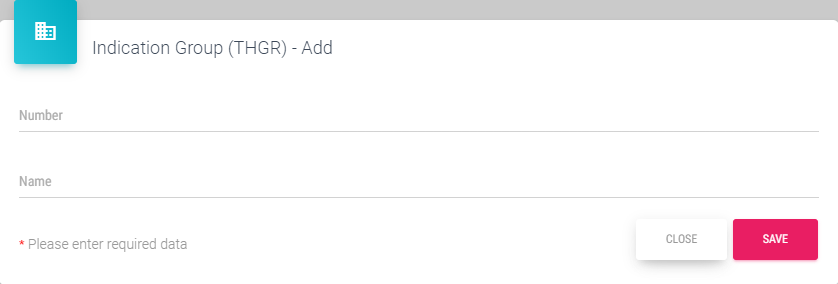
If you want to add new indication group simply click on the “+” button.
Adding and changing packets will result in opening a window like this below. Deleting indication group and editing is the same as explained previously (e.g. Countries)