Organization structure
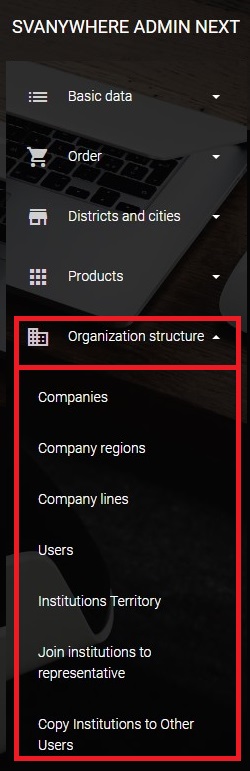
Organization structure module gives you a possibility to deal with users, product lines, territories, joining data to sales reps and so on.
Companies
In this part, you can add as many as companies you want which are important for you (e.g. Competition), regarding to track some information. To open Companies module, click on Organization structure on main menu and then choose Companies.
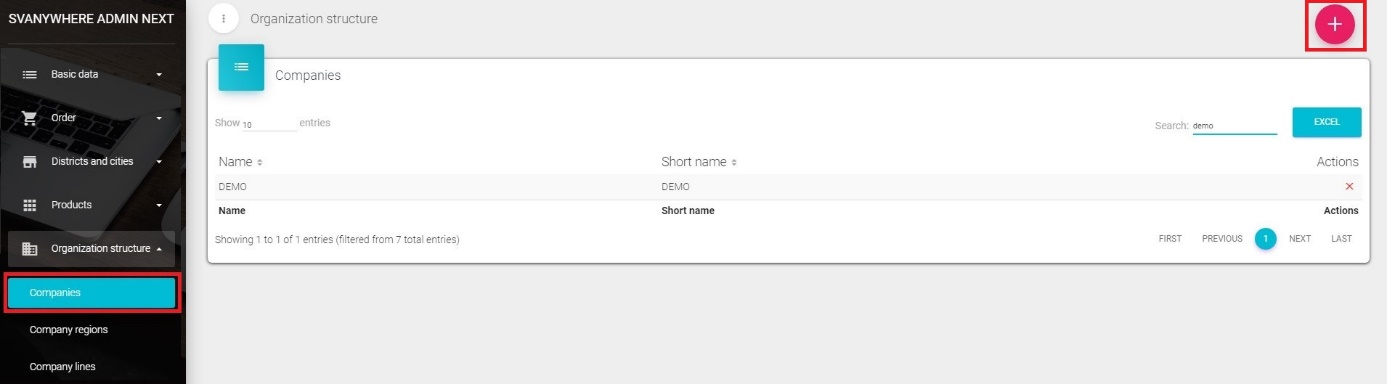
If you want to add a new company, click on the “+” button. A New window will appear.
Field Name – enter the name of company. Field Short name – enter the short name for company Currency – choose correct currency (not obligatory) Language – choose correct language (not obligatory) City – you have to click on (…) button, new window will open with Districts and Cities where you can choose a city. Enter name of the street, phone number, GSM, Fax and E – mail. Logo – select an image for a logo (up to 100x50px) Click on Save to save entry or Close to discard changes. If you want to change any of the data, just click on a listed company you want to change. Window that will open is the same as for the entry of new company. To delete the record, click on the “X” button right next to the listed company record.
Company regions
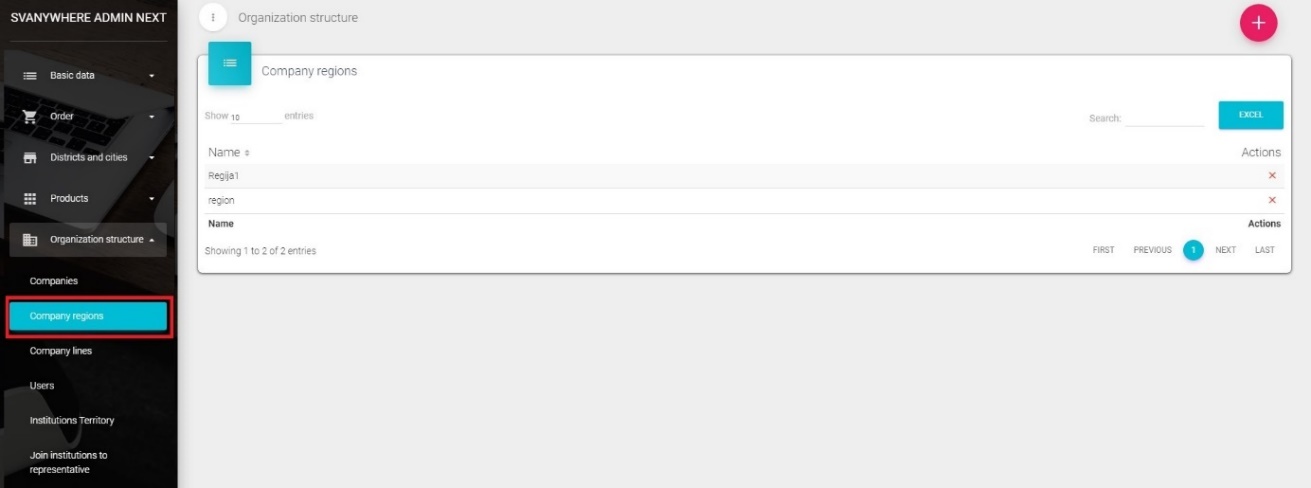
In company regions you can add regions by clicking on “+” button.

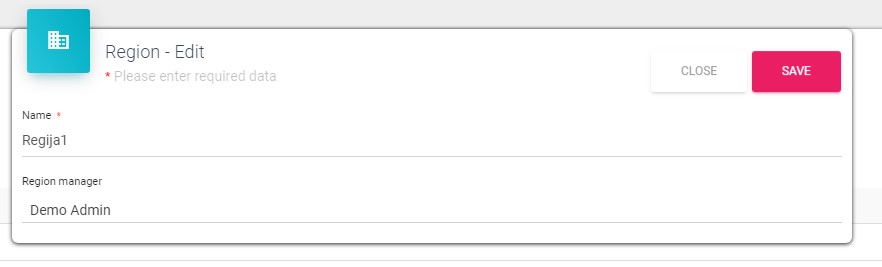
To edit region click on region than change Name or Region manager and save.
You can delete region by clicking on “X” on the right side.
Company lines
This module is designed to manage company lines. To open, click on Organization structure on the main menu and choose Company lines.
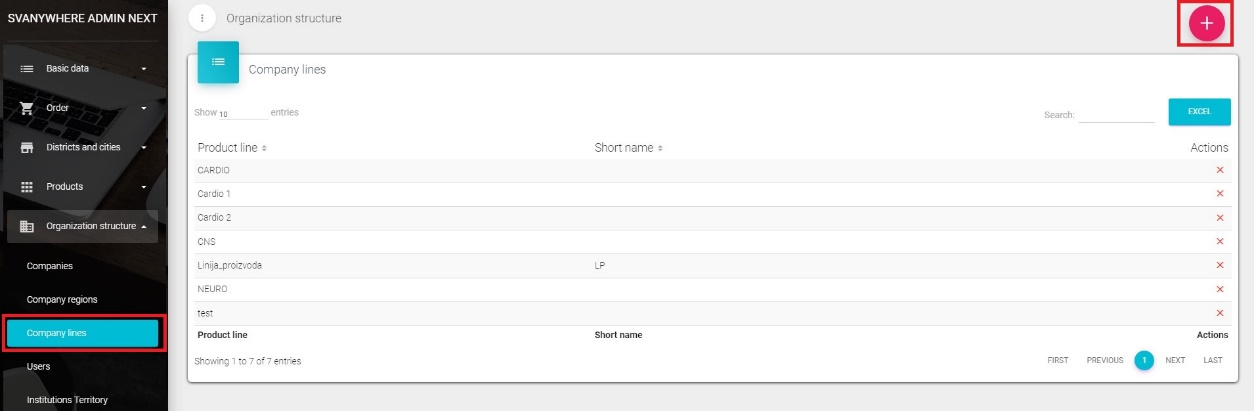
To add new product lines, click on the “+” button, a new window will open
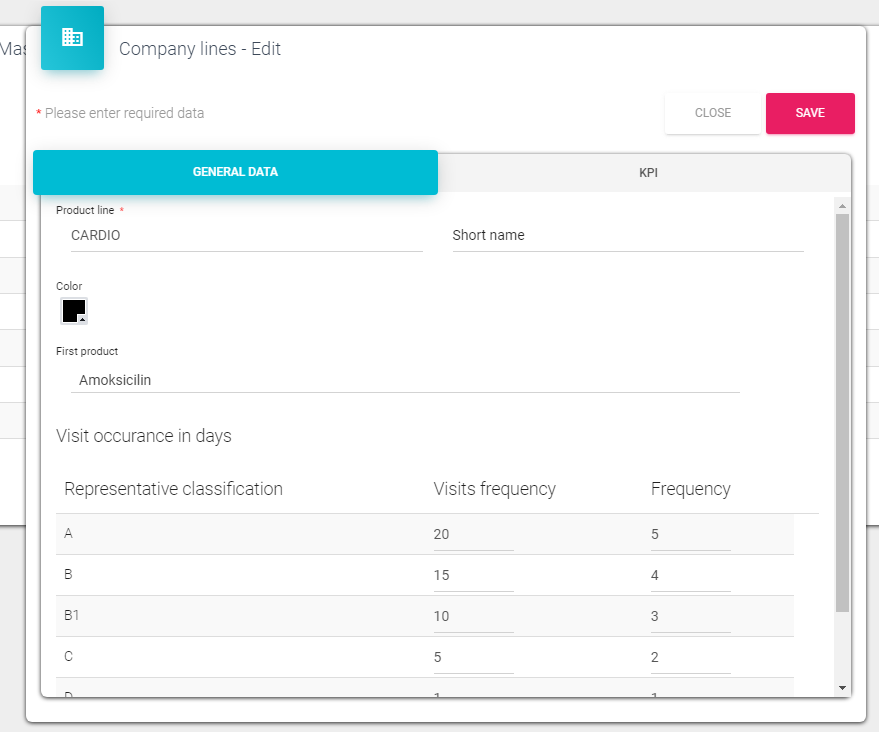
Product line – enter the name for product line Short name – enter short name for current company line Color– you can assign a different color for each company line First product– you can choose the most important product for current company line. When you click Save button, data will be saved. Otherwise, if you click Cancel button, you will quit the form without saving any data.
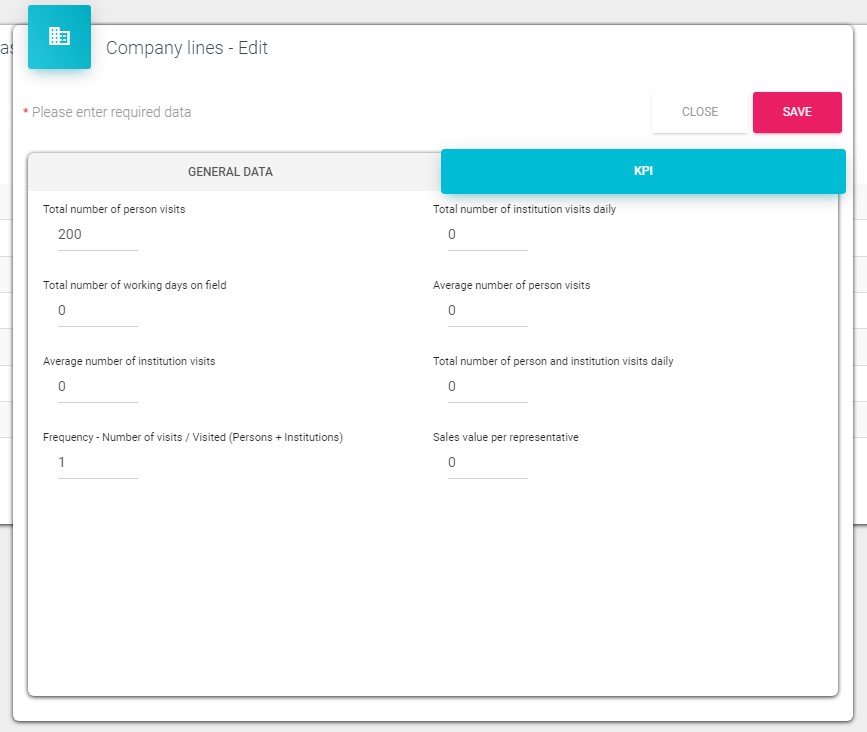
Second tab in this windows is the KPI where we define data which are then used to show analysis in the dashboard KPI.
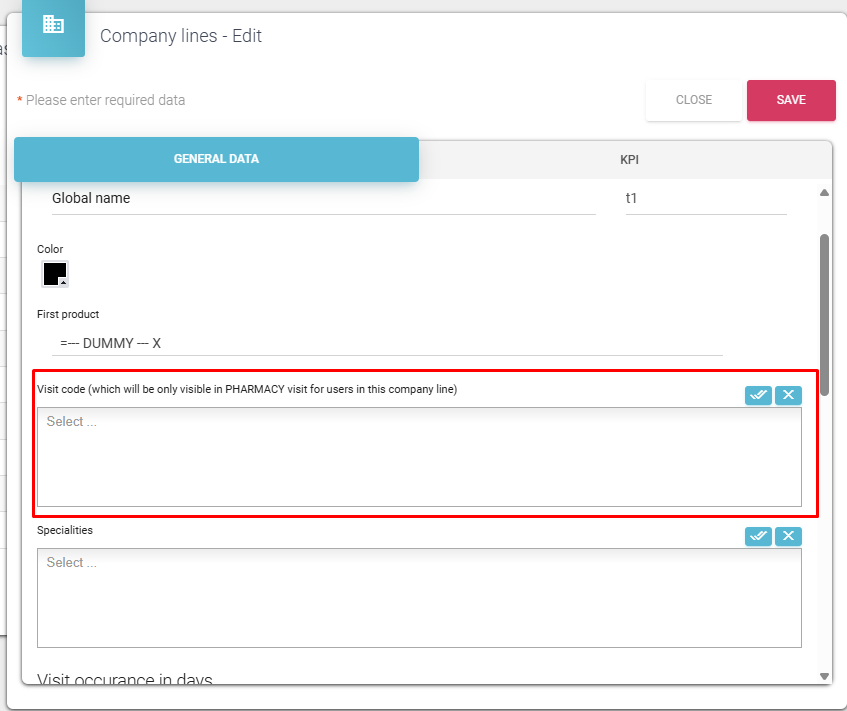
Defining visit codes for PHARMACY visit
Under each of the company lines, you can select which visit codes will be available for selection during a visit to a pharmacy. If the list is left empty, all of the visit codes in the system will be available for selection during pharmacy visit. If the list has only certain visit codes selected, only those will be available for selection during pharmacy visit.
Users
To add new user simply click on the Users in the left submenu of Organization structure and click on the “+” button. Here you can see and manage all users.
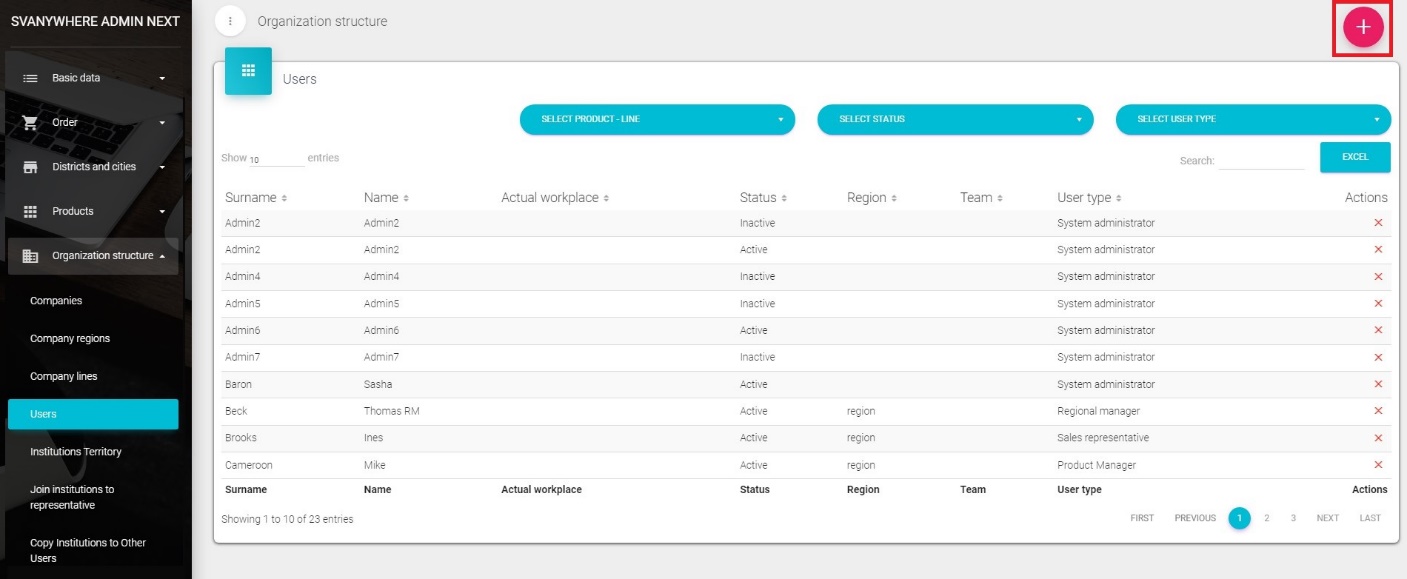
In the dropdown list you can filter users by user type (explained on the following page) you want to see (e.g. System administrator, Headquarter user, …).

Adding a new user
To add a new user we click on the “+” button. New window will open.
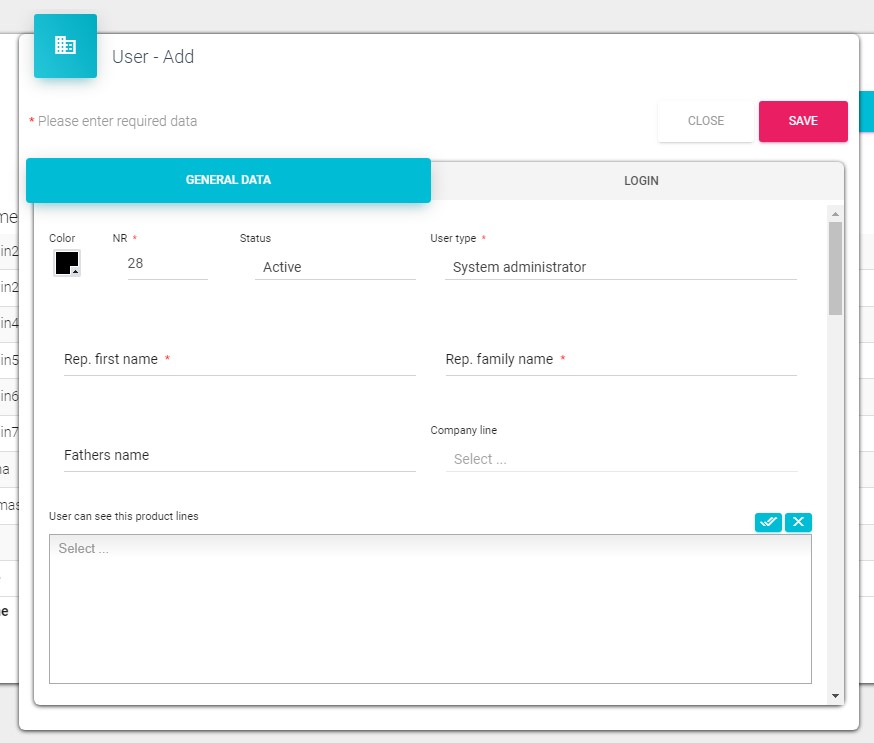
Field NR – leave it as it is. It is a number of users. User type – choose a type of user Types of user are defined by program and cannot be changed. It is about users rights in the system and type of connection to database (office user – direct connection to the database, or remote user – need to make synchronization with main database). User types: System administrator – system administrator, all rights Sales Representative – remote user Headquarter user – central user (office) with big rights Regional manager–remote user (could have assigned Sales reps) Product manager – central user for company line Enter the name and surname for user and choose company and region from dropdown menus. Choose product line which this user belongs to and assign users product lines (which product user should see). User status is automatically set as Active. Only in this situation user can use Sales Vision. To save data, click on Save, to discard changes click on Cancel.
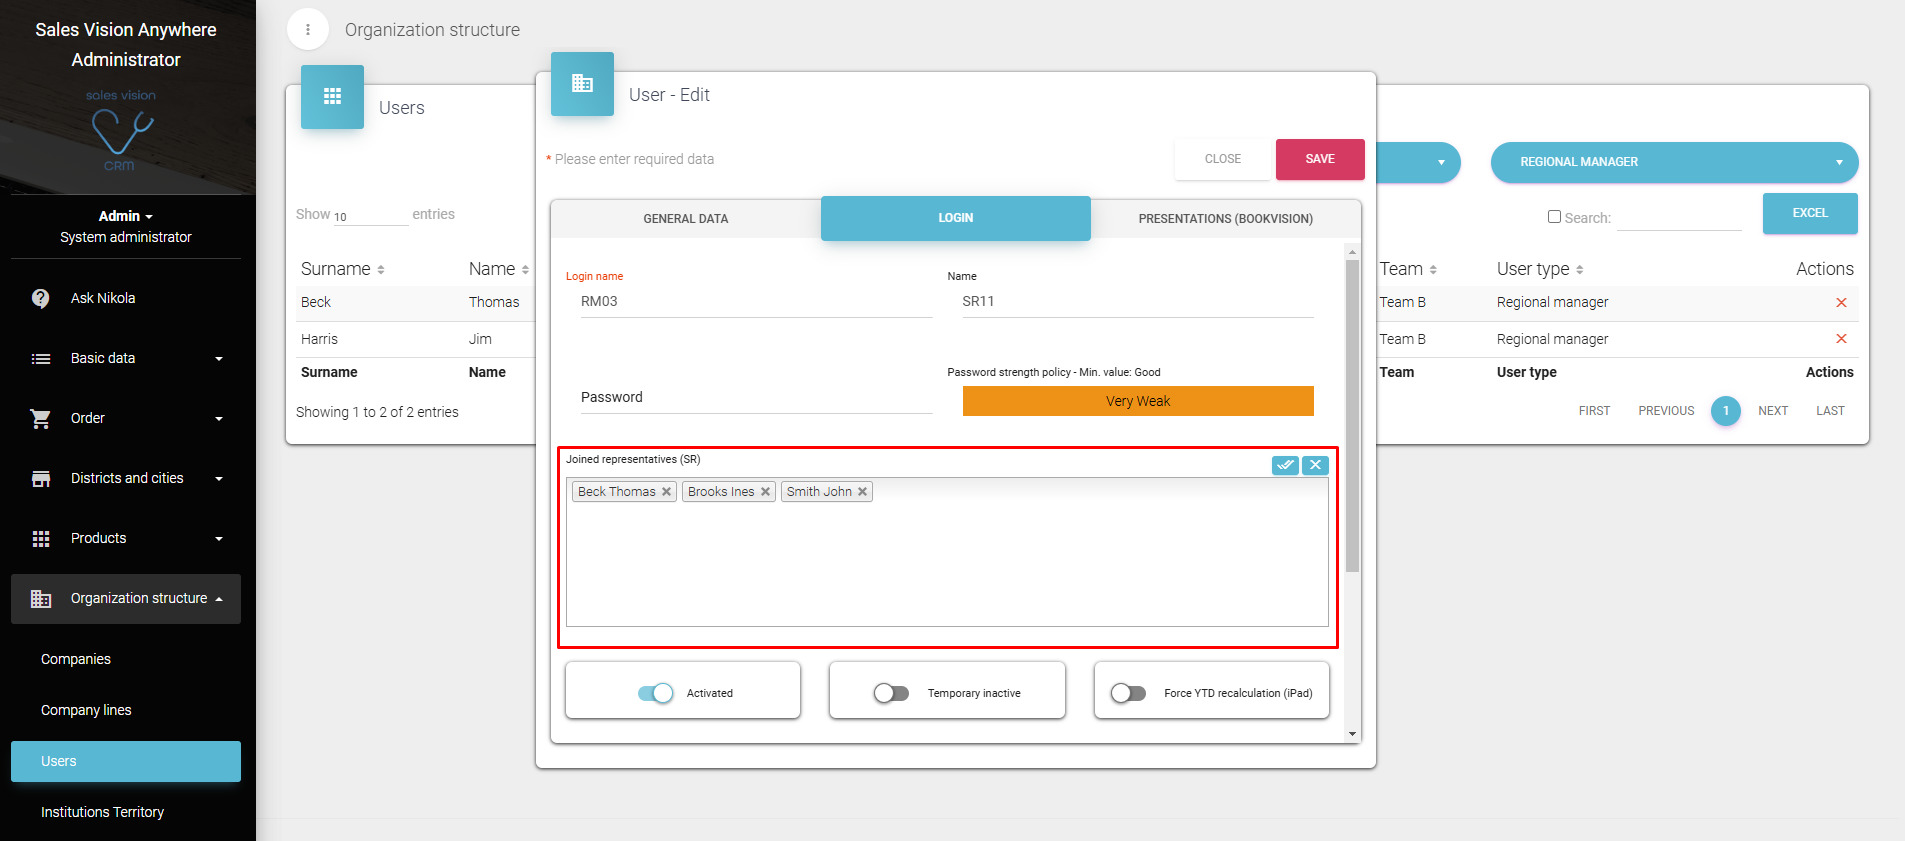
To change data for some user, you can click on that user and same form will open. In the second tab Login is where you add user Name and Password which are later used for login in Sales Vision.
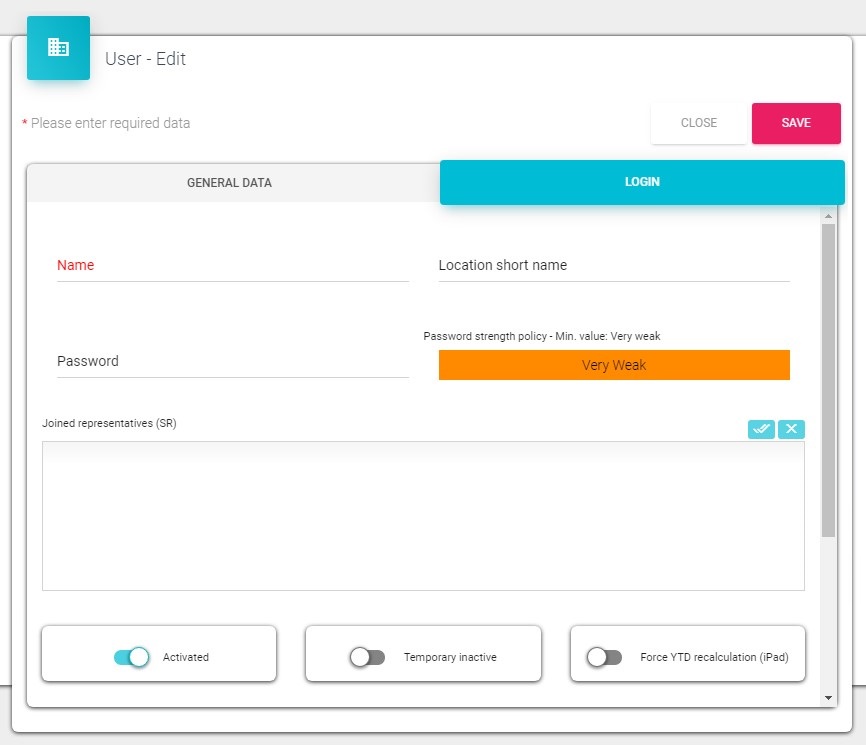
Joined representatives – is where you can join other representatives which can this user see (e.g. Regional Manager).
While adding a new or user or editing it, you can set up official e-mail for that user. Setting up official e-mail means that you can receive system notifications via e-mail, if you are an administrator, or if you’re a sales representative, you can receive scheduled reports to your e-mail address. Also, it’s possible to set up multiple official e-mails, all you have to do is separate them with semi-colon “;”, for example support@media-soft.info;info@media-soft.info.

Changing the official e-mail address of a user can be done only in the admin application. To do so, navigate to the Admin application Organizaton structure Users select a user on the list under “General data” tab scroll down to “Official e-mail” field and update official e-mail address.
Assigning an SR user to the RM
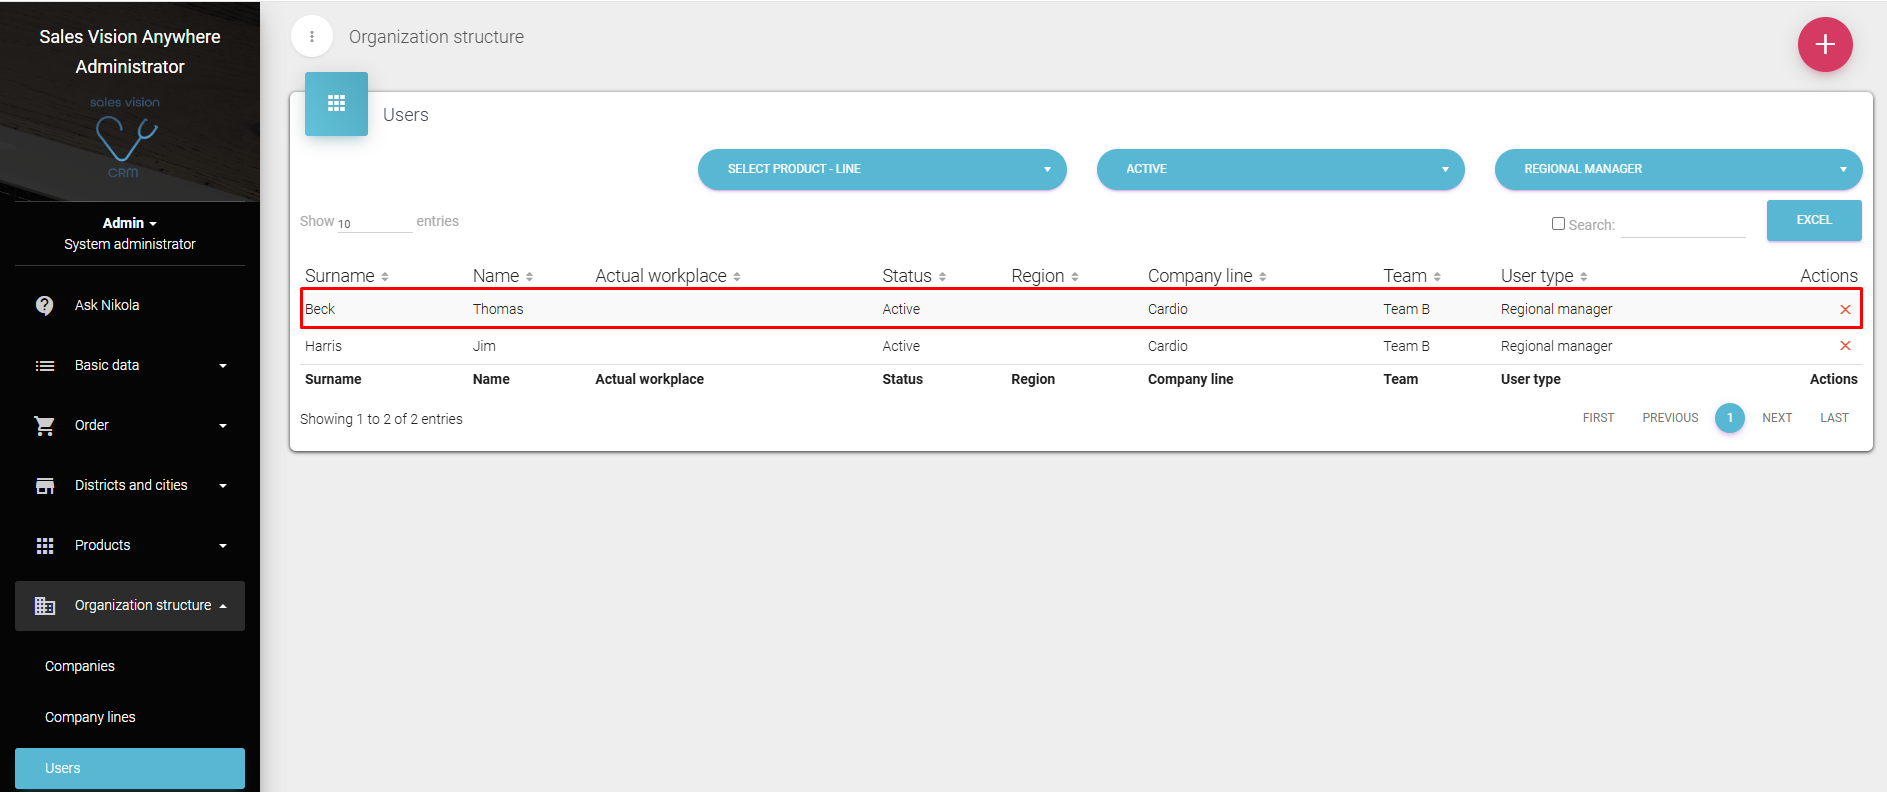
In the admin application go to Organization structure Users Find Active Regional Manager on the list and click on them “Login” tab under Joined representatives assign an SR that has to be visible to the RM.
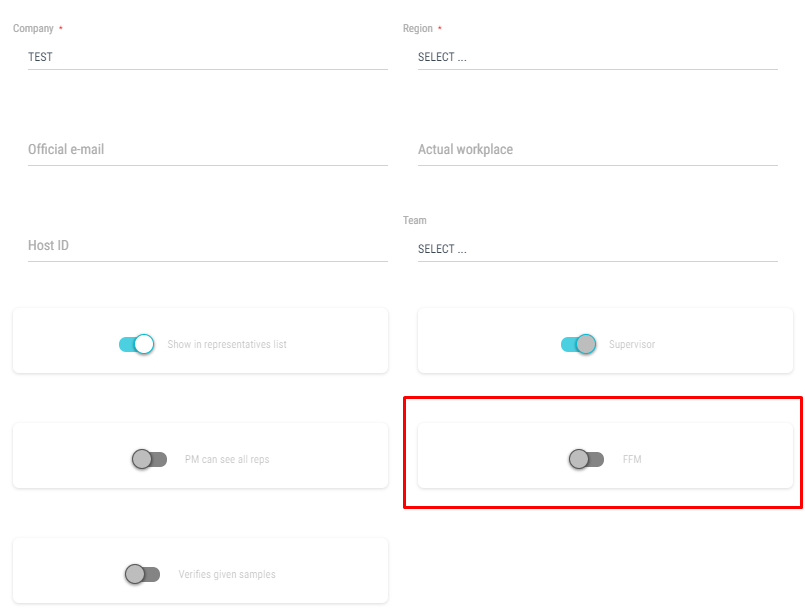
FFM user
One of the user types in Sales Vision is FFM user. FFM user is actually a Regional manager, but has more options than the “regular” regional manager. He, as a FFM, can see, not only all sales representative joined to him, but also all regional managers beneath him.To mark a user as a FFM user, in Users card set to active switch on FFM in the lower right part of the window.
Institution territory

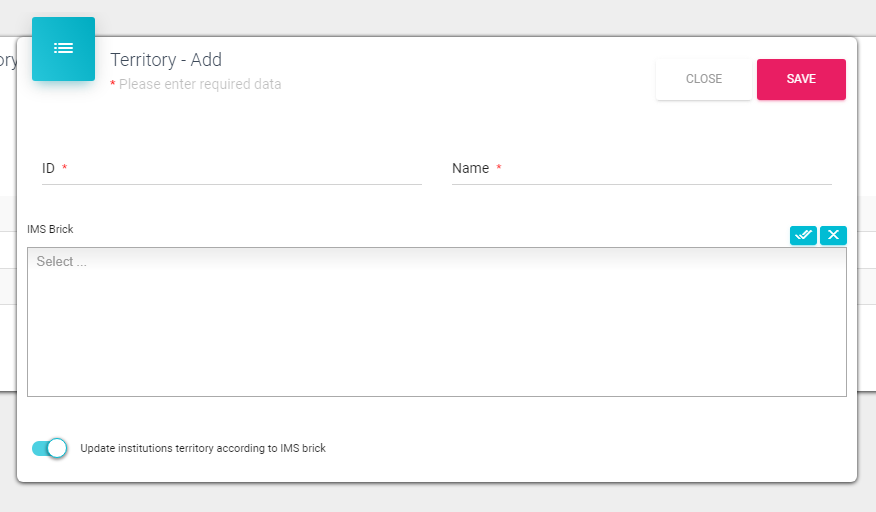
If you want to join couple of institutions in one territory (unit) and join this territory to sales rep after that, this is a good place. Creating territory and joining institution to them, later you will have much easier way to join institutions to sales rep. To enter in module, click on Organization structure on main menu and then click on Institutions Territory. New window will appear. Here you can define names for territories. To create new territory, click on the “+” button and new window will appear.
Enter ID and name for territory. Click on Save to save territory or Close to quit the form without saving. If you want to change existing data, just click on one of the listed territories and the same window will appear as when adding the new one. To delete institution territory just click on the “X” button right next to the listed record.
Join institutions to representatives
In this module you can define for each representative which institution should be in their database (which institution he/her should visit). To join institution to sales rep, click on Organization structure on main menu and then click on Join institutions to representatives.
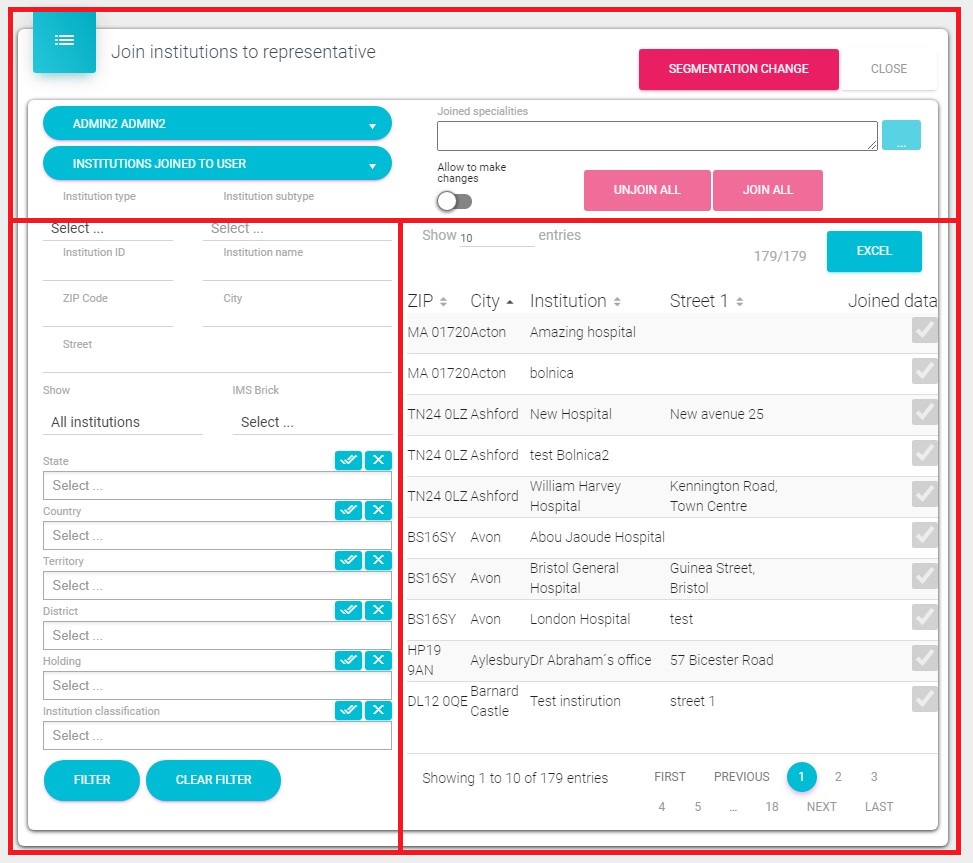
New window will appear:
Upper side of window When you want to join institution to sales rep, first you need to choose representative in Select joined user drop - down list. In second dropdown list you can filter All institutions(show all institutions in database), Institutions joined to user (show only institutions which are joined to a select user), Institutions not joined to user (show only institutions which are not joined to selected user), Not joined institutions (shows only institutions which are not joined to any user), Institutions not joined in user line(show only institutions which are not joined in users line). Segmentation Change – after all changes you need to run this button to confirm. Close .- to close the window. Join all – join all institutions from the list to selected user Unjoin all – unjoin all instituions from the list to selected user Joined specialties – here you can assign which specialties selected user should see in his/hers database.
Also on the top of this window you will find one switch button. ACTIVE - Allows to make changes – you can make changes in lists INACTIVE - Not allowed to make changes – changes are not allowed. By default switch is set to INACTIVE, Not allowed to make changes. So, if you want to make some changes, you need to click on this switch button to Allow it to make changes. Left side of window Use filter buttons (State, Country, Territory…) to decrease the list of institutions. Under filter, you can find buttons: Clear filter – clear all conditions in filter Filter – click on it to run filter Show - Just active institutions – shows only active institutions Show - All institutions – shows all institutions
Right side of window On the right side of window is the list of institutions. On the right side of each institution is a checkbox to select or deselect institution for this user.
Filter specialties will work only if Show only active persons option is activated in system options.
In this module you don’t have the possibility to click on Save button. It’s enough to click Close button. All data are automatically saved when you make some changes. To assign institution to sales rep, besides pressing Join ALL button, you can select manually institution to check the checkbox of institution. After change in this module, it is obligatory to run Segmentation Change to send this data correctly to remote users.
Copy institutions to other user
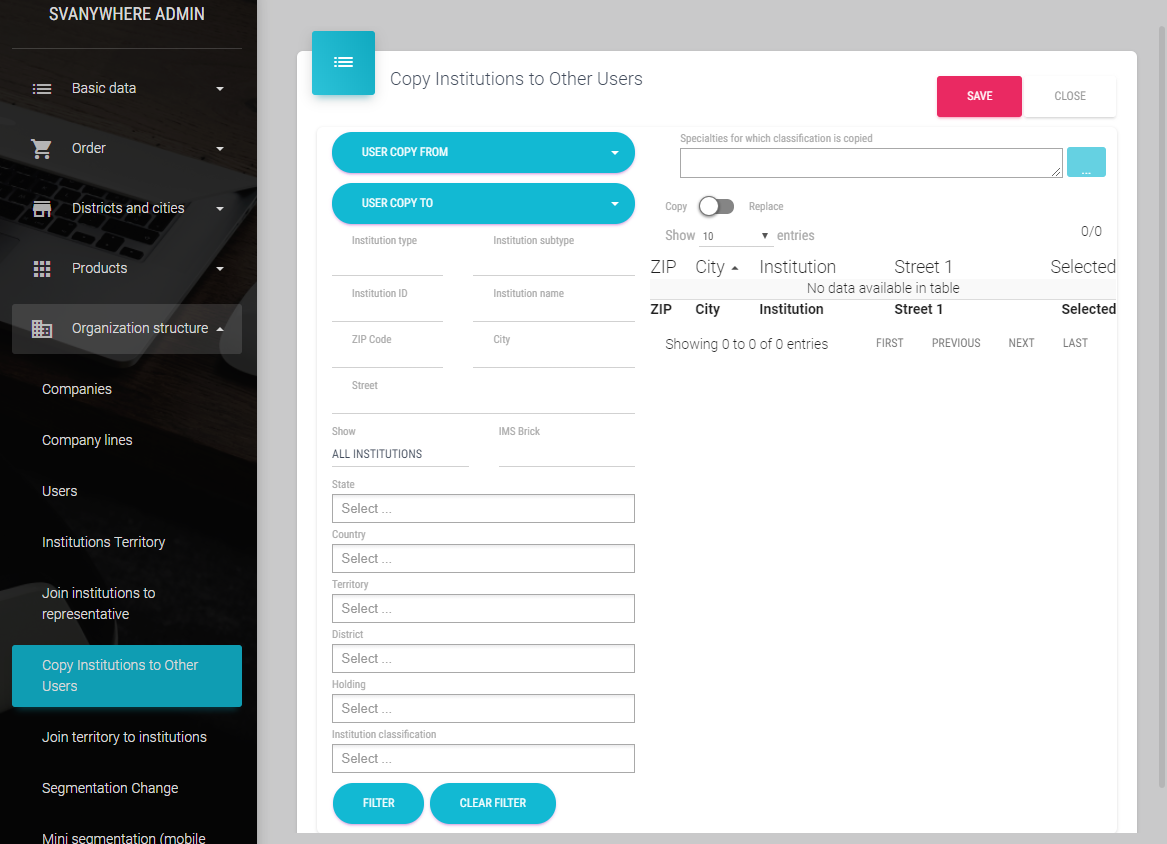
To copy institutions to other user, we have to click on Copy institutions to other users in the Organization structure submenu. Following window will open:
In the first dropdown list we select user from which we want to copy and in the second dropdown list we select user to which will institution be copied. Filters are same as in the Join institutions to representatives. On the window top is switch where we choose will we copy institutions or replace. After that we select institutions and to confirm our choice we click on Save button. IMPORTANT: It’s only possible to copy institutions FROM and TO the users that are ACTIVE, inactive persons aren’t shown in the dropdown list.
Join territory to institutions
Here you will be able to assign as many institutions as you want to different territories.
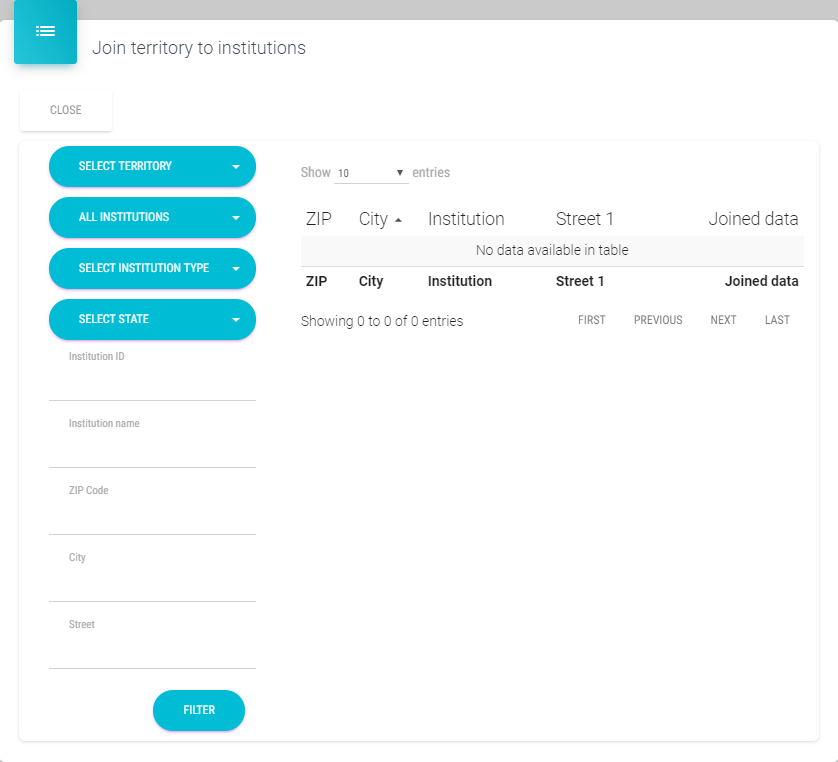
To open this module, click on Organization structure on main menu and then click on Join territory to institution. New window will appear.
First you need to select territory, which you want to join institutions in the first dropdown list. You can also use filters on the left side of window to decrease a list of institution which will appear in list on the right side of window.
In second dropdown list we can select: All institutions– if you want to see all institutions Joined institution to territory only– if you want to see only institutions that belong to a selected territory Not joined institutions– institutions which are not joined to any territory Unjoined institution to territory only–institutions which are not joined to select territory In the third dropdown list we can select institution type: Hospitals, Pharmacies, Ordinations, Other institutions, WholesalesSelect institutin type (all types are filtered) Button Filter condition will filter all conditions in filter, while button Join all will join all institutions from list to selected territory. And Unjoin all will unjoin all institutions from that territory.
In this window you won’t have possibility to click Save button because any change you make, automatically is saved into the system.
Segmentation change
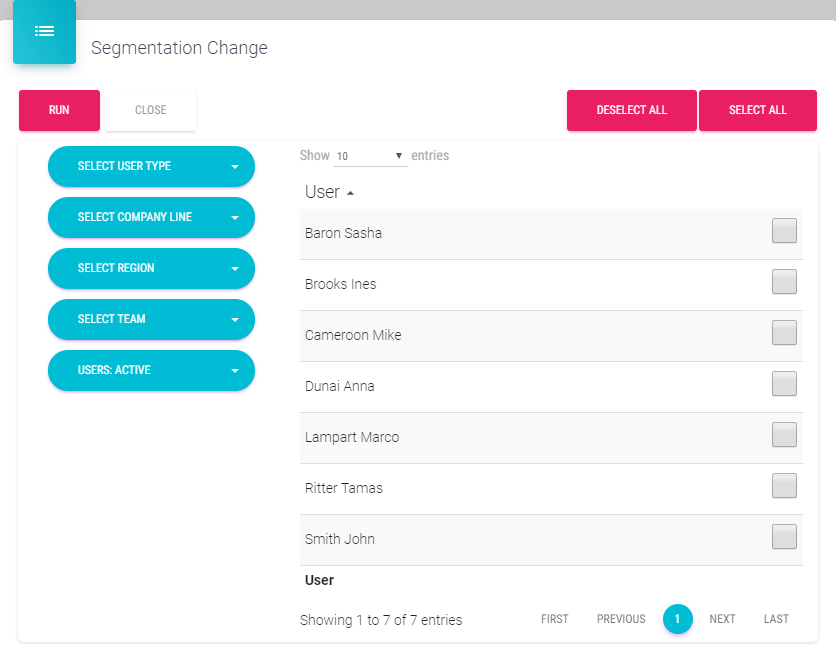
Segmentation change option is, except from Join institution to representatives module, available in Organization structure submenu. The difference is that when you run segmentation from Join institution to representatives module, you ran it only for a selected user. If you run it from here, you will run for all users (better option). When running segmentation, system will make all connections between territories, persons and users. You need to run this process every time when you do something with territory and users (joining). This is an automatic process which could take a couple of minutes (it depends on quantity of data, power of PC…).
Here can be selected how many users we want for the segmentation. On the left side using dropdown lists we can filter users. Near each user we have to click on the checkbox to select them. Otherwise we can use buttons Select all or Deselect all. After our selection is made we click on the Run button and click Yes on the pop-up to start the segmentation. Otherwise, click Cancel.
Mini segmentation (mobile platform)
Mini segmentatiton (mobile platform) is the module in the Organization structure submenu. After we click on this module, the following window appears:
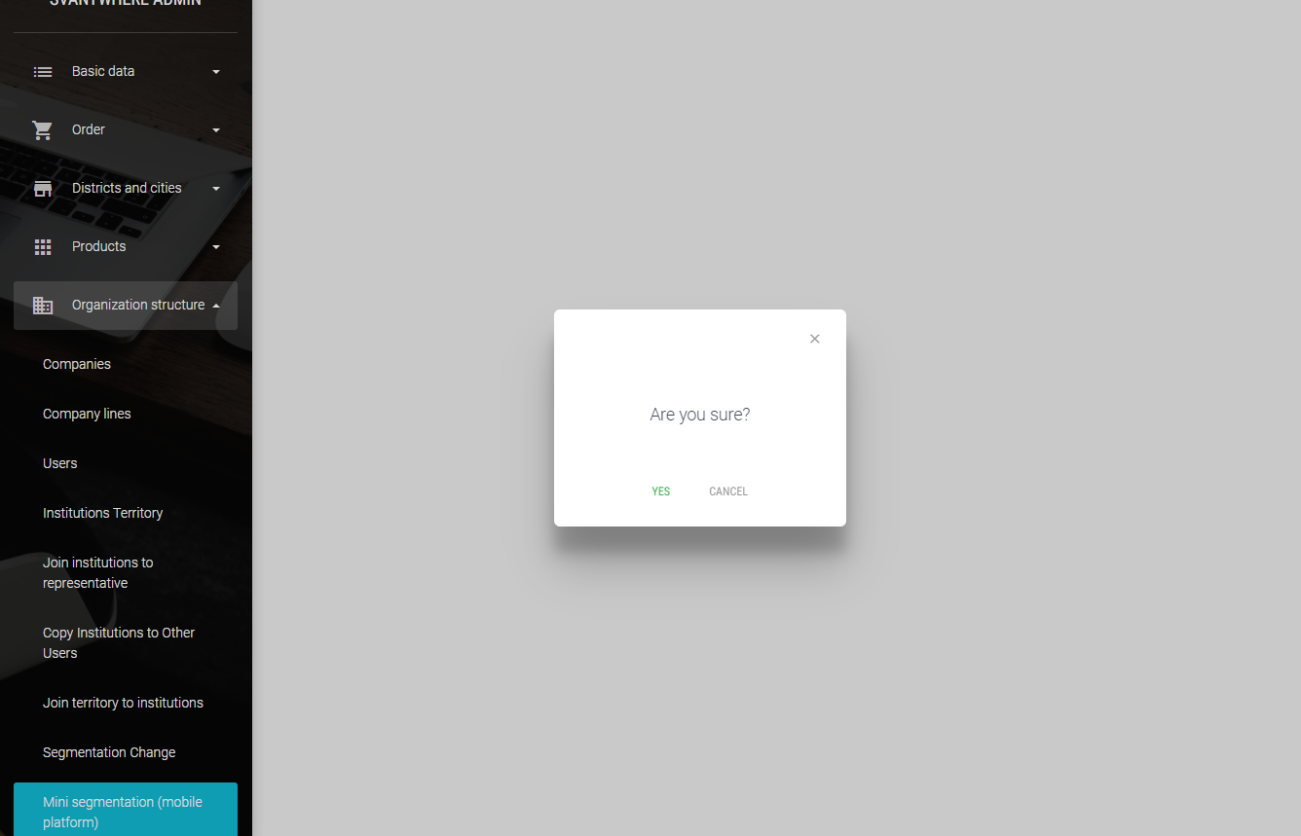
We simply click on Yes to run segmentation. Otherwise we click Cancel. This is fast segmentation and is used only for mobile platforms. For example if there are two users visiting same institution. One of them has added new person to that institution, other will not see it until the segmentation is runned. In that case we can run this mini segmentation so the other user also receives that record. There is also possibility to schedule this mini segmentation .
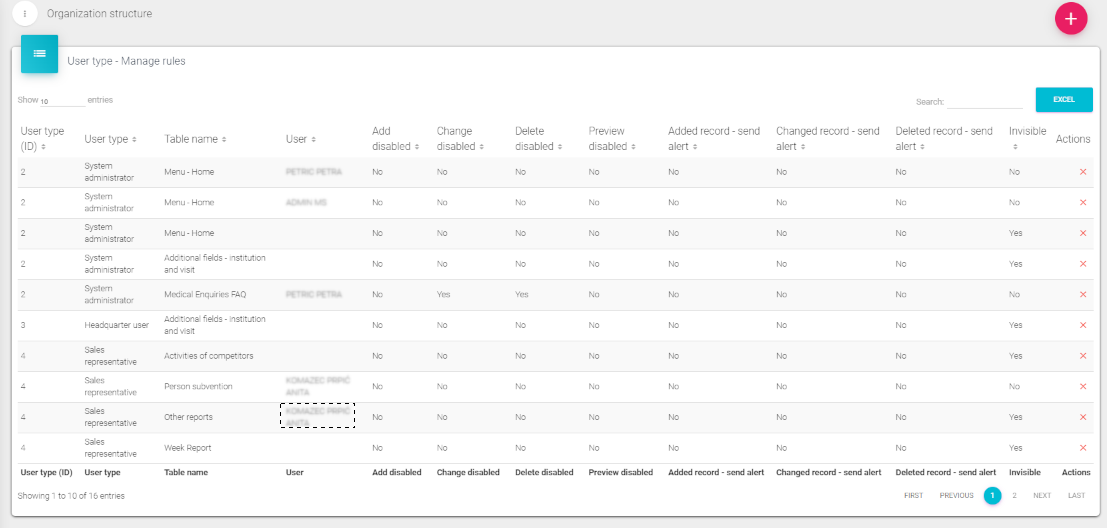
User type – Manage rules
User type – Manage rules is the module in the Organization structure submenu. After we click on this module, the following window appears:
There are several columns for rules that are already applied, and to add a new one, simply click on the “+” in the upper right corner.
User type – Manage rules
In Organization structure you can find division of users by types. In User type – Manage rules you can add different restrictions for each user.
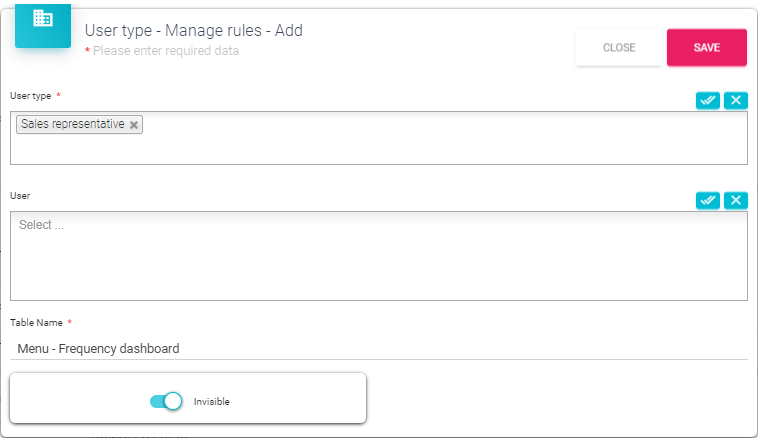
Click “+” button (new window will open – figure in continuation) and in drop down list select user type, user and table name you want to add restrictions for and mark wanted check boxes in the bottom of the screen. Table names are related to most commonly used modules in SV like visits, plans, person, institutions, marketing plans, questionnaires and other.
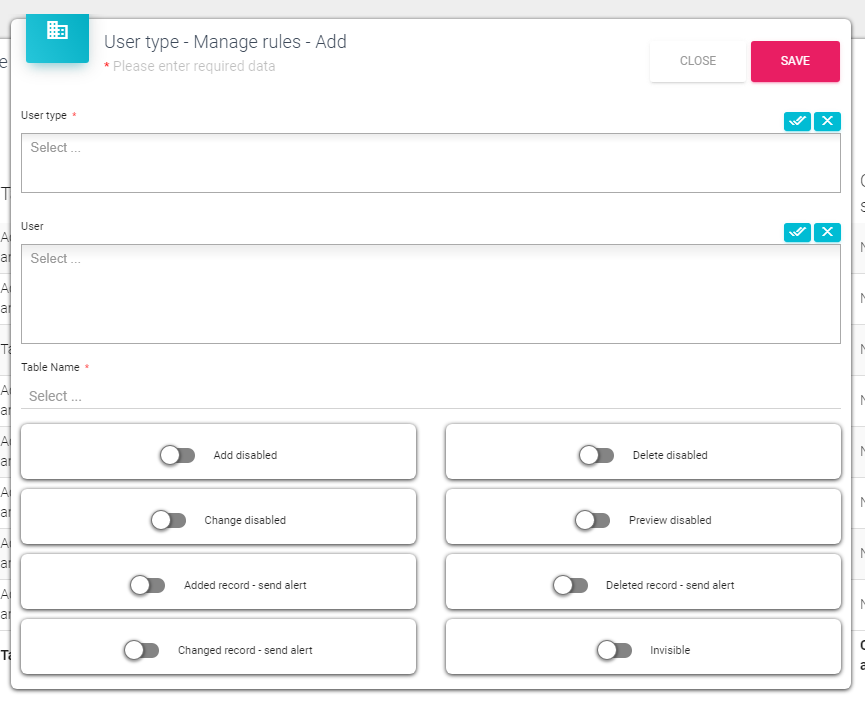
Press Save button after you are finished.
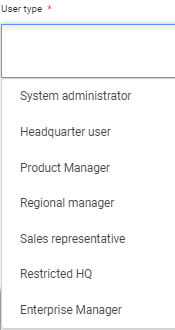
This is a list of all user types.
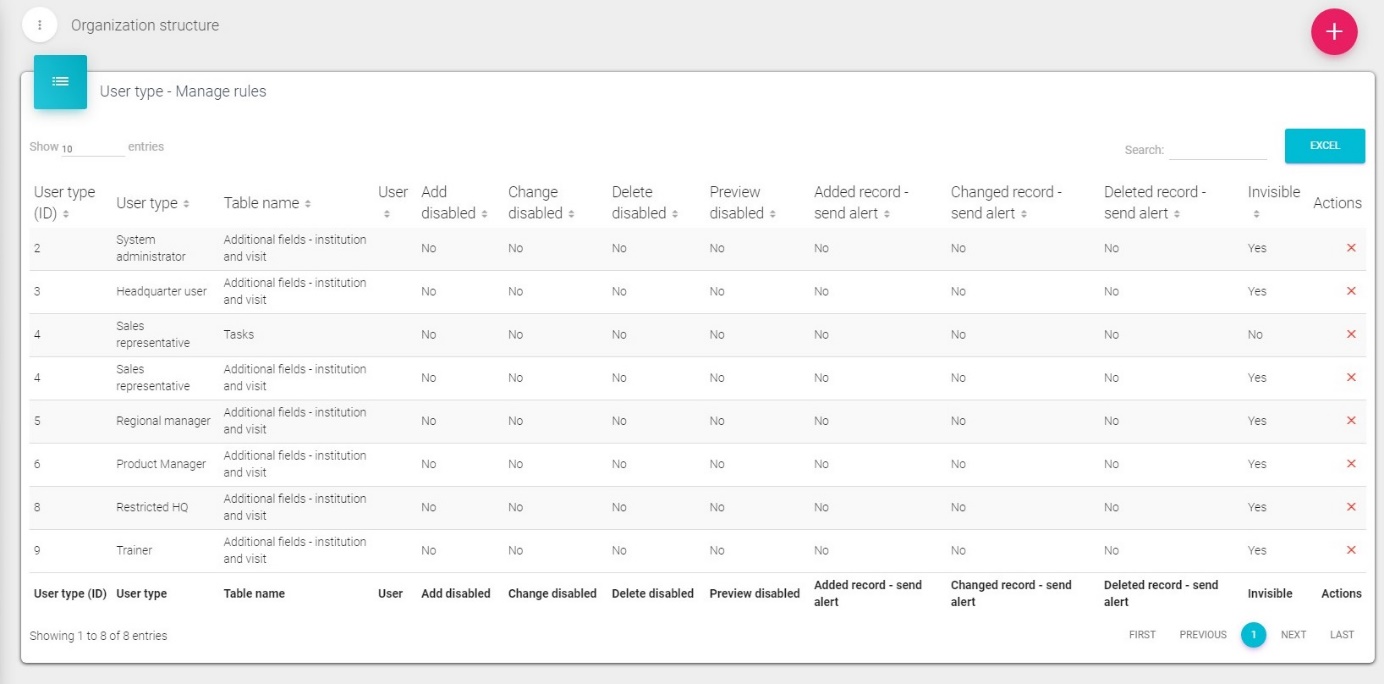
This is a list of menus’ that can be hidden, and it is the same for all user types. All menus’ have the same thing in common – they start with the word “Menu”.

Let’s create a rule for all sales representatives. We don’t want them to see Frequency Dashboard in Sales Vision Any Next. First, we select a user type – Sales representative, and then, we select a Table name – “Menu – Frequency dashboard”. To make the menu invisible, turn on the toggle switch “Invisible”. We can save the rule now. User field – Let’s say we want to hide a menu only for one or a few users. This field shows a list of all the users by selected user type. You do everything else as described and select a specific user/users to make the menu invisible for.
Now, let’s see how the rule applied. We log in as a random Sales representative and as we can see – Frequency dashboard, located in the Home menu is, in no longer visible. Since Frequency dashboard is located in Home menu, the whole Home menu is hidden too.

User type - Manage column rules
This module is very similar to the one described before (User type – Manage rules). The difference is that we manage column rules here. We can add a new rule here and define which user group or specific user has column change disabled.

Now, let’s see how the rule applied. We log in as a random Sales representative and as we can see – Frequency dashboard, located in the Home menu is, in no longer visible. Since Frequency dashboard is located in Home menu, the whole Home menu is hidden too.
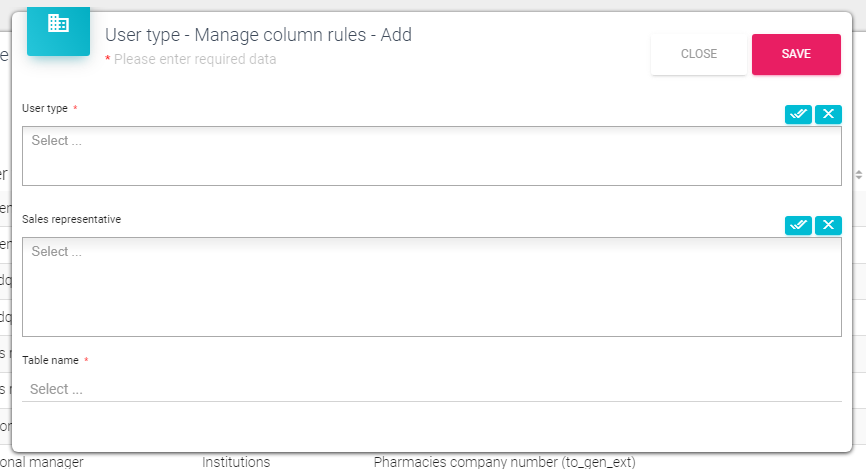
User type – select type of users you want to affect User – select specific user Table name – choose table that contains required column Column name – select column Change disabled is a switch that needs to be set to active in order to disable changes on column for desired user type or user. Switch Hidden if set to active, hides this selected column.