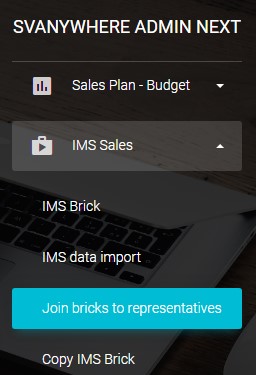
IMS Sales
Second way to display sales in Sales Vision is with IMS Sales module. Sales Vision has the possibility to show IMS sales data. To enter IMS Sales module click on IMS Sales from main menu.
IMS Brick
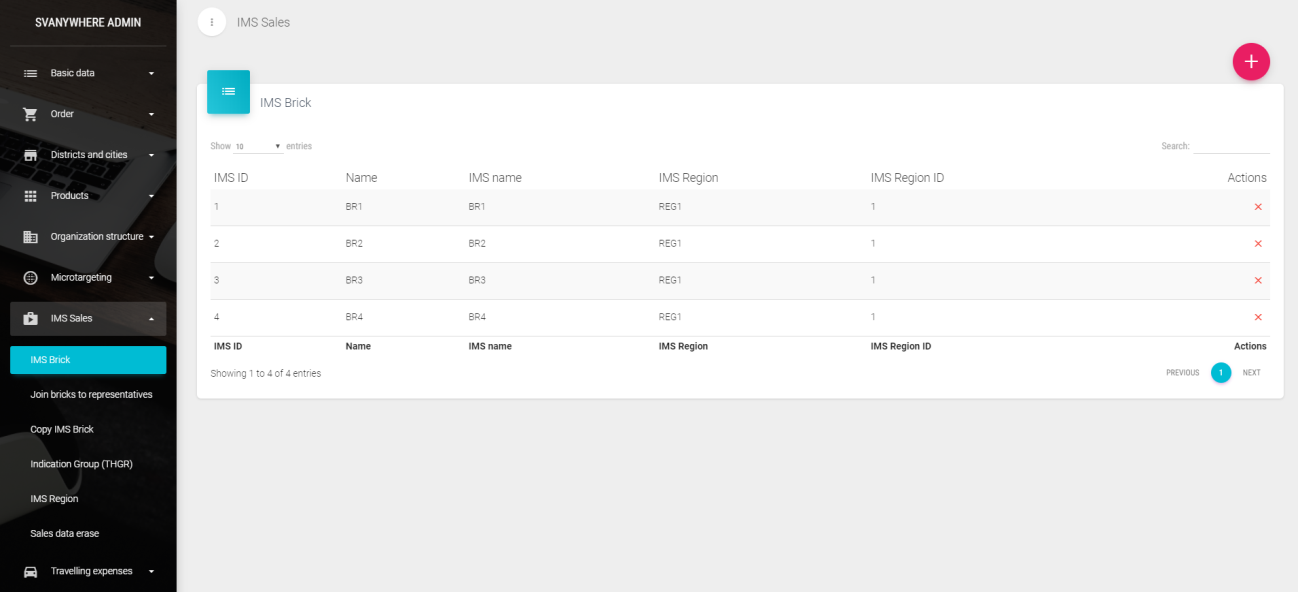
First, you need to define bricks in Sales Vision (because IMS Sales is defined through bricks). Under IMS Sales submenu, click on IMS Brick:
To add a new brick, click on the “+” button. New window will appear:
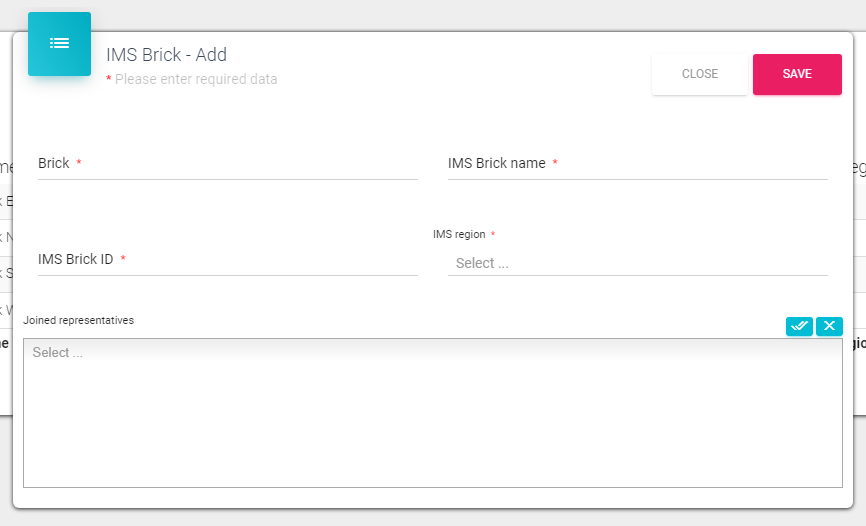
Brick – Enter the name of brick IMS Brick Name – enter full name of brick IMS Brick ID – enter the ID for current brick IMS Region – choose the region where this brick belongs Join representatives – select representatives to assign them this brick (click on the text field and list of users will appear)
IMS Regions should be defined previously and then you will see data in IMS region drop - down option (see following chapter Error! Reference source not found.).
Click on Save to save this brick or Close to quit without saving. If you want to change existing data, you must click on the brick. The same form will open like for entering new brick. If you want to delete some brick, just click on the “X” right next actual record.
IMS data import
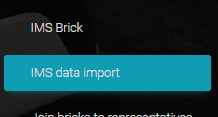
To import IMS sales data, click on IMS Sales main menu and choose IMS data import.
New window will appear:
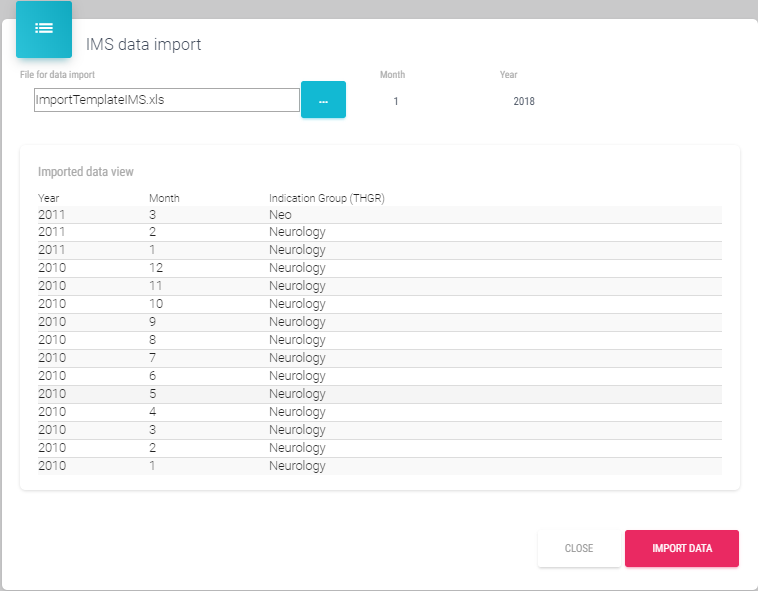
File for data import – click on button (…) to browse for file which you want to import Month/year – enter month and year data.
Click on Import data button to import data or Close to quit the form.
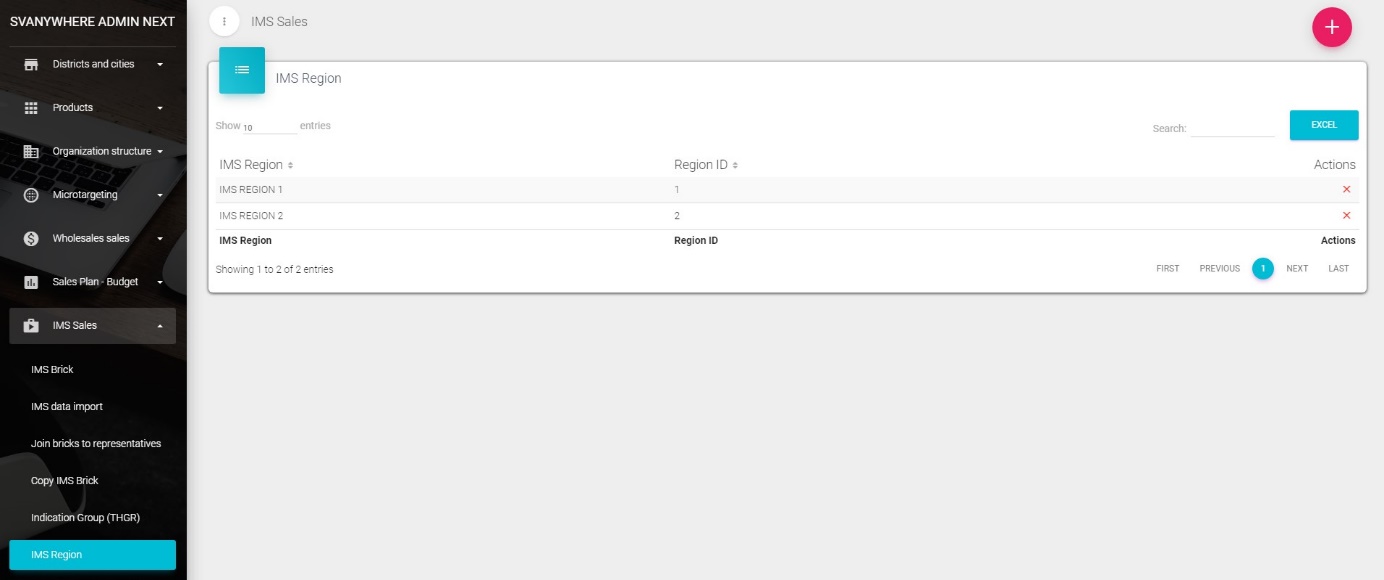
IMS Region
You can examine IMS data even through region. First you need to define those regions. To define IMS regions, click on IMS Sales menu and choose IMS Region:
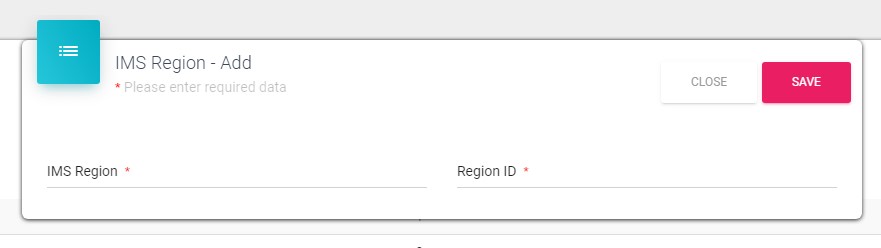
To add a new IMS region, click on the “+” button. New window will appear:
Enter the name of IMS region, region ID and click Save button.
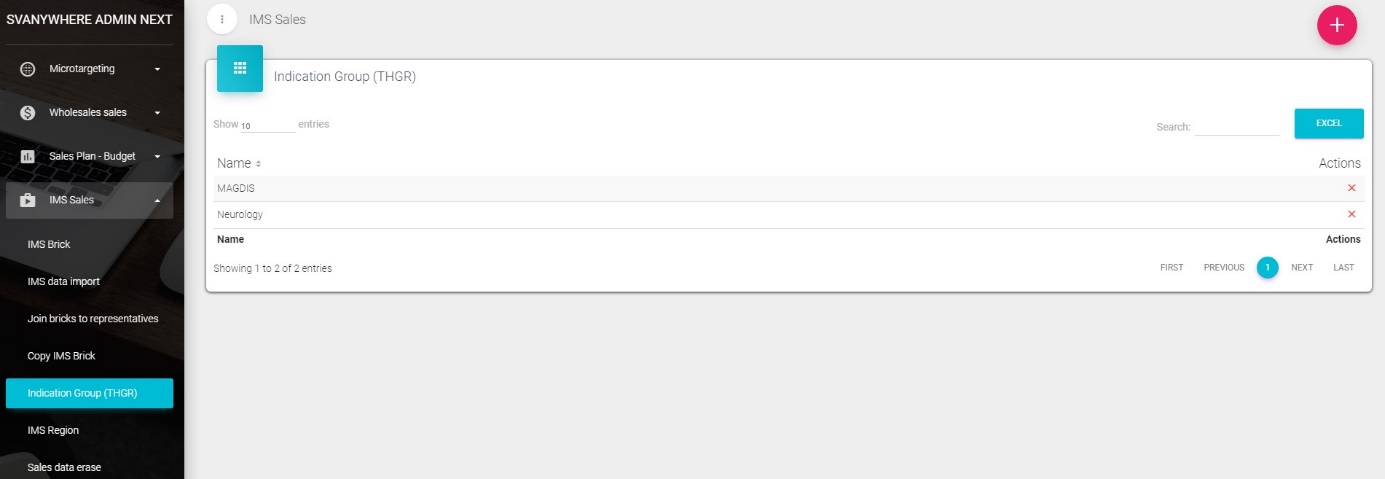
Indication group (THGR)
To open Indication group, click on IMS Sales in main menu and then click on Indication group (THGR):
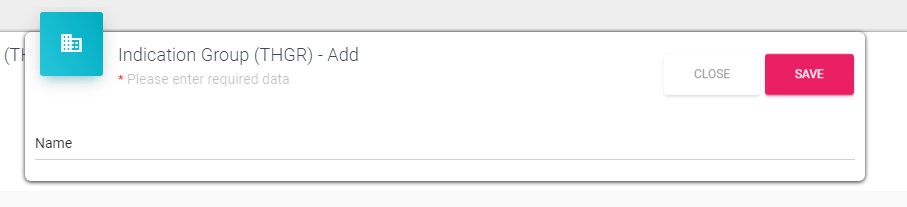
If you want to add a new indication group, click on the “+” button. New window will open: Enter the name for therapeutic group and click Save button to save this record, or Close to quit the form without saving.
If you want to change existing data, you must click on the record. The same form will open like for entering new indication group. If you want to delete some brick, just click on the “X” right next actual record.

If you click YES, you will delete group, if you click on CANCEL, you will not delete group.
Sales data erase
To erase an IMS data, click on IMS Sales from main menu and then click on Sales Data Erase.

New window will appear: Enter the start month, end month (period) and year. Click on Delete button to delete sales for defined period or click on Close to quit the form.

Join bricks to representatives
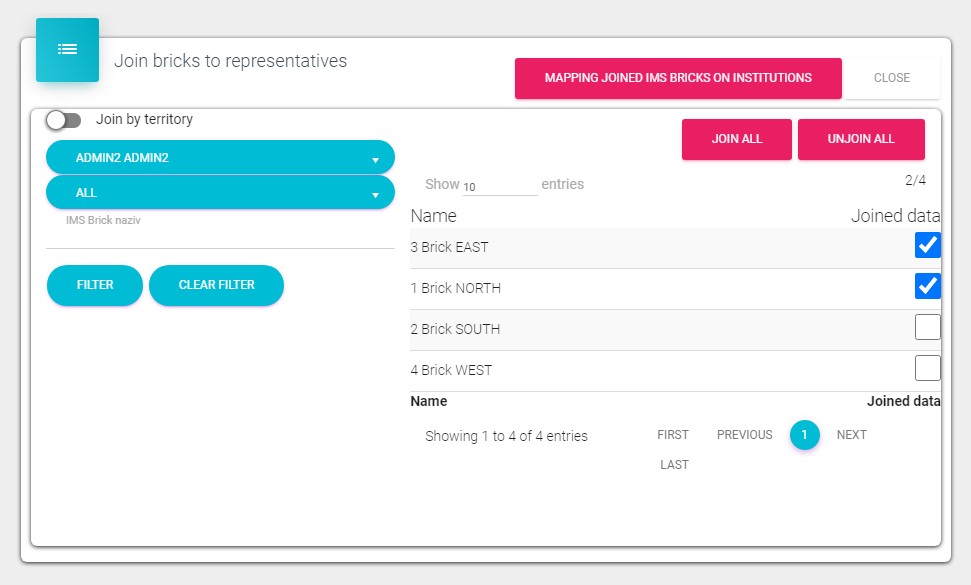
To join bricks to representatives select it under IMS Sales.
User – select desired user from drop – down list Search (IMS Brick) – search bricks by name Select desired user and then check bricks that you wish to join to that user. To cancel the operation click on the Close button. To join all institutions from selected IMS brick to representative click on the Mapping joined IMS bricks on institutions.
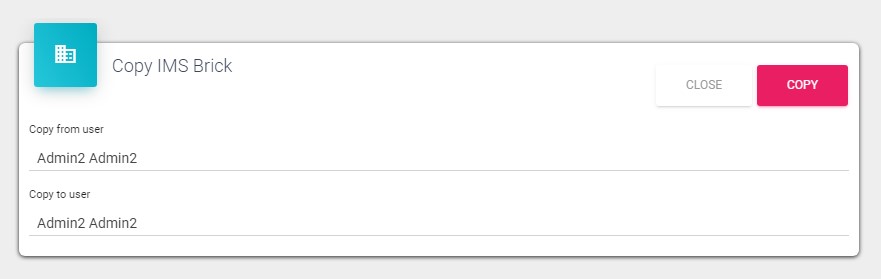
Copy IMS brick
Copy IMS brick under IMS Sales submenu is used to copy IMS brick’s from one user to another.
For example if the new user takes over the terrain from old user. The easiest way to assign new user the same IMS brick’s is by using this module. Before you deactivate old user you simply copy his IMS brick’s to the new user.
After selecting users in the dropdown menus to copy IMS brick’s simply click on the Copy button.
After copying is finished you will get notification.
