Surveys
Surveys have been redesigned for a much easier, simpler and faster creation.
Any Admin
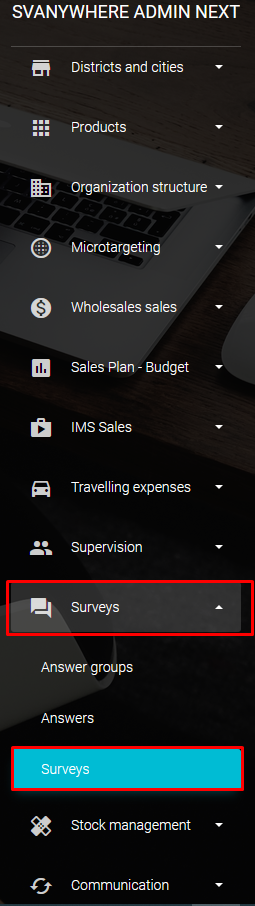
On the main selection menu go to Surveys Surveys
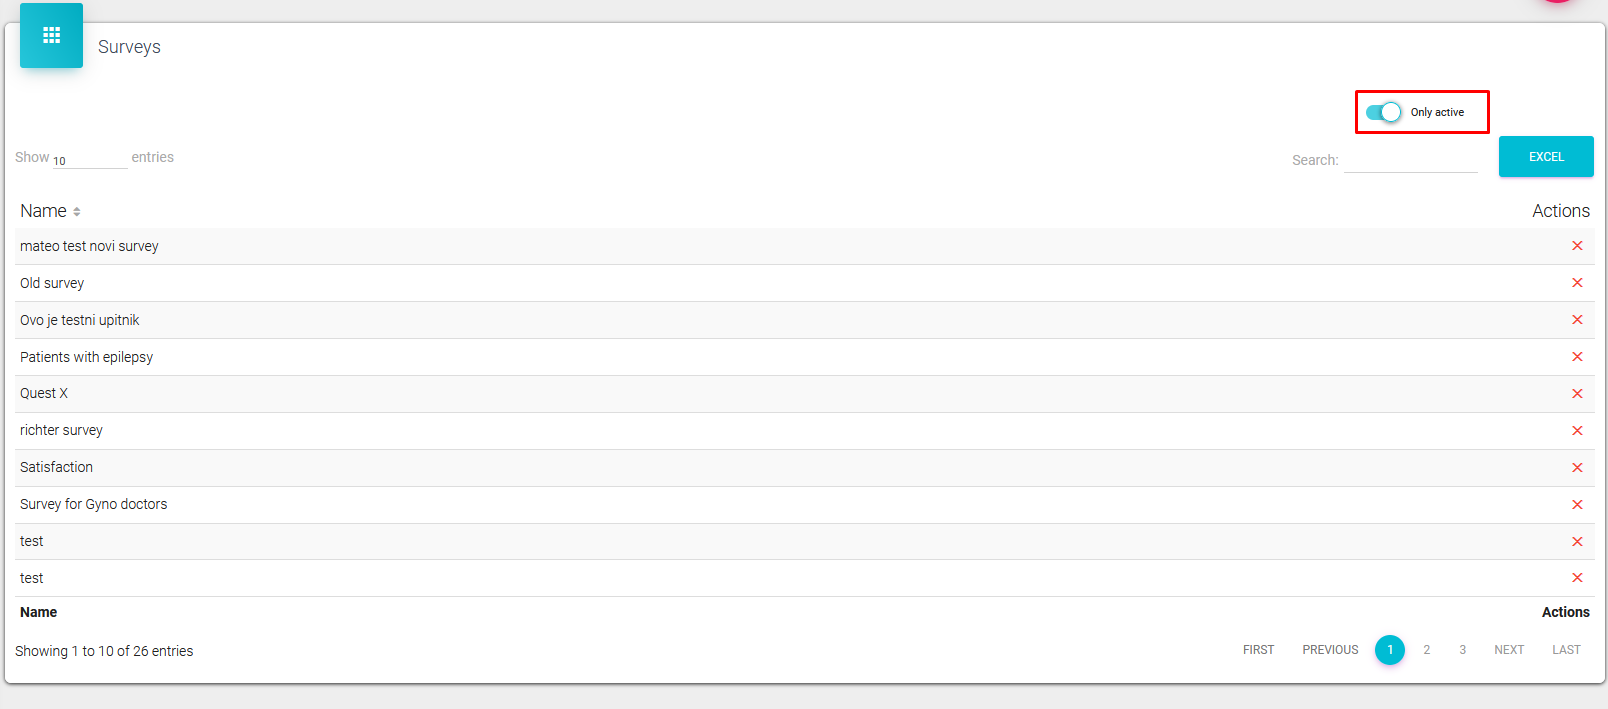
You can either see only active surveys, or both inactive and active surveys depending on the switch value.
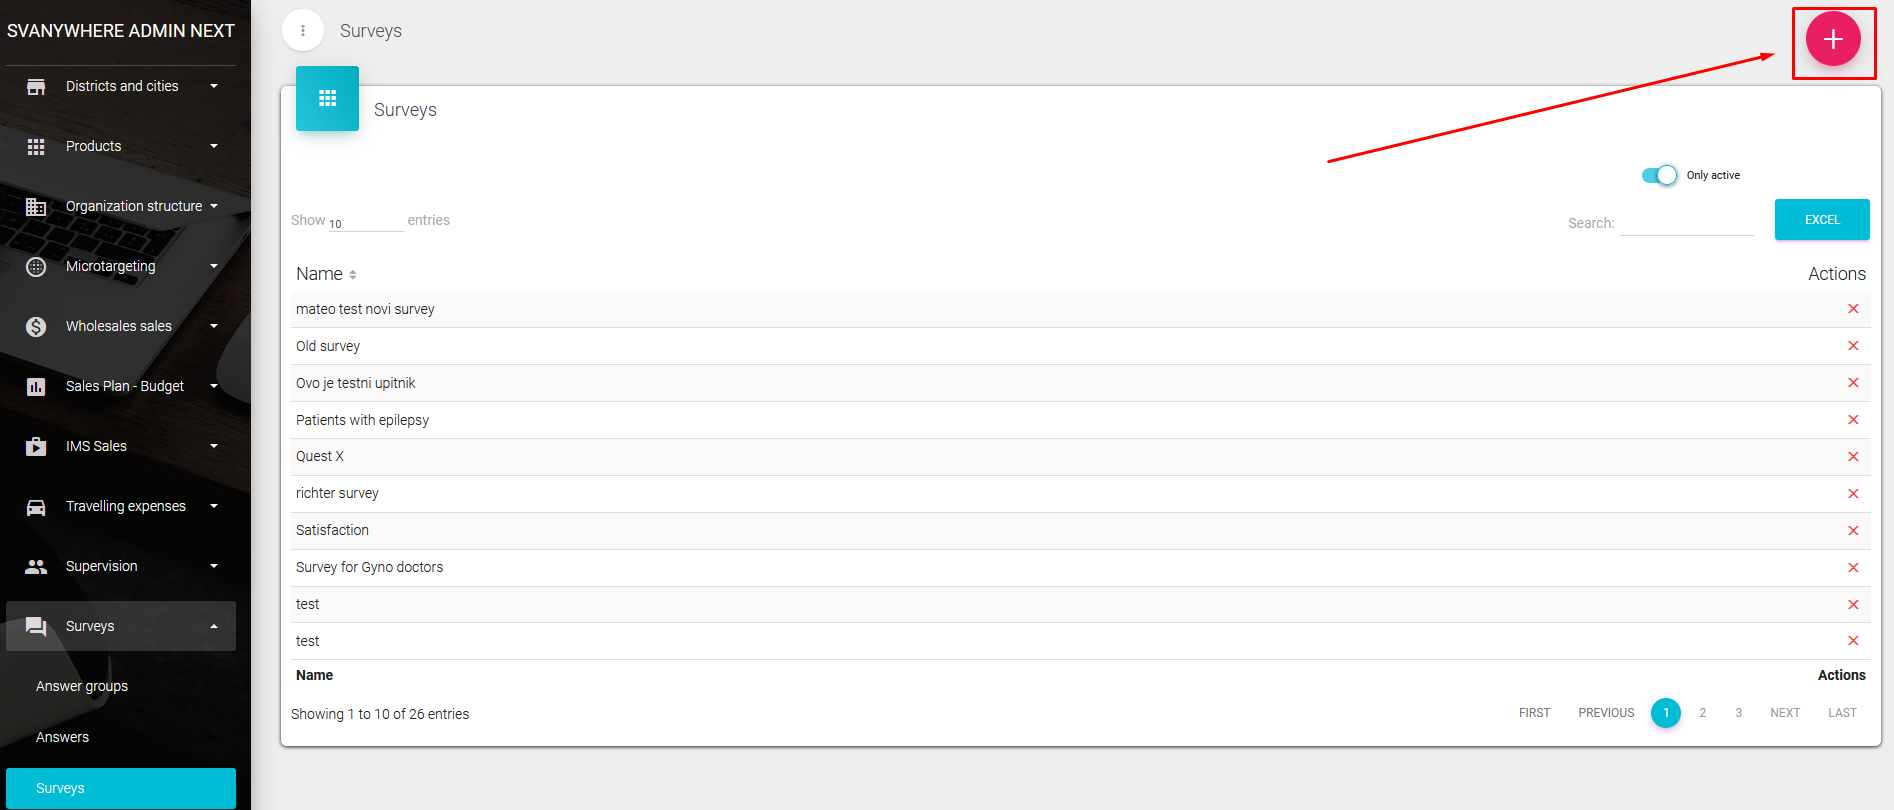
Creating a new survey
You can create a new survey by clicking on a “+” button in the top right corner of the screen.
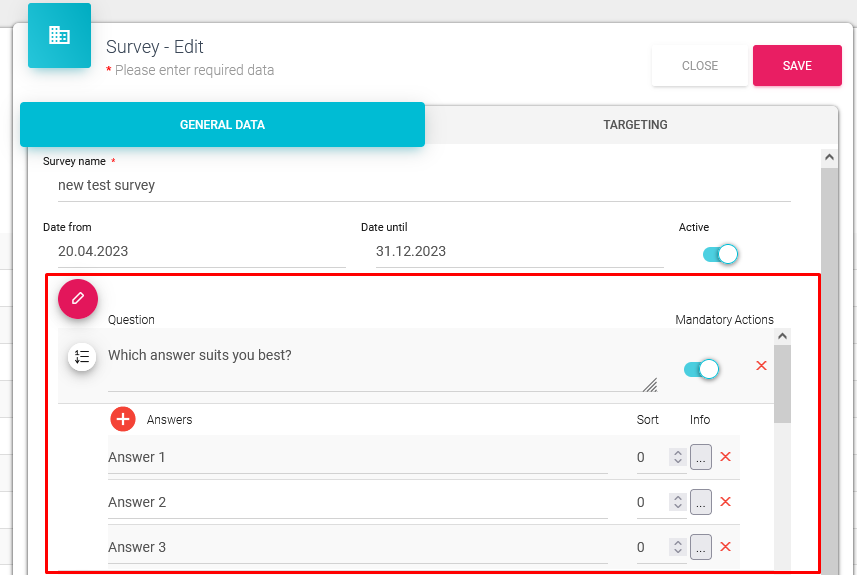
This screen pop-ups after pressing on “+” button. The survey name is mandatory and so is at least one question and answer to that question.
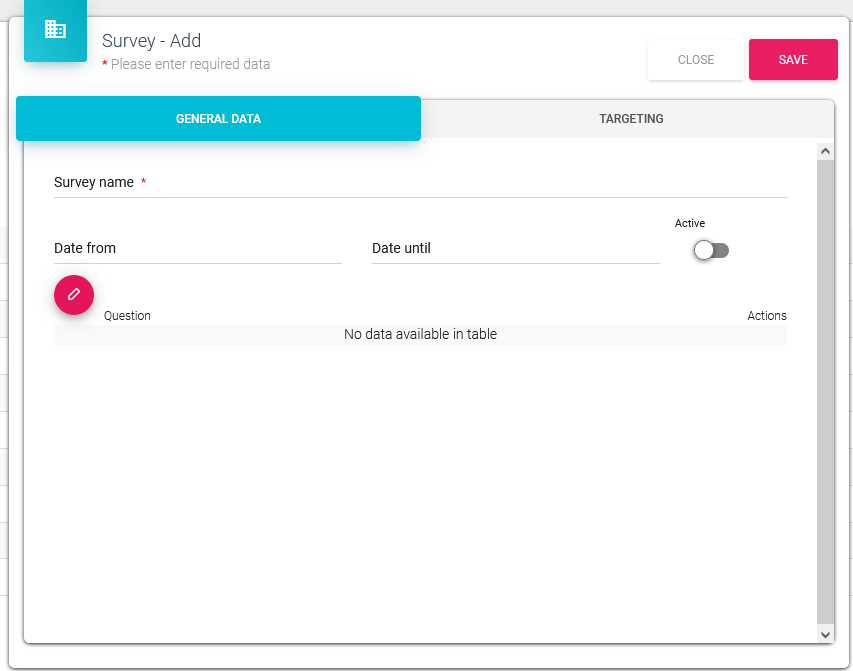

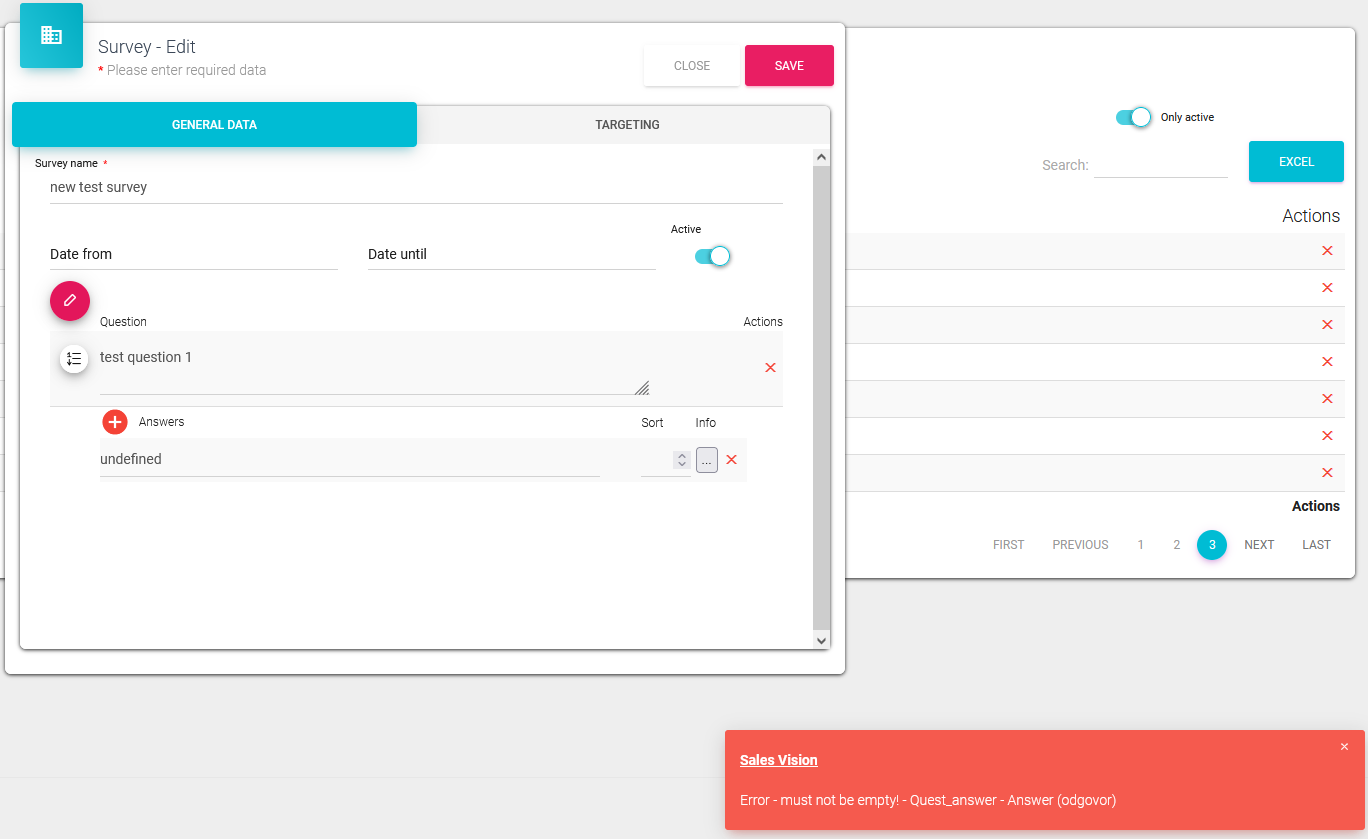
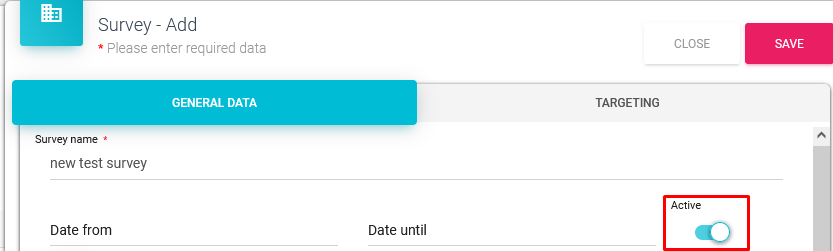
The survey has to have the switch “Active” on ON if we want it to be visible.
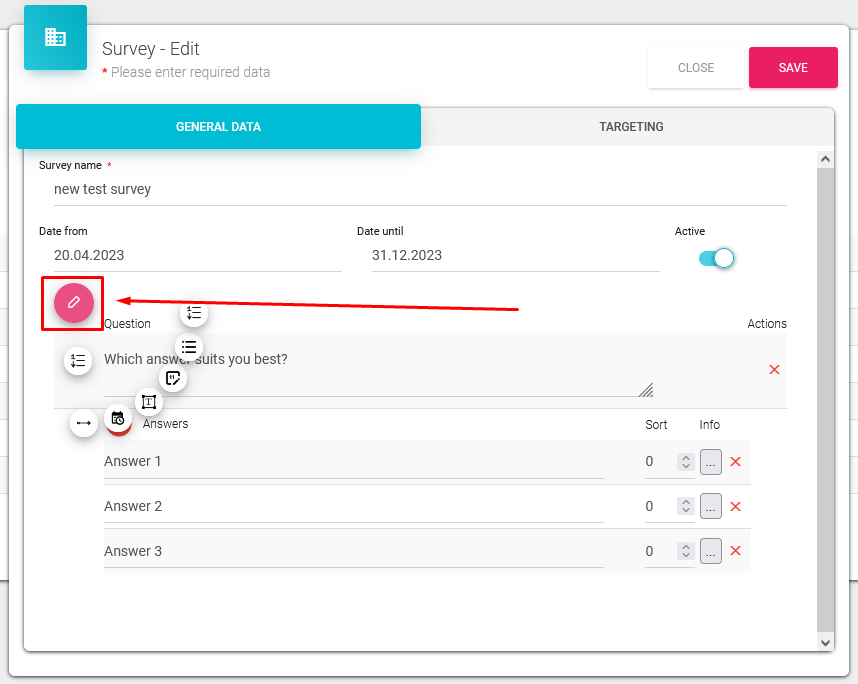
Type of questions on survey
The list – the choice of only one answer
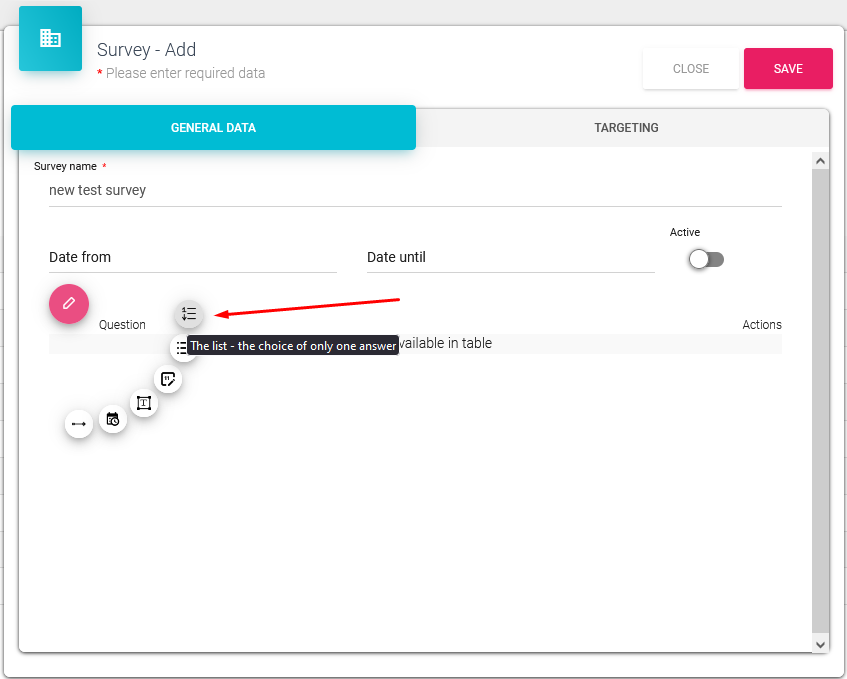
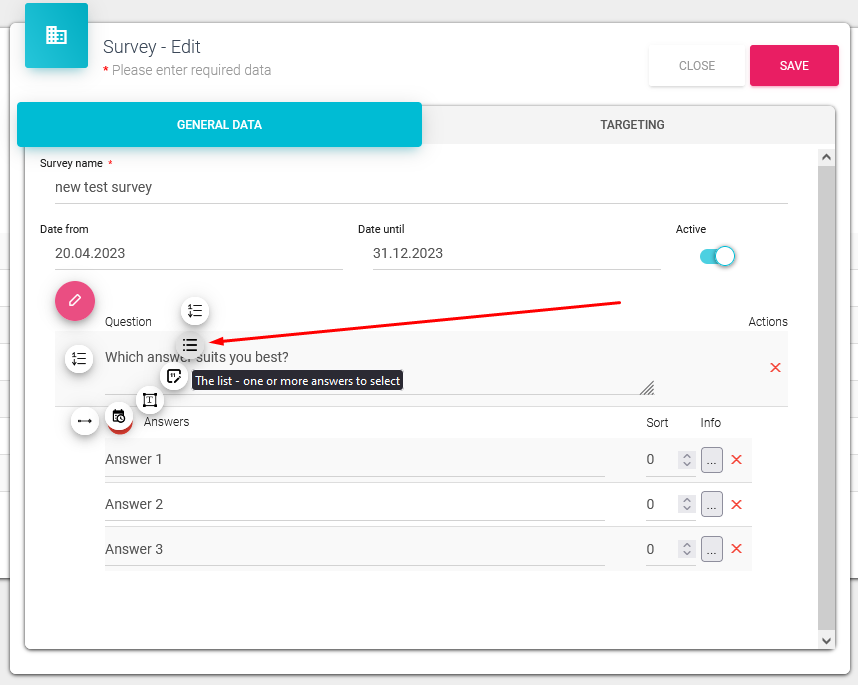
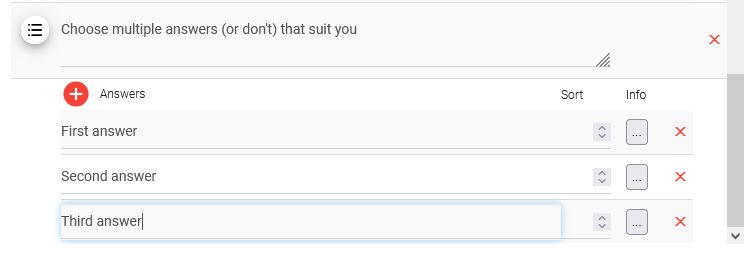
After choosing a type of question, we have to title it and then add answers.
![]()
If option 215 – Survey – answers are not mandatory is ON (activated) then we would see our survey module changes and next to the question we have a switch to choose if our question should be mandatory or not.
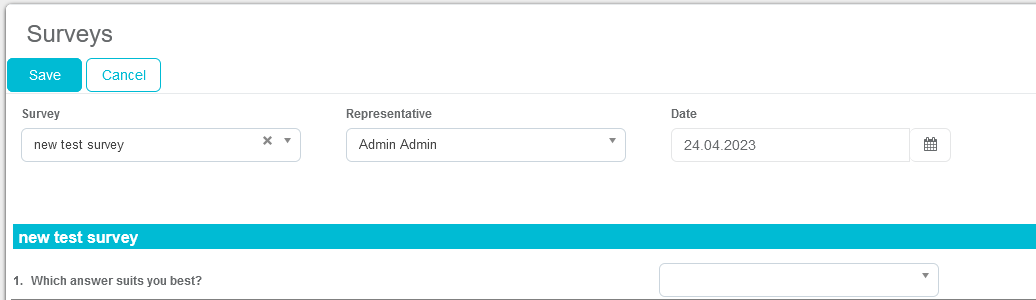
With option 215 turned OFF, this switch is hidden and every question is automatically mandatory, meaning users have to answer them.
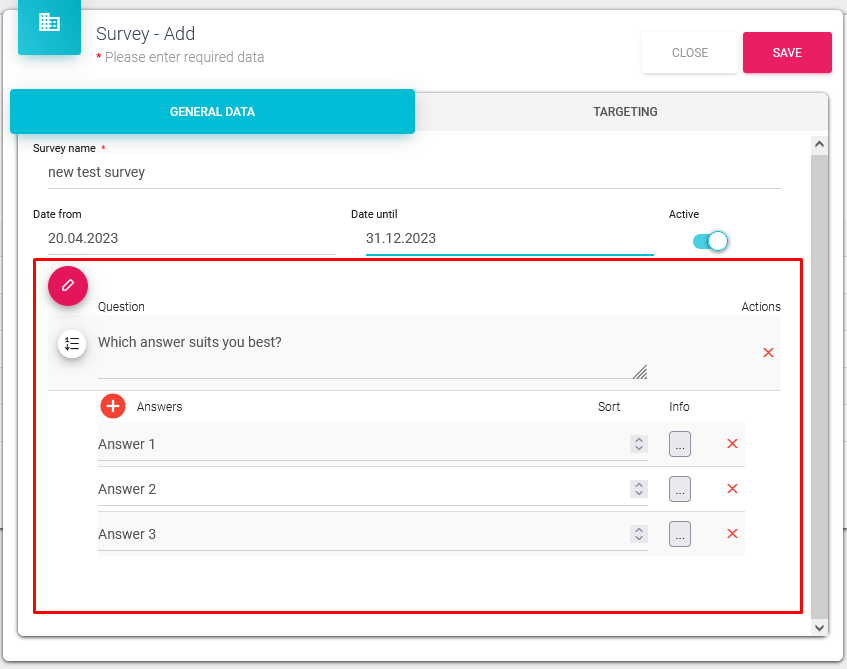
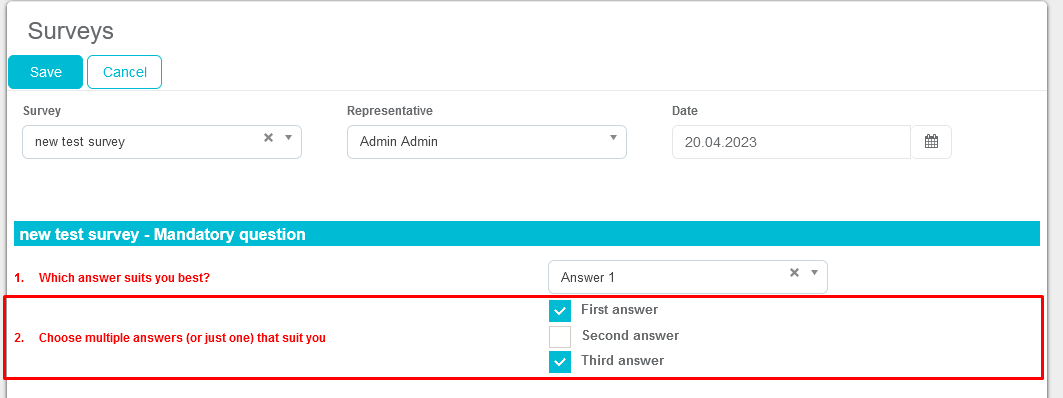
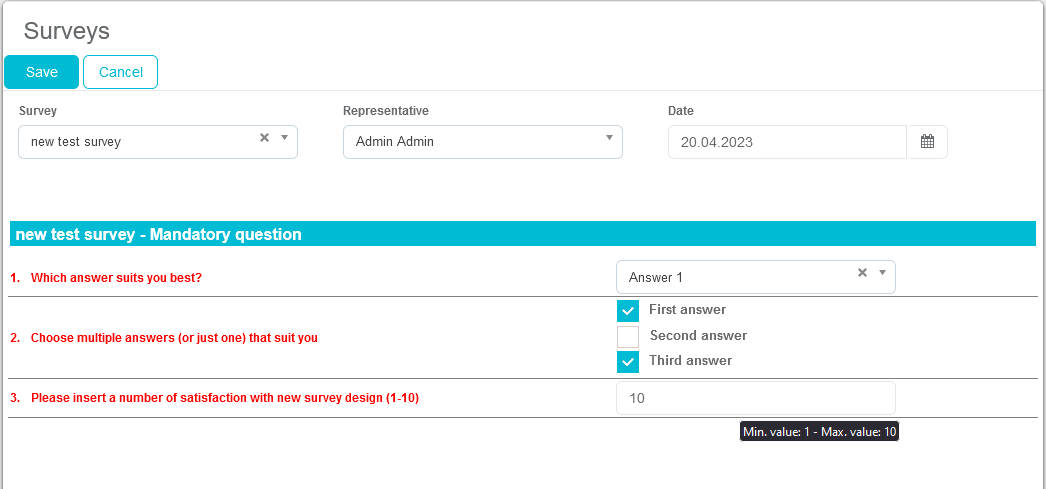
On Any Next, this is how the survey looks like now.
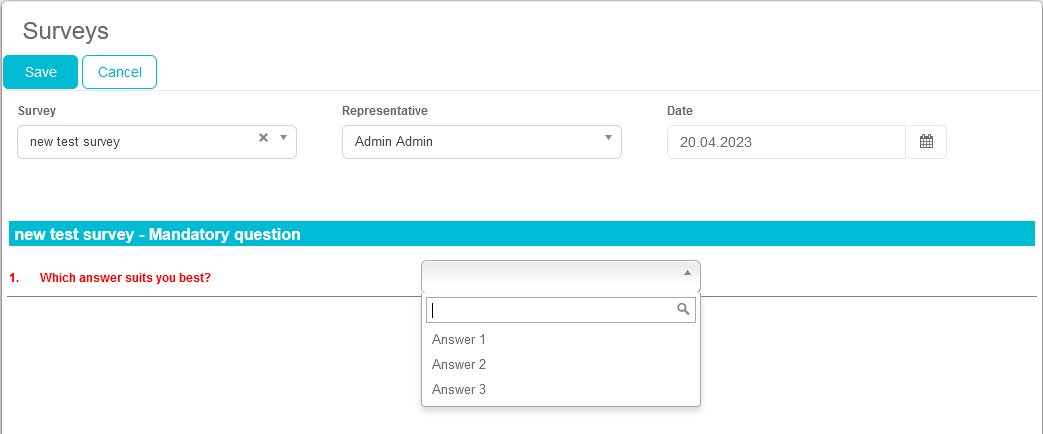
And this is how it looks if the question is set to NOT MANDATORY (switch turned OFF if option 215 is turned ON), easy to distinguish as the mandatory question(s) are colored in red.
If you wish to add another question, press on the little red button and select the type of question again that you wish to add to the survey.
The list – one or more answers to select
On Any Next, this is how the survey looks like now.
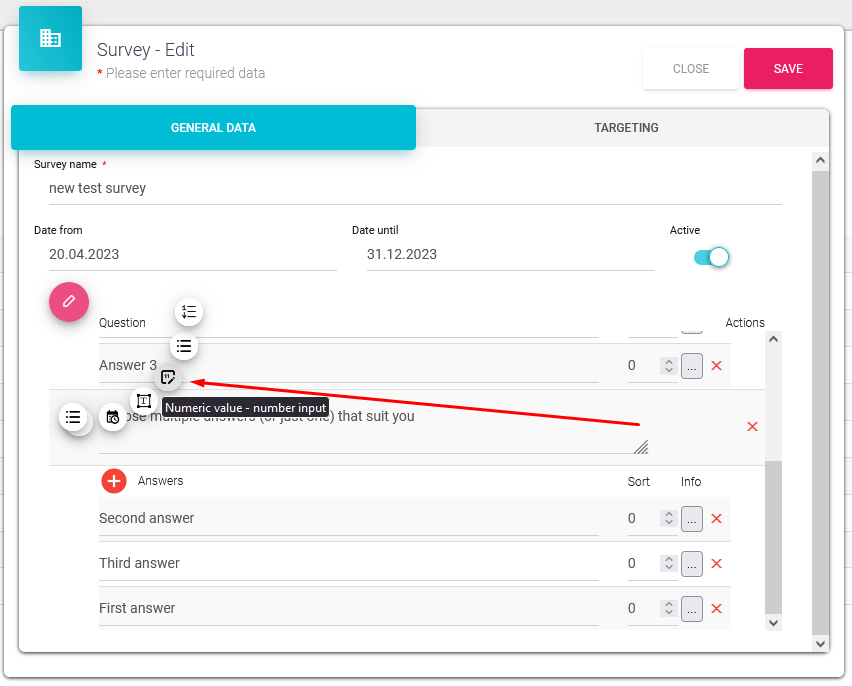
c) Numeric value – number input
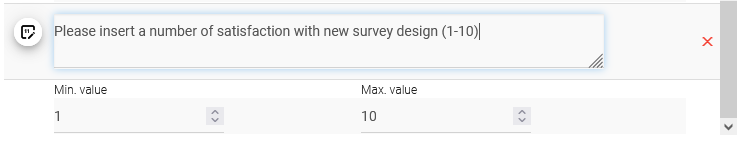
On Any Next, this is how the survey looks like now.
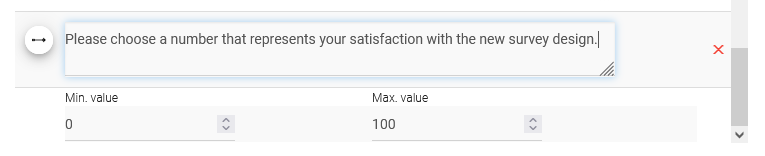
Hovering over the field where we input the numeric value for the third question, we can see the min and max values that we can input (in our case that’s 1 and 10)
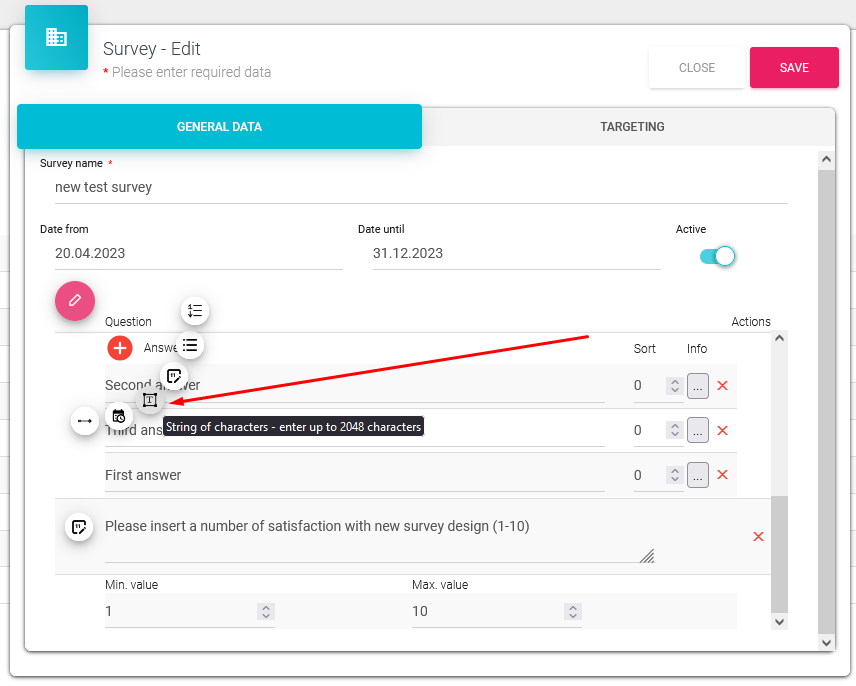
String of characters – enter up to 2048 characters

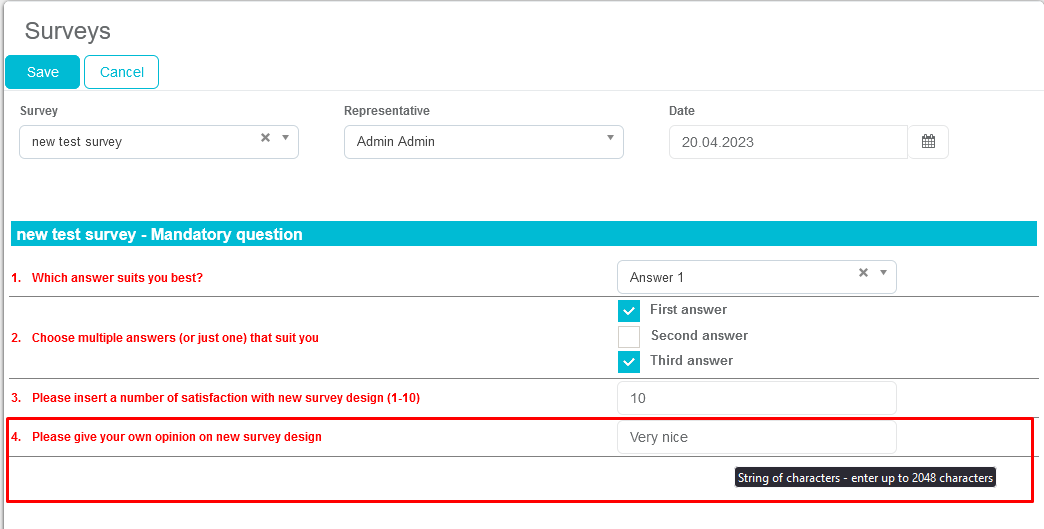
On Any Next, this is how the survey looks like now.
Hovering over the field where we input free text, we can see that we can enter up to 2048 characters.
Value as date - the date to choose
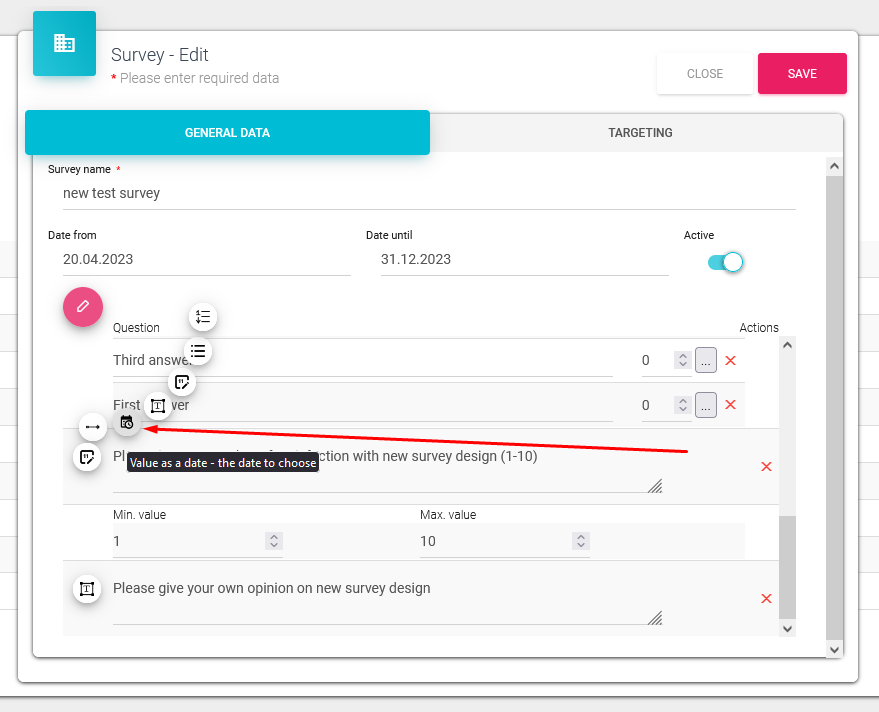

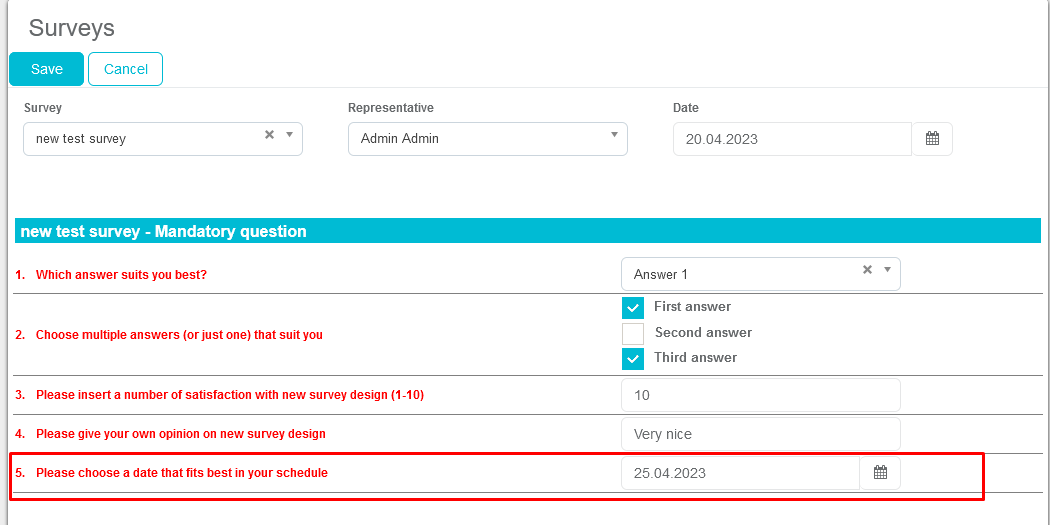
On Any Next, this is how the survey looks like now.
To select a date you can either click on the text field where the date is or on a calendar icon.
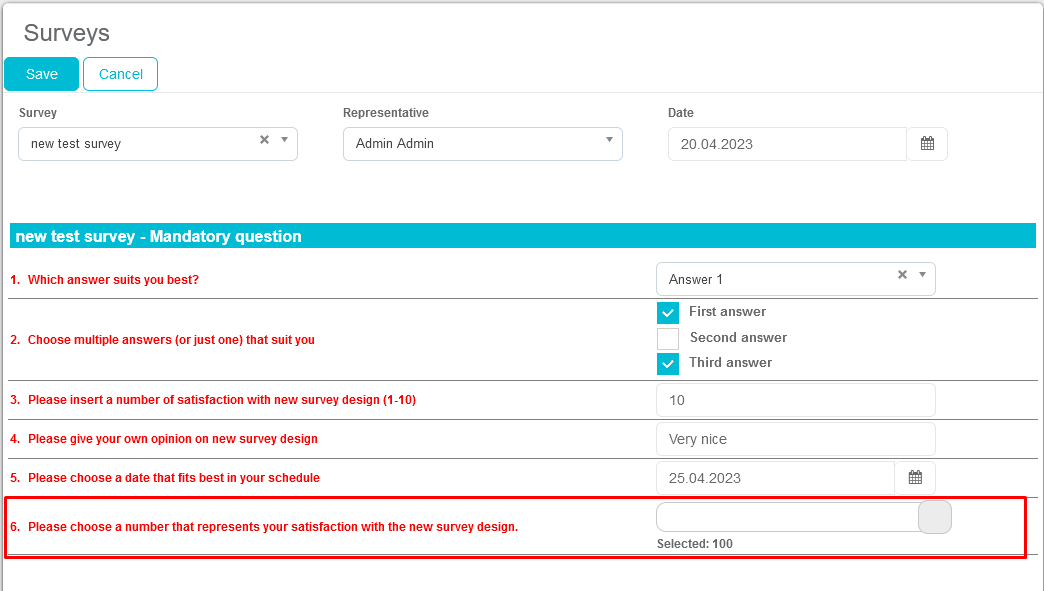
Numeric range slider
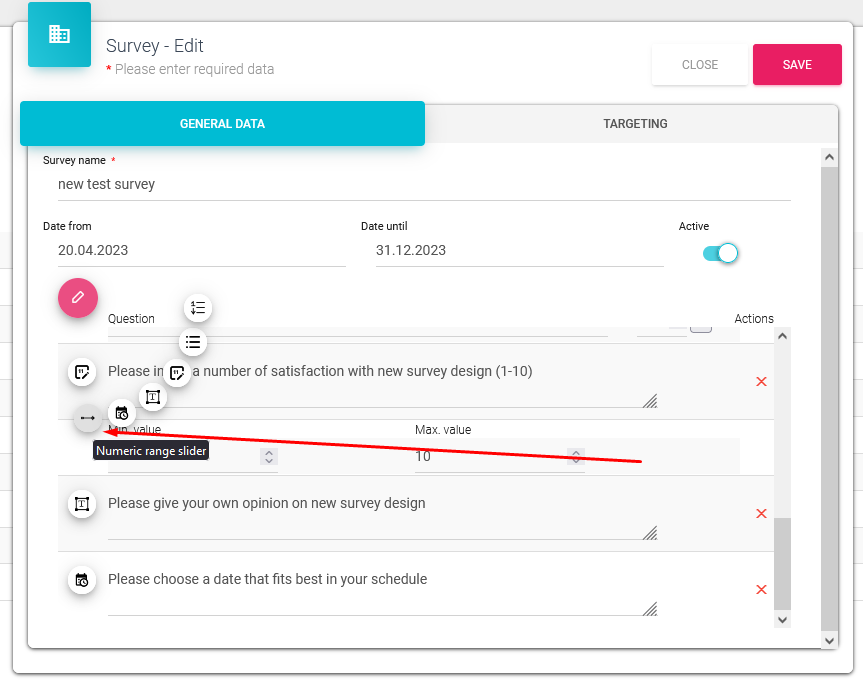
On Any Next, this is how the survey looks like now.
Simply use the slider to choose a number.
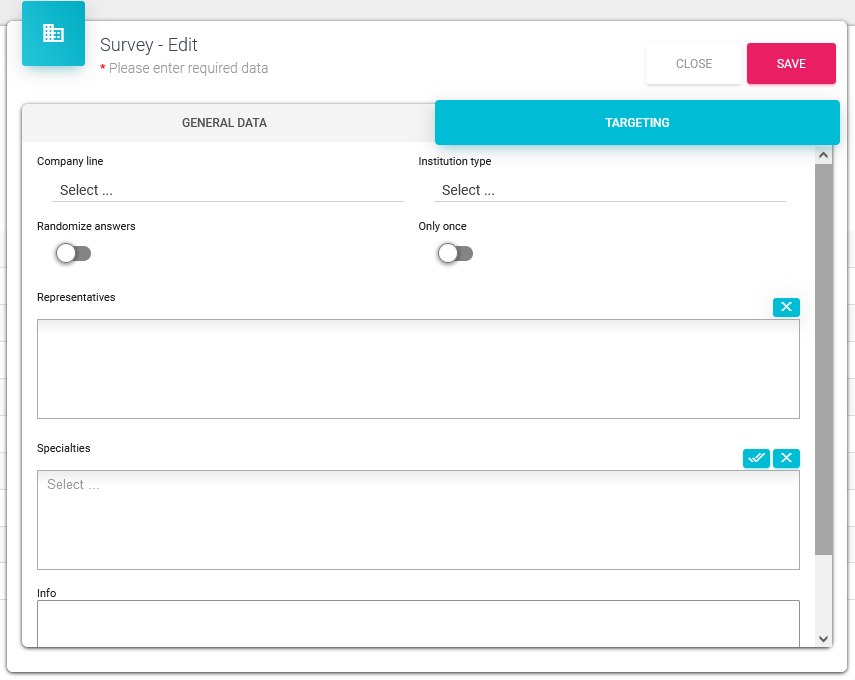
Targeting
After adding questions and answers to the survey in the „General data“ tab, in the „Targeting“ tab you can choose for who they're available. (Company line, institution type, representatives, specialties).
Randomize answers does just what it says, it randomizes answers so every time you open the survey answers can be in a different order.
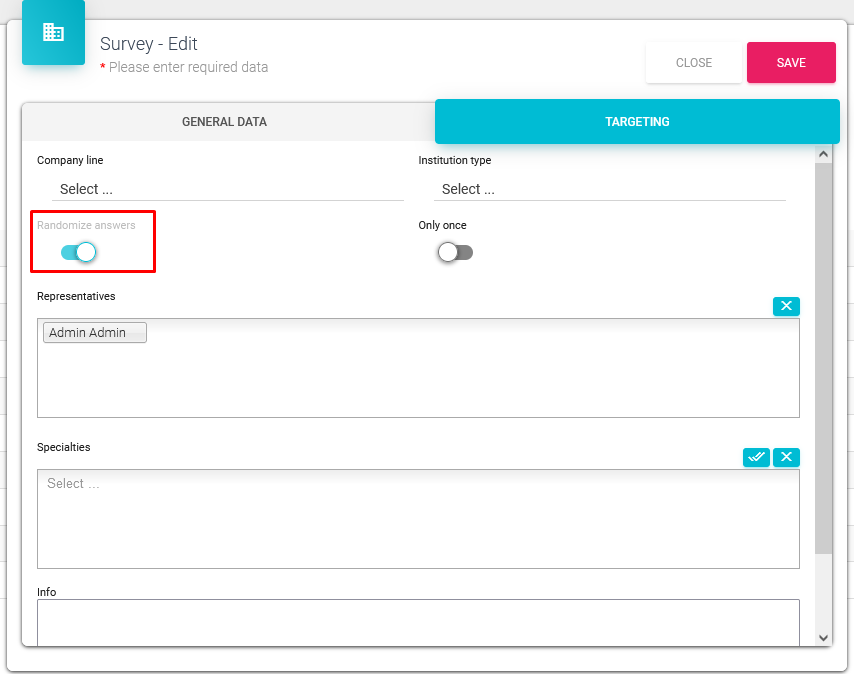
In the example below, we opened the same survey couple of times and we got different orders of answers


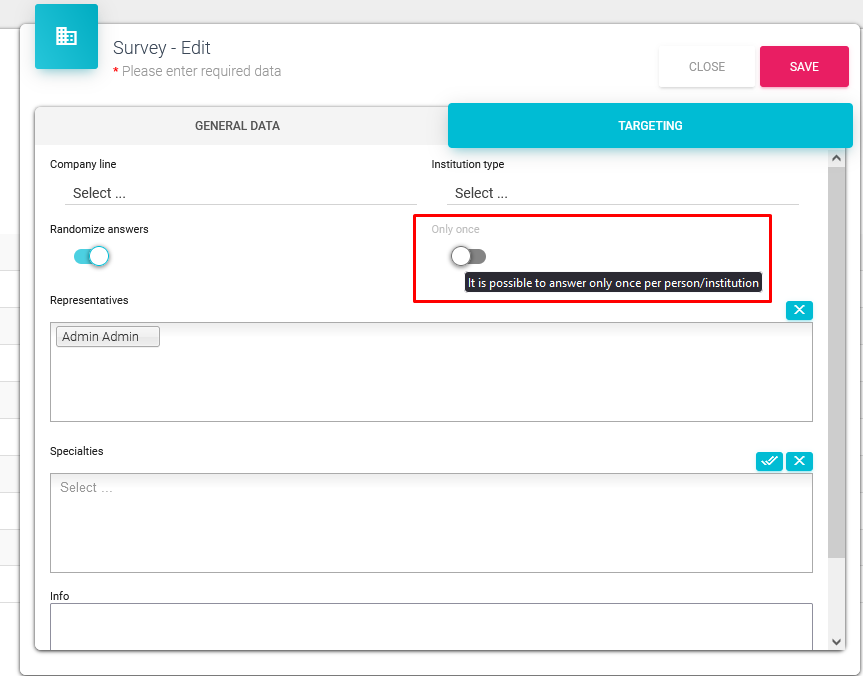
Only once – it is possible to answer only once per person/institution.
After you set up targeting, press save and you're ready to go. The survey is saved and ready for usage and will be seen by selected representatives in the „Targeting“ tab and those representatives will be able to show them to persons & institutions that fit the criteria.
If you don't select any company lines, institution types, specialties, or representatives, the survey will be available for every representative and they will be able to show them to every person & institution.
Representatives
Also, we have a new design for selecting representatives.
Here you can filter through the list of representatives available by either searching the list itself, or/and filtering by CLM presentation that is assigned to a representative, or a company line/region.
If you were to select RM (FFM) user filter, it'd show you users that are assigned to the selected RM and RM himself/herself.
