CLM Presentation designer
Presentation designer is new addition to our program and it’s available to all the clients that use BookVision/CLM!
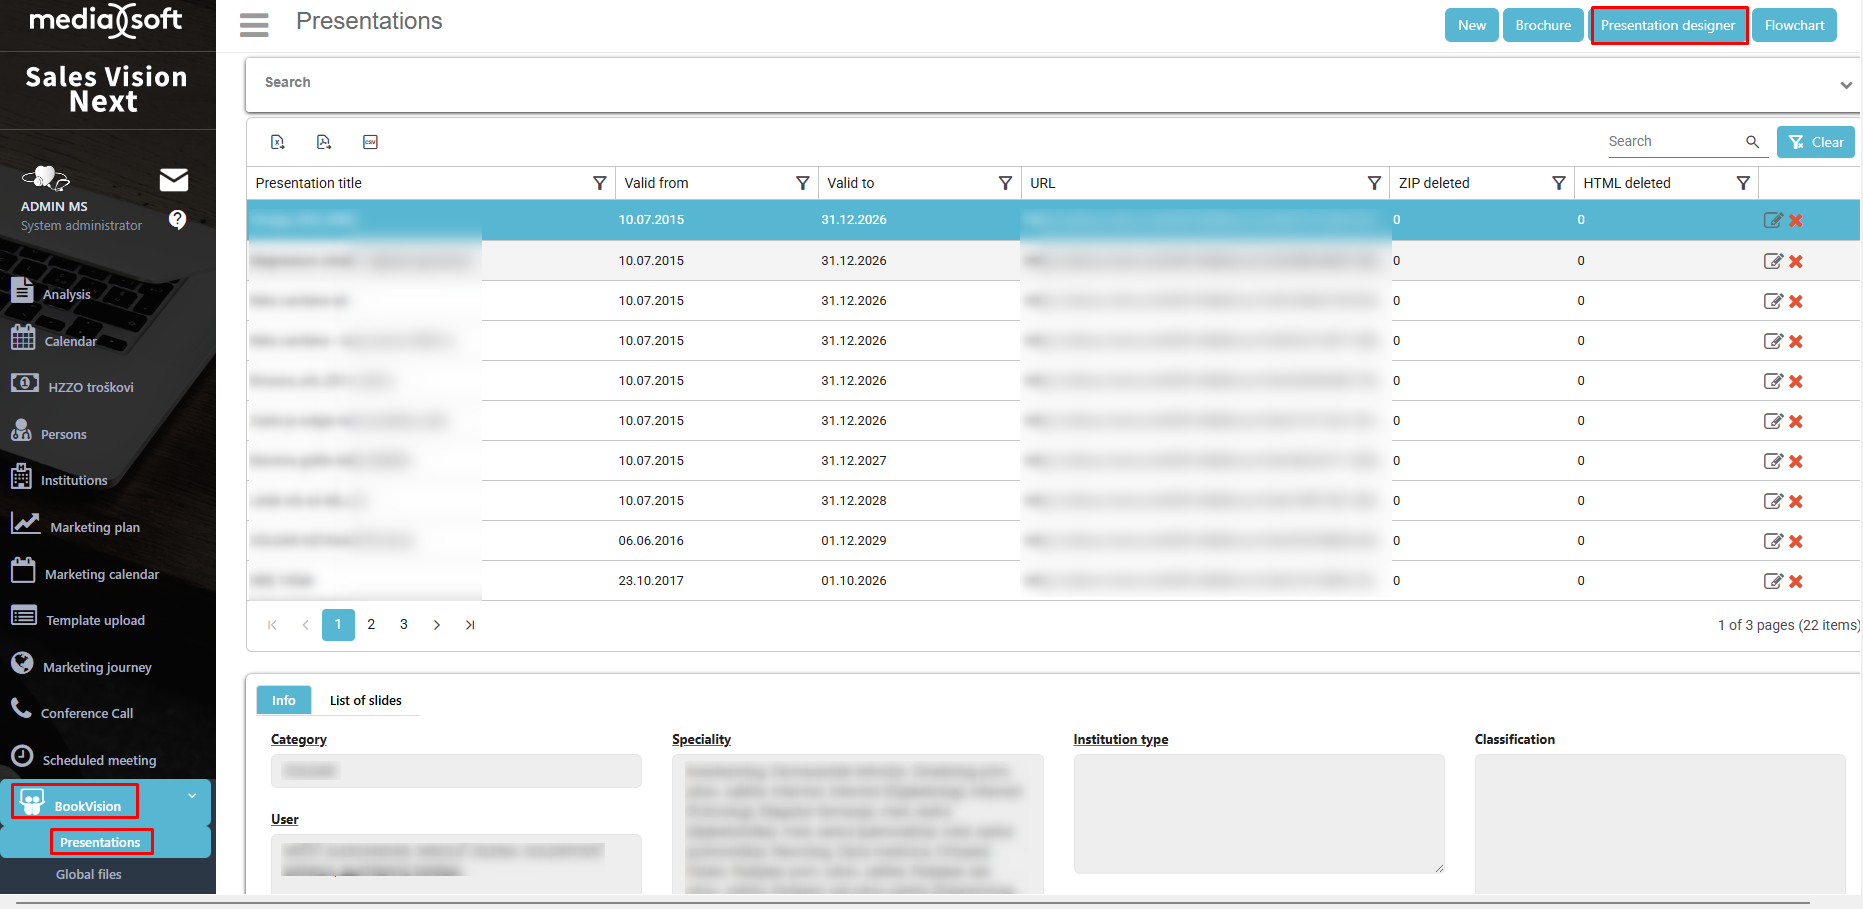
You can access it in Any Next web application by logging in as the administrator, going to the BookVision module and pressing on “Presentation designer” button in the top right corner.
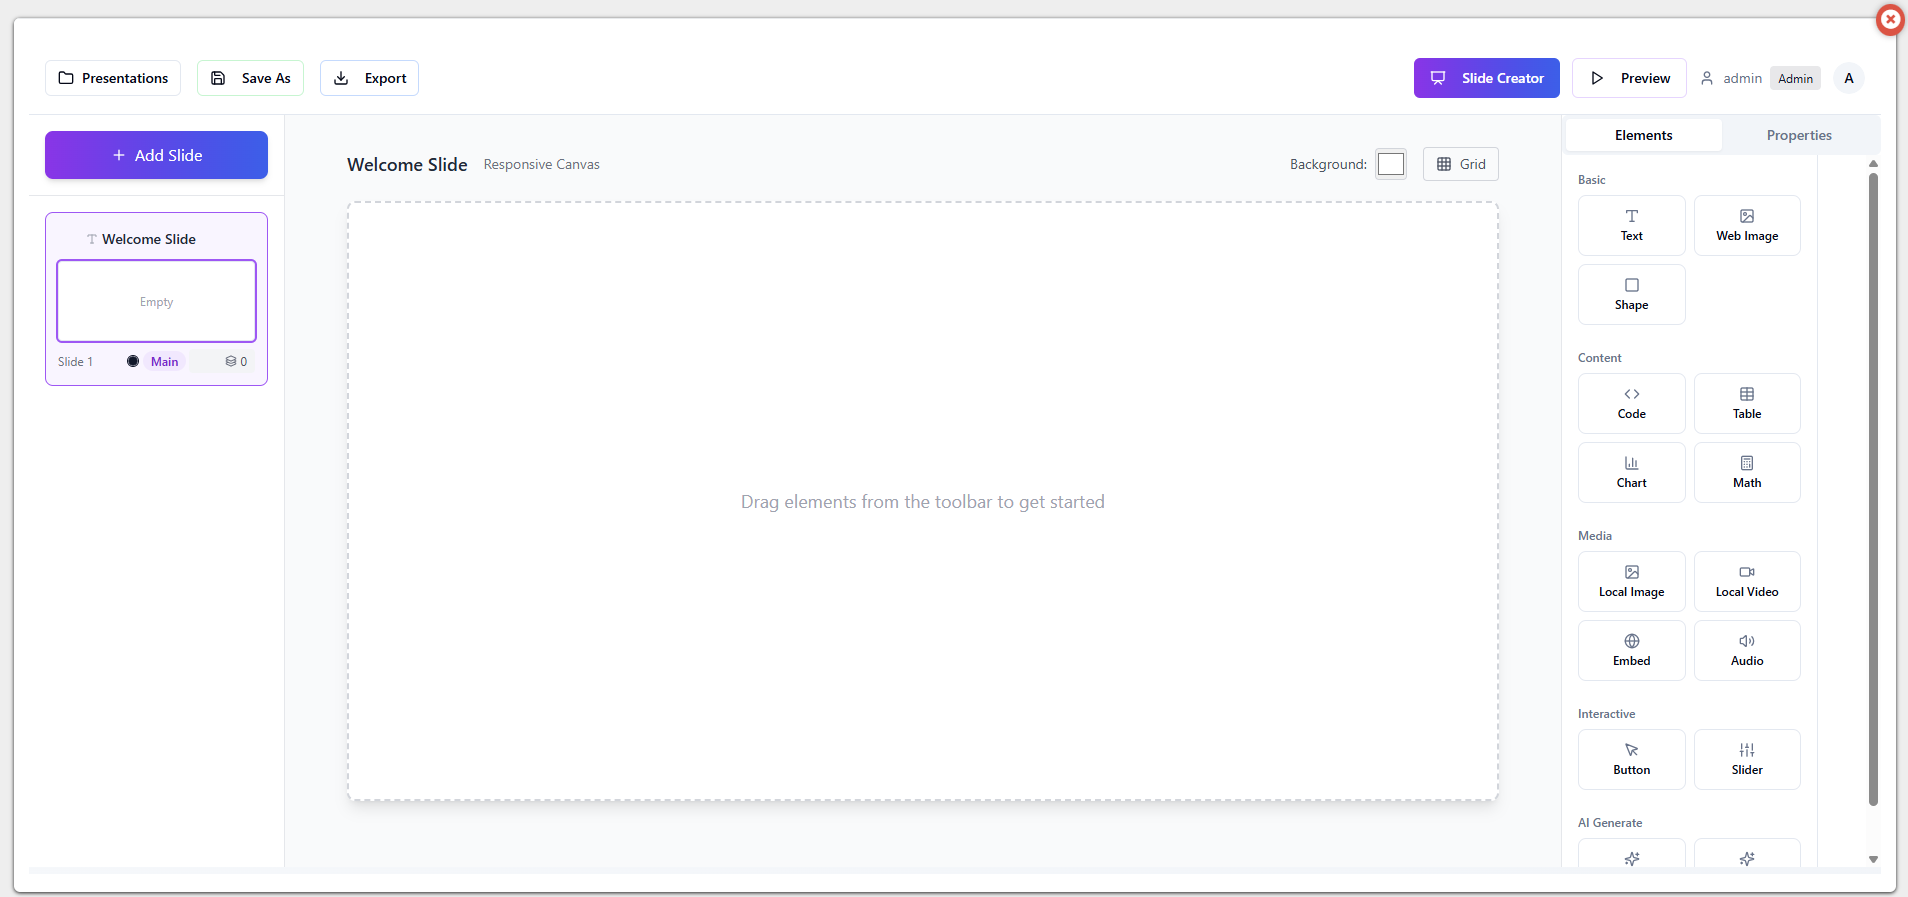
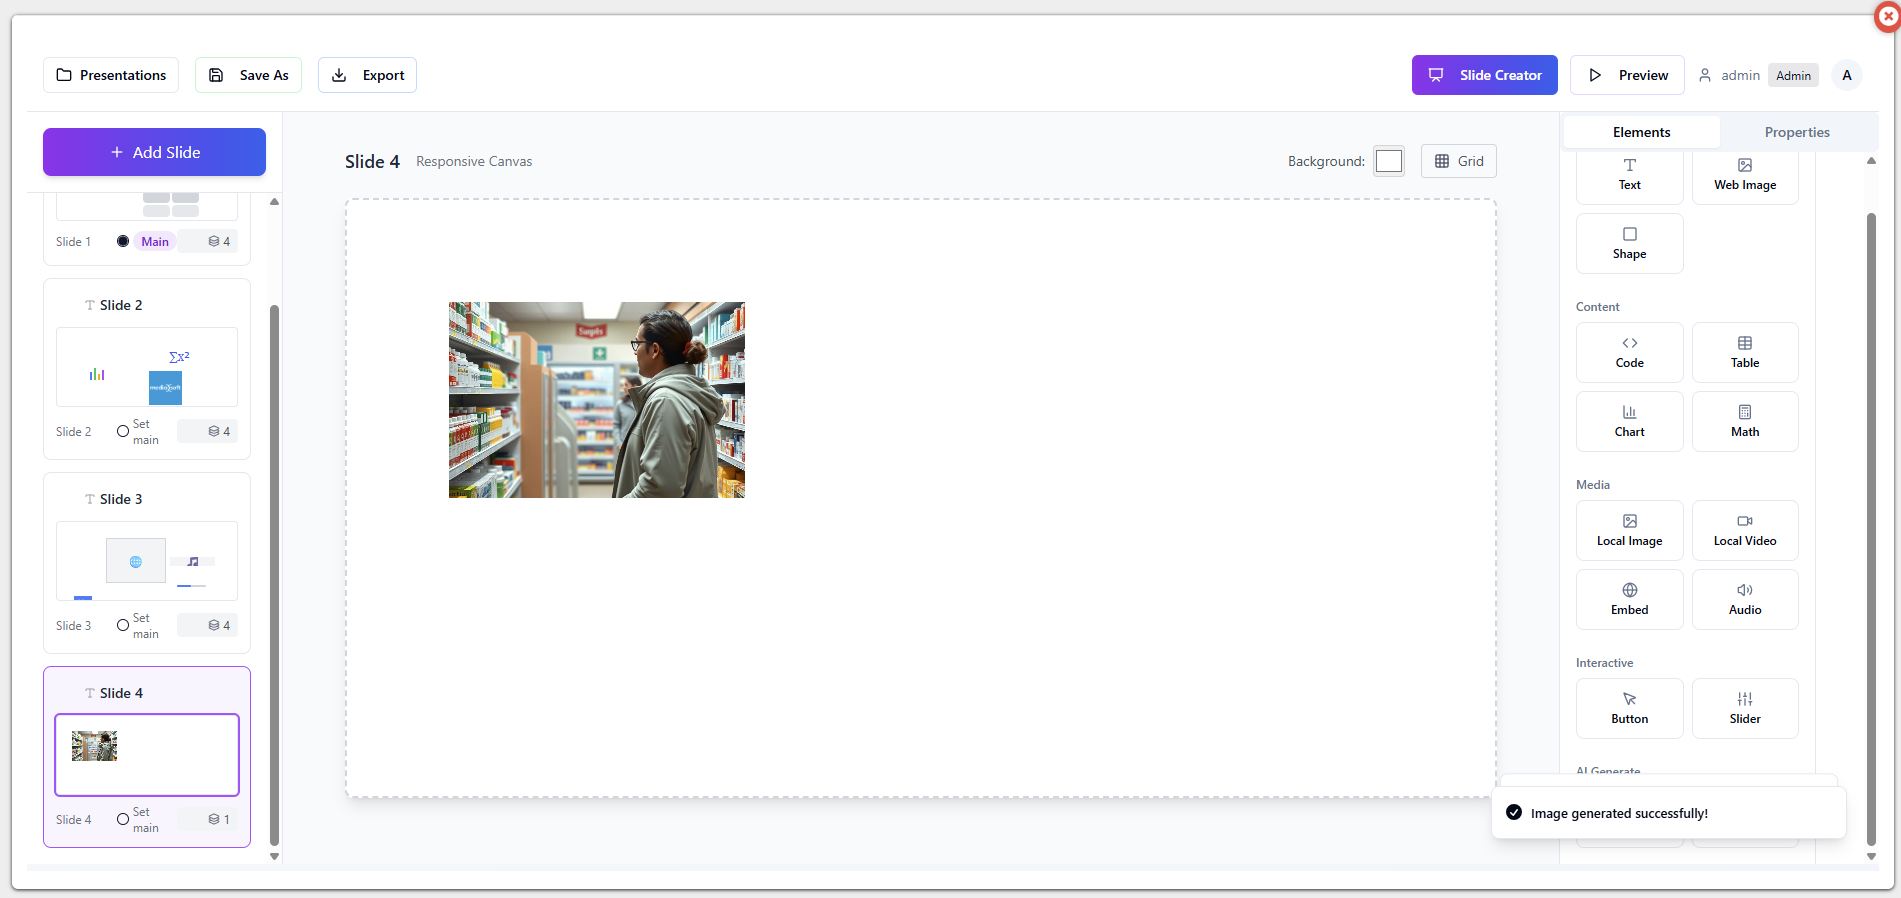
When you enter the module, you are presented with this screen:
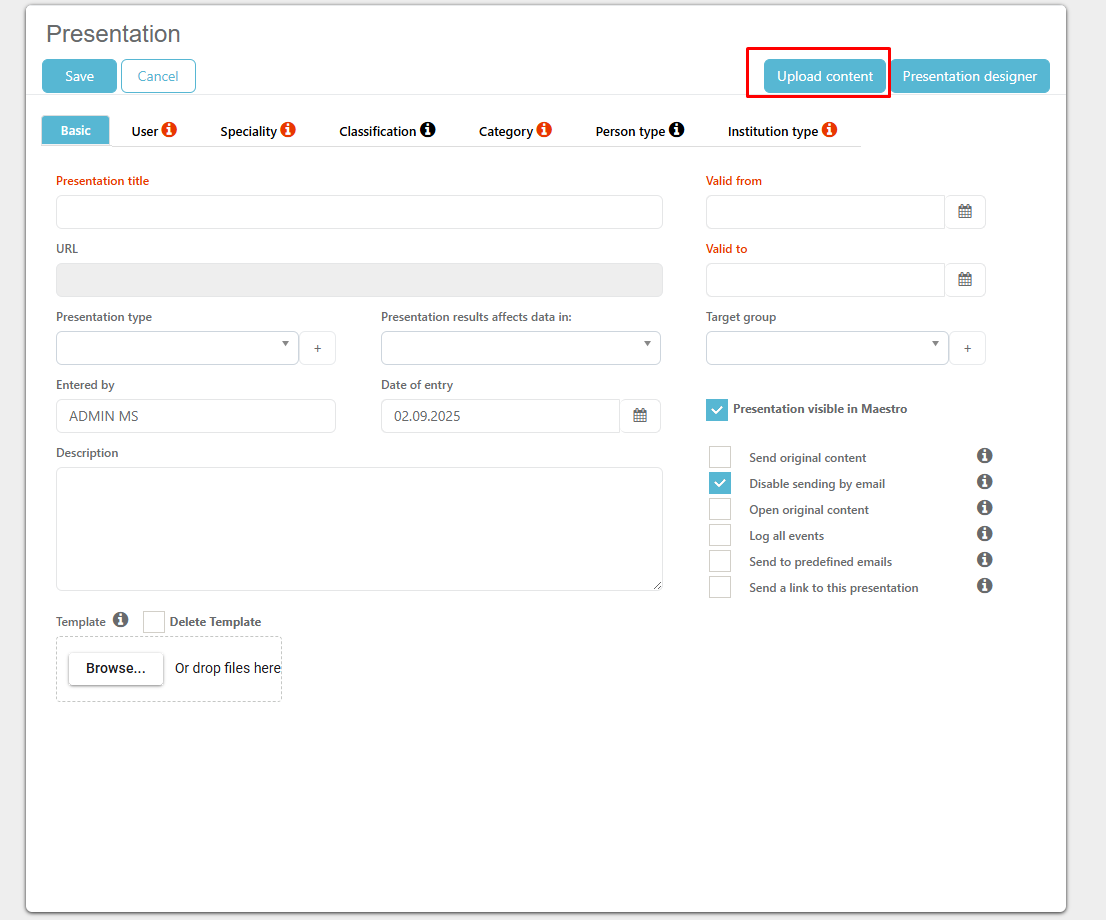
The presentation designer works in a way that you design your own slides with all the available elements on the right, saving and exporting the ZIP file and then uploading it into the Any Next BookVision module as you would with regular CLM ZIP file.
On the left:
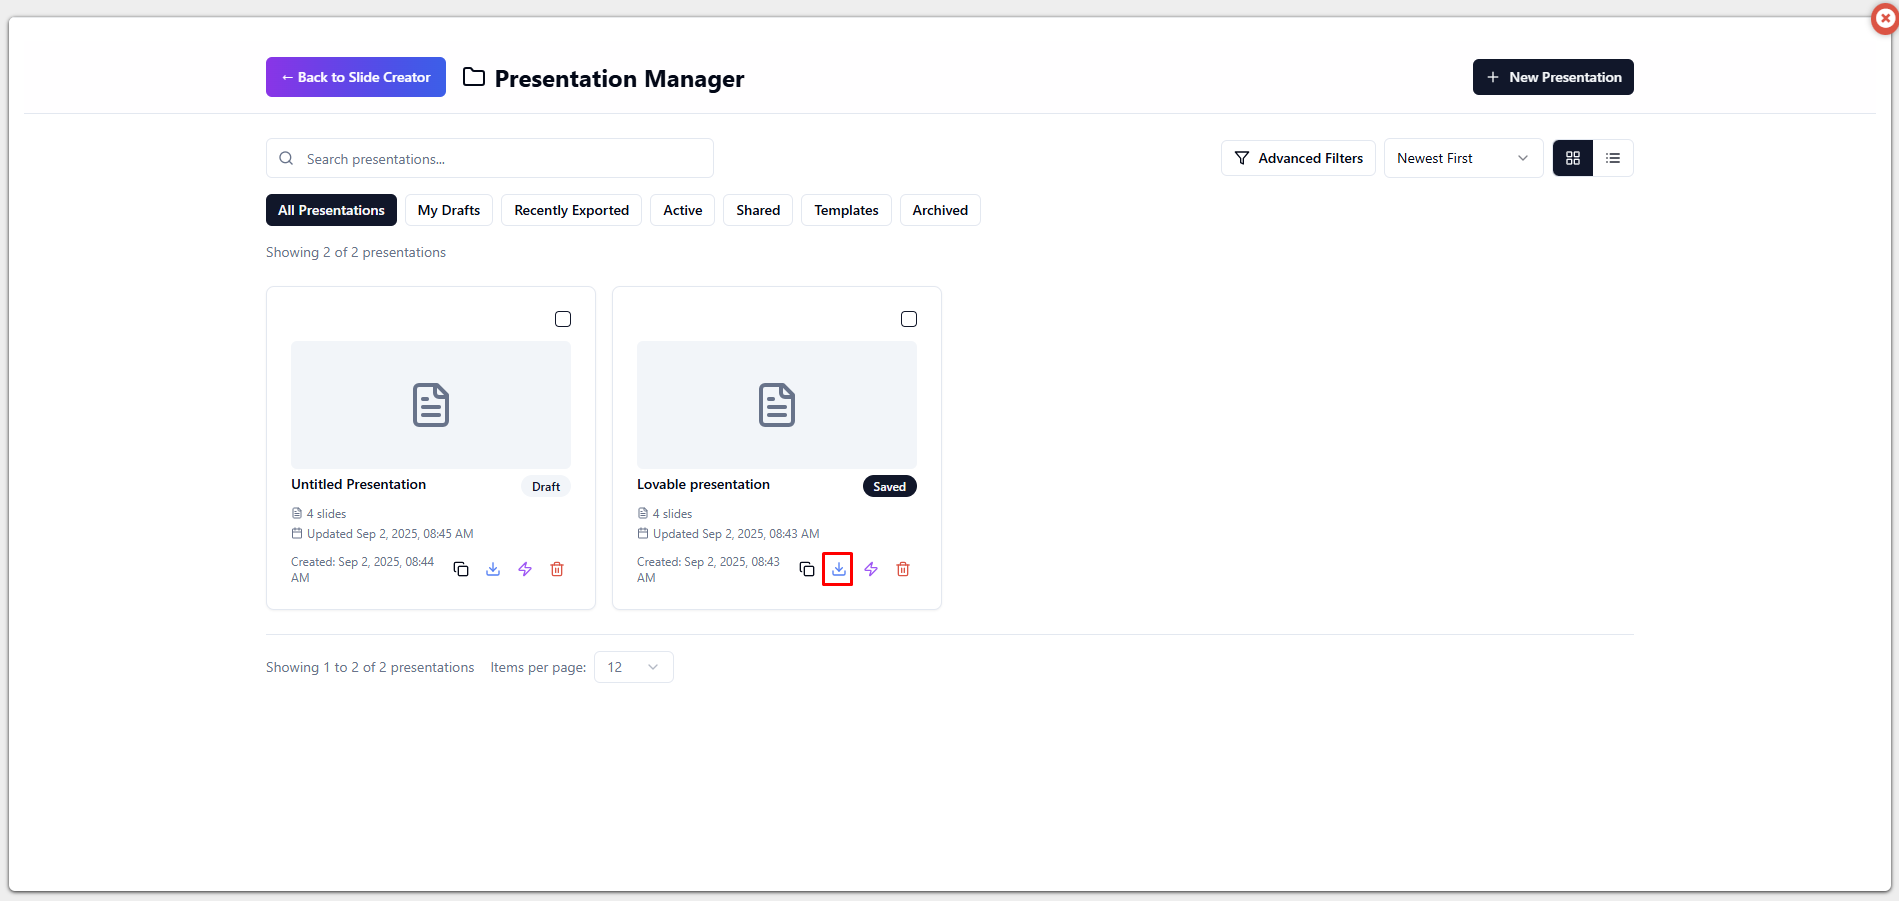
Presentations – all the presentations you have made in the Presentation designer
Save as – save the slides (presentation) you made.
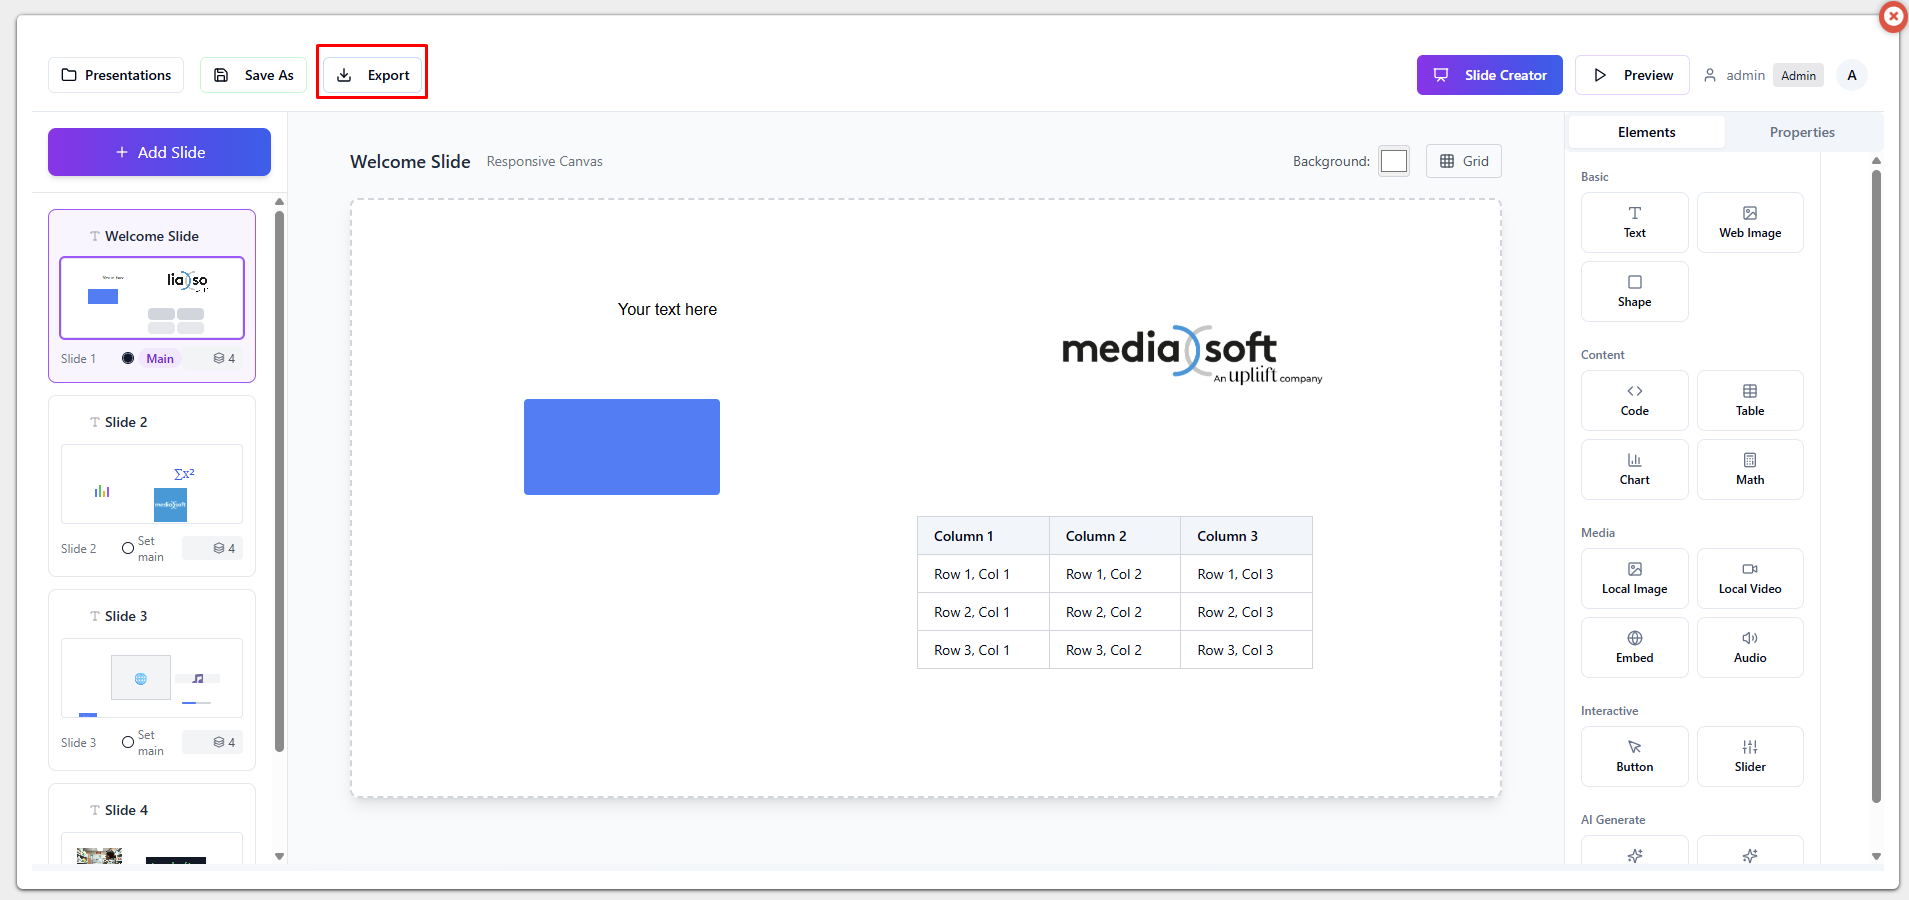
Export – export the currently “loaded” presentation as a ZIP file.
Add slide – add a new slide.
On the right:
Preview – preview the slides (presentation).
Elements – all the available elements that you can “drag and drop” into the slides.
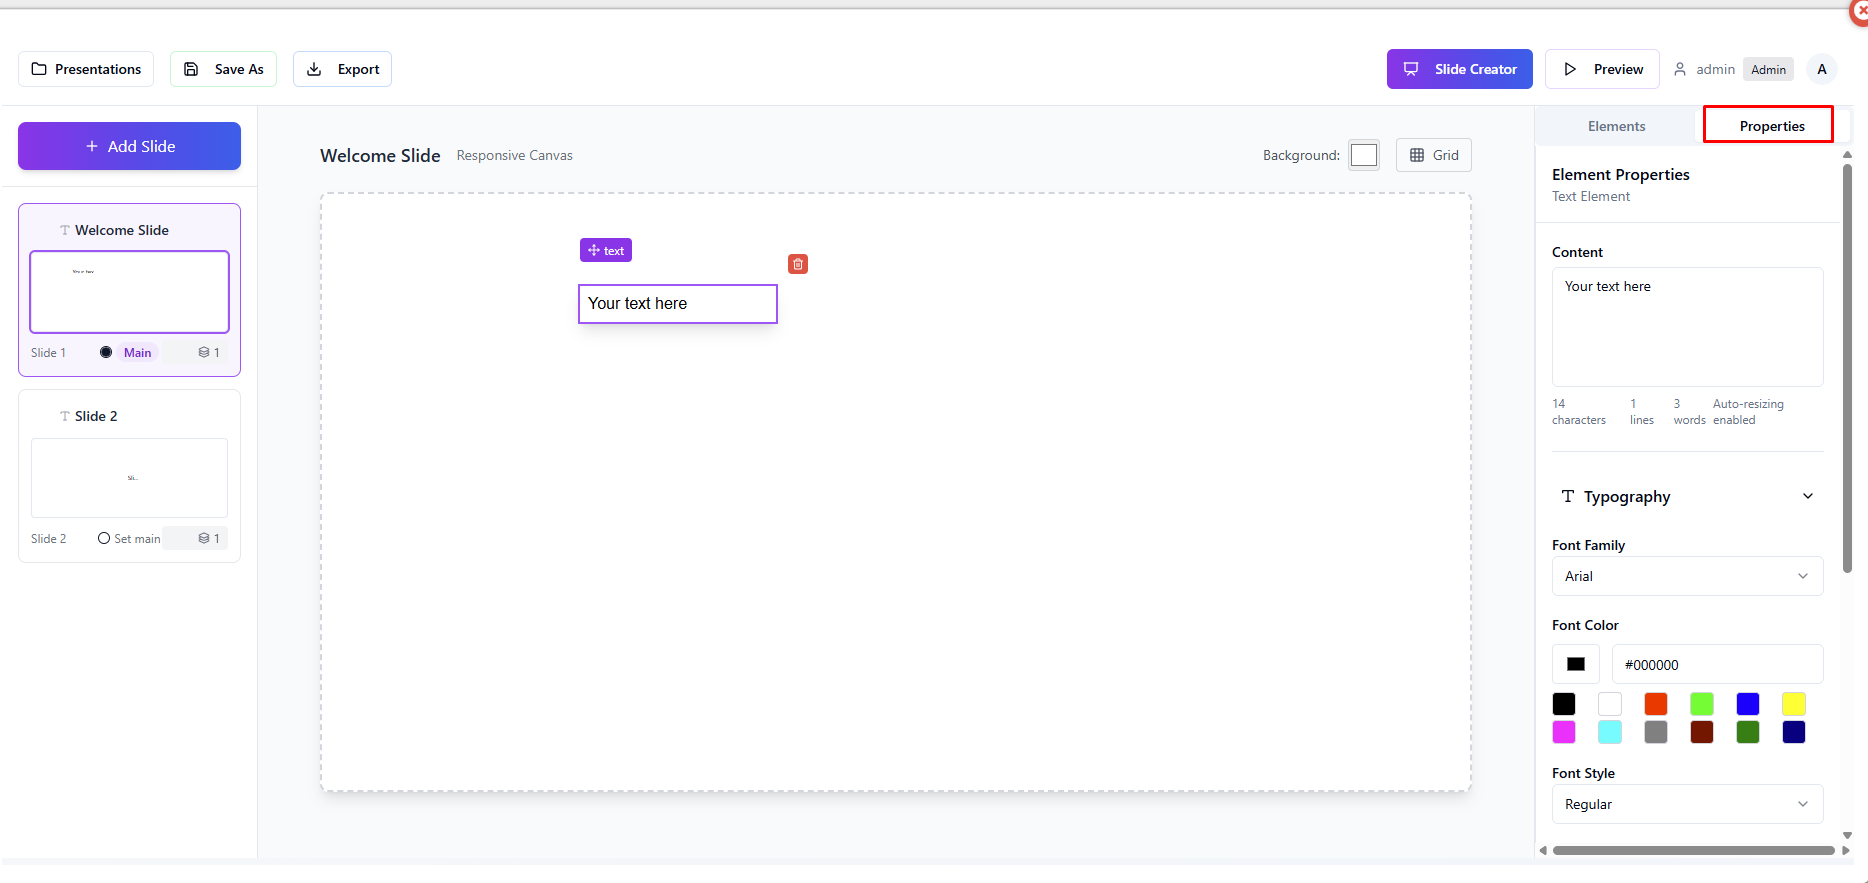
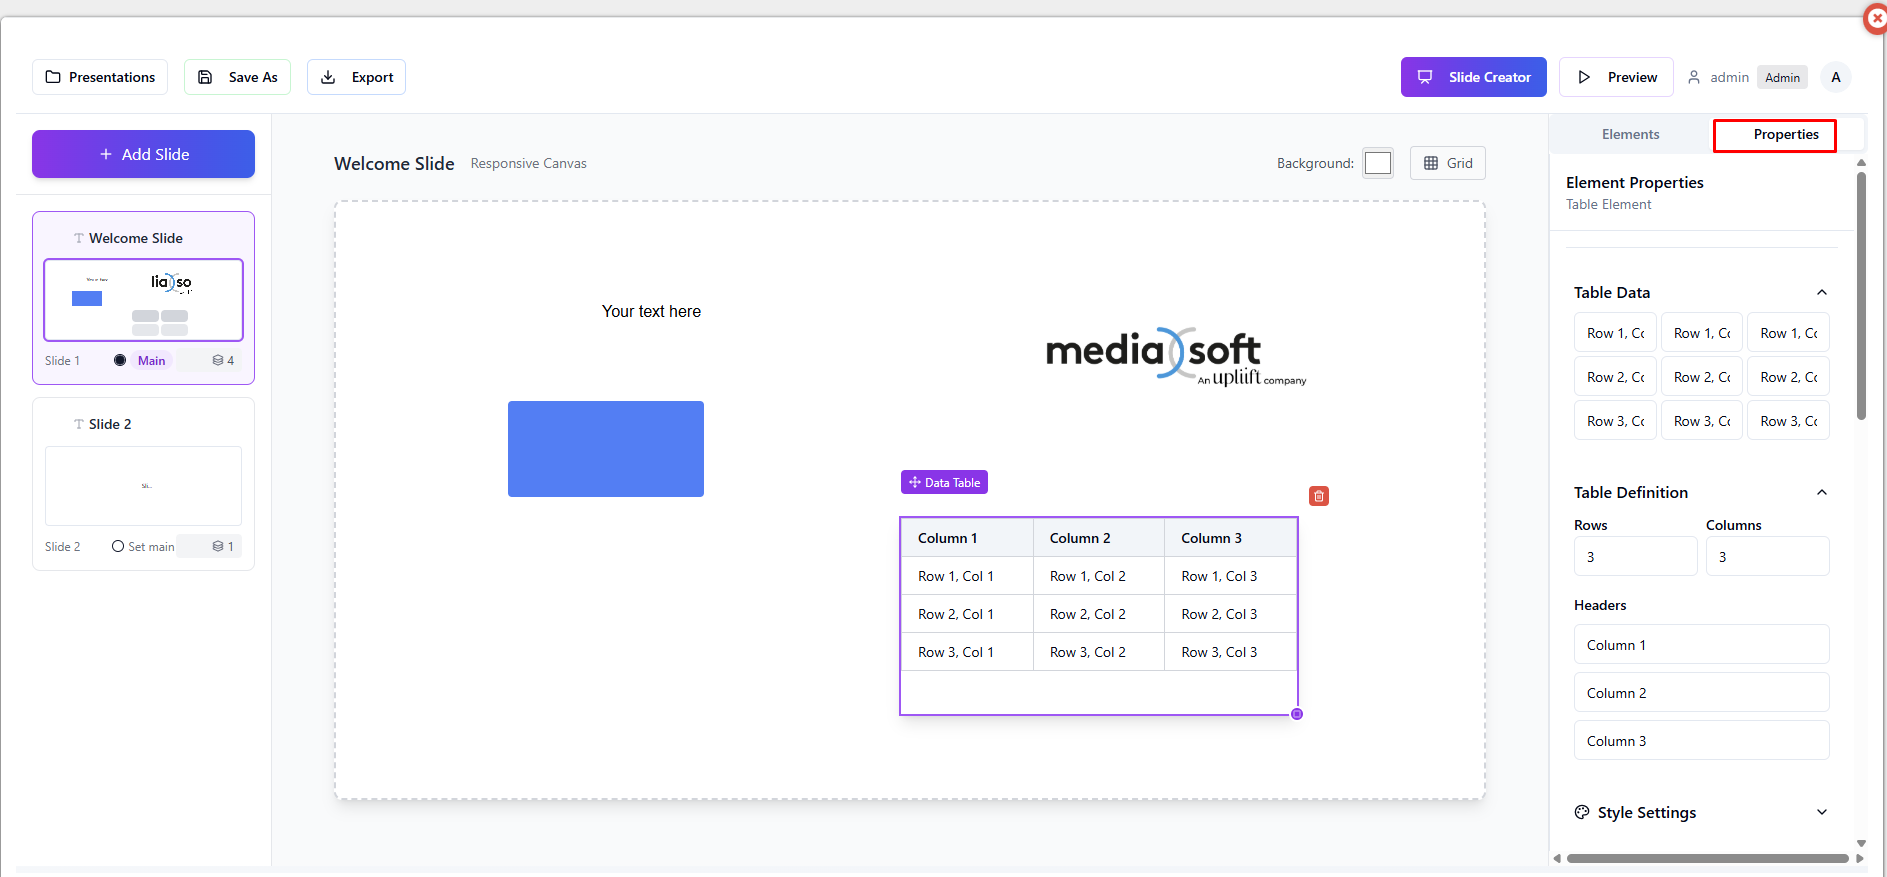
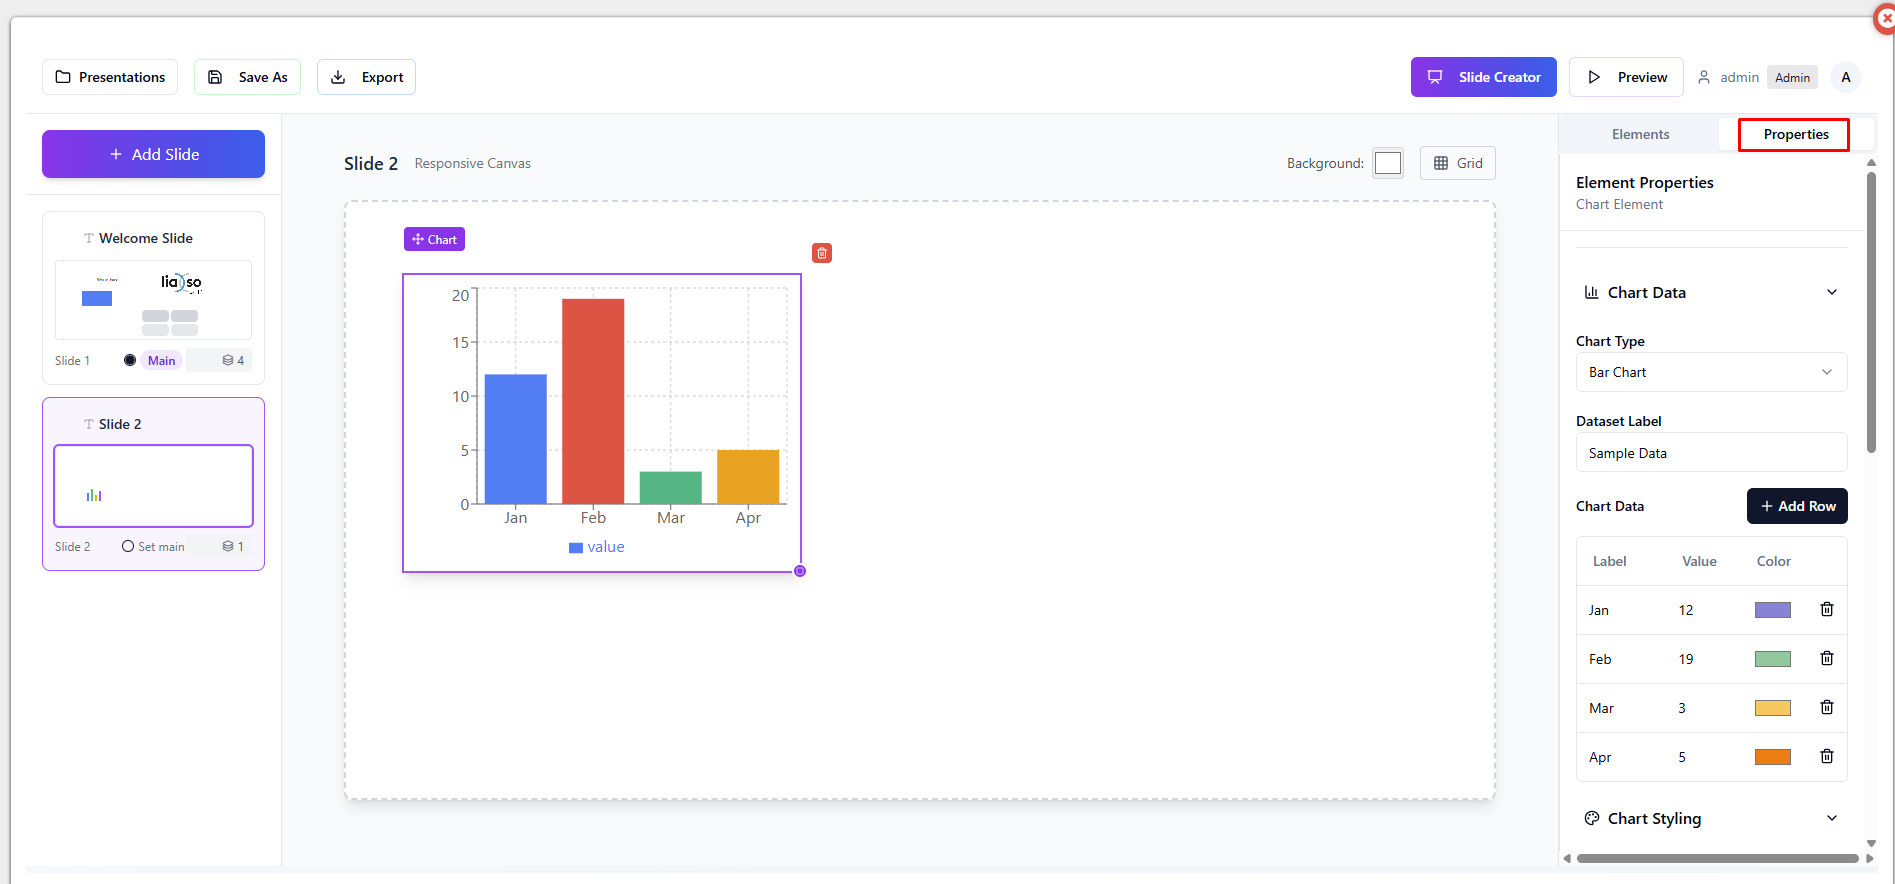
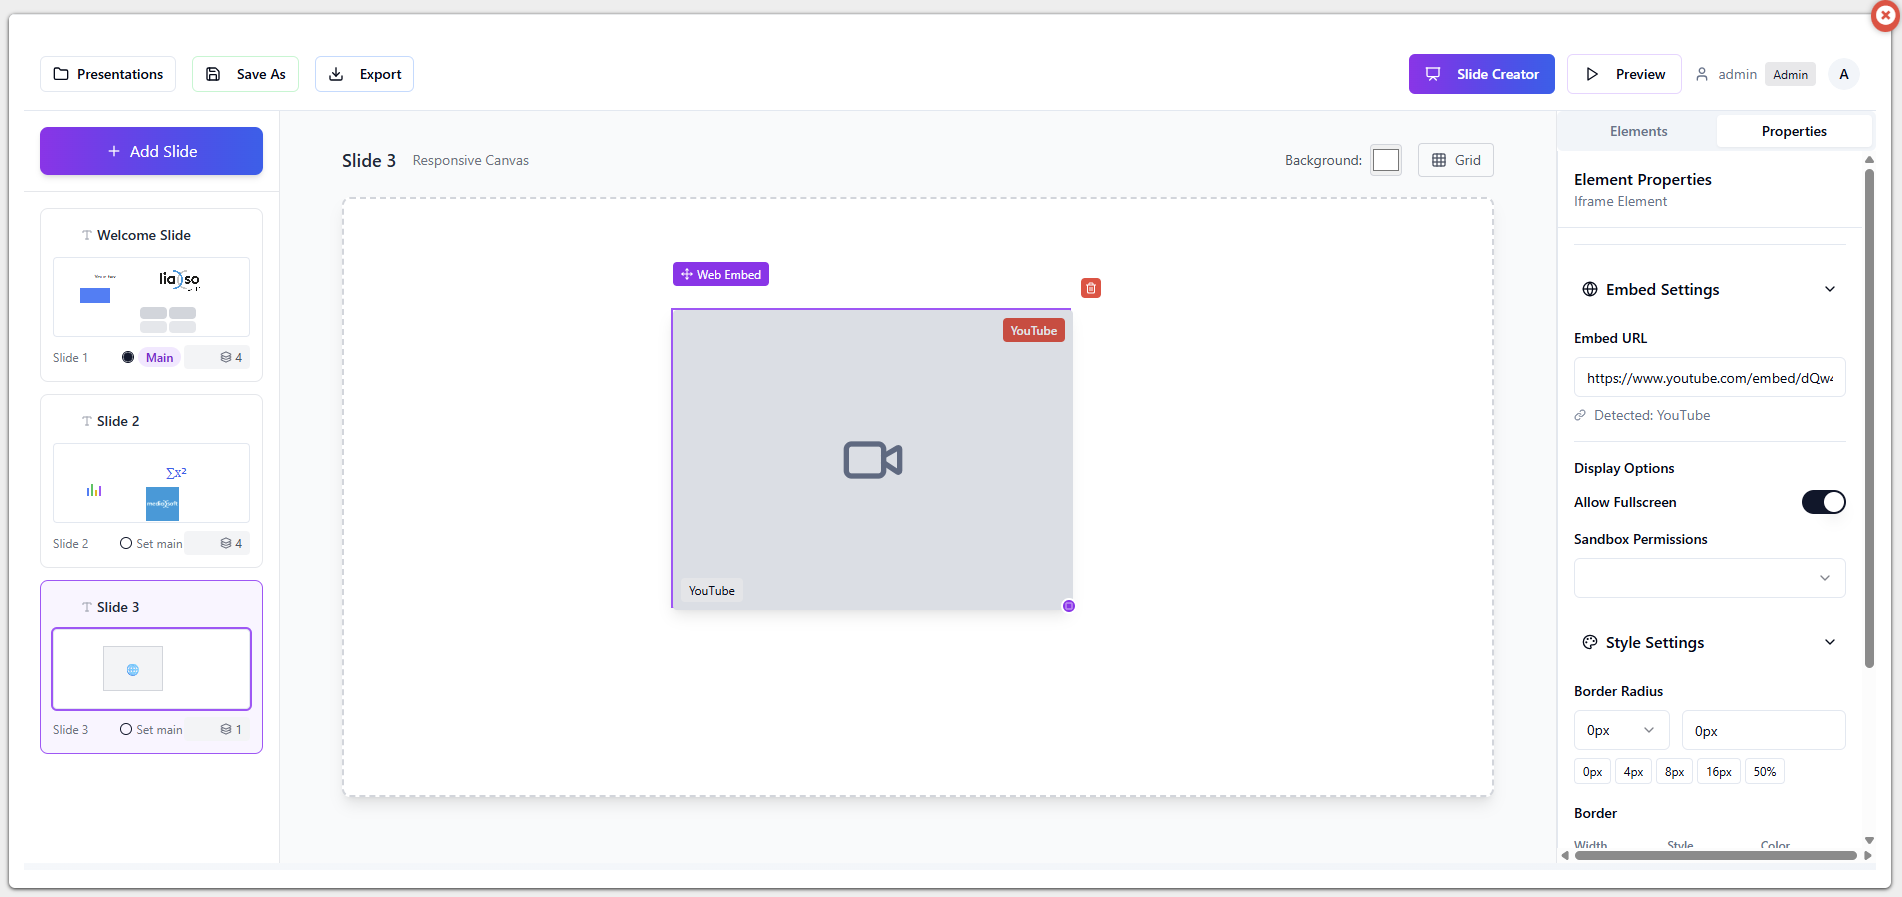
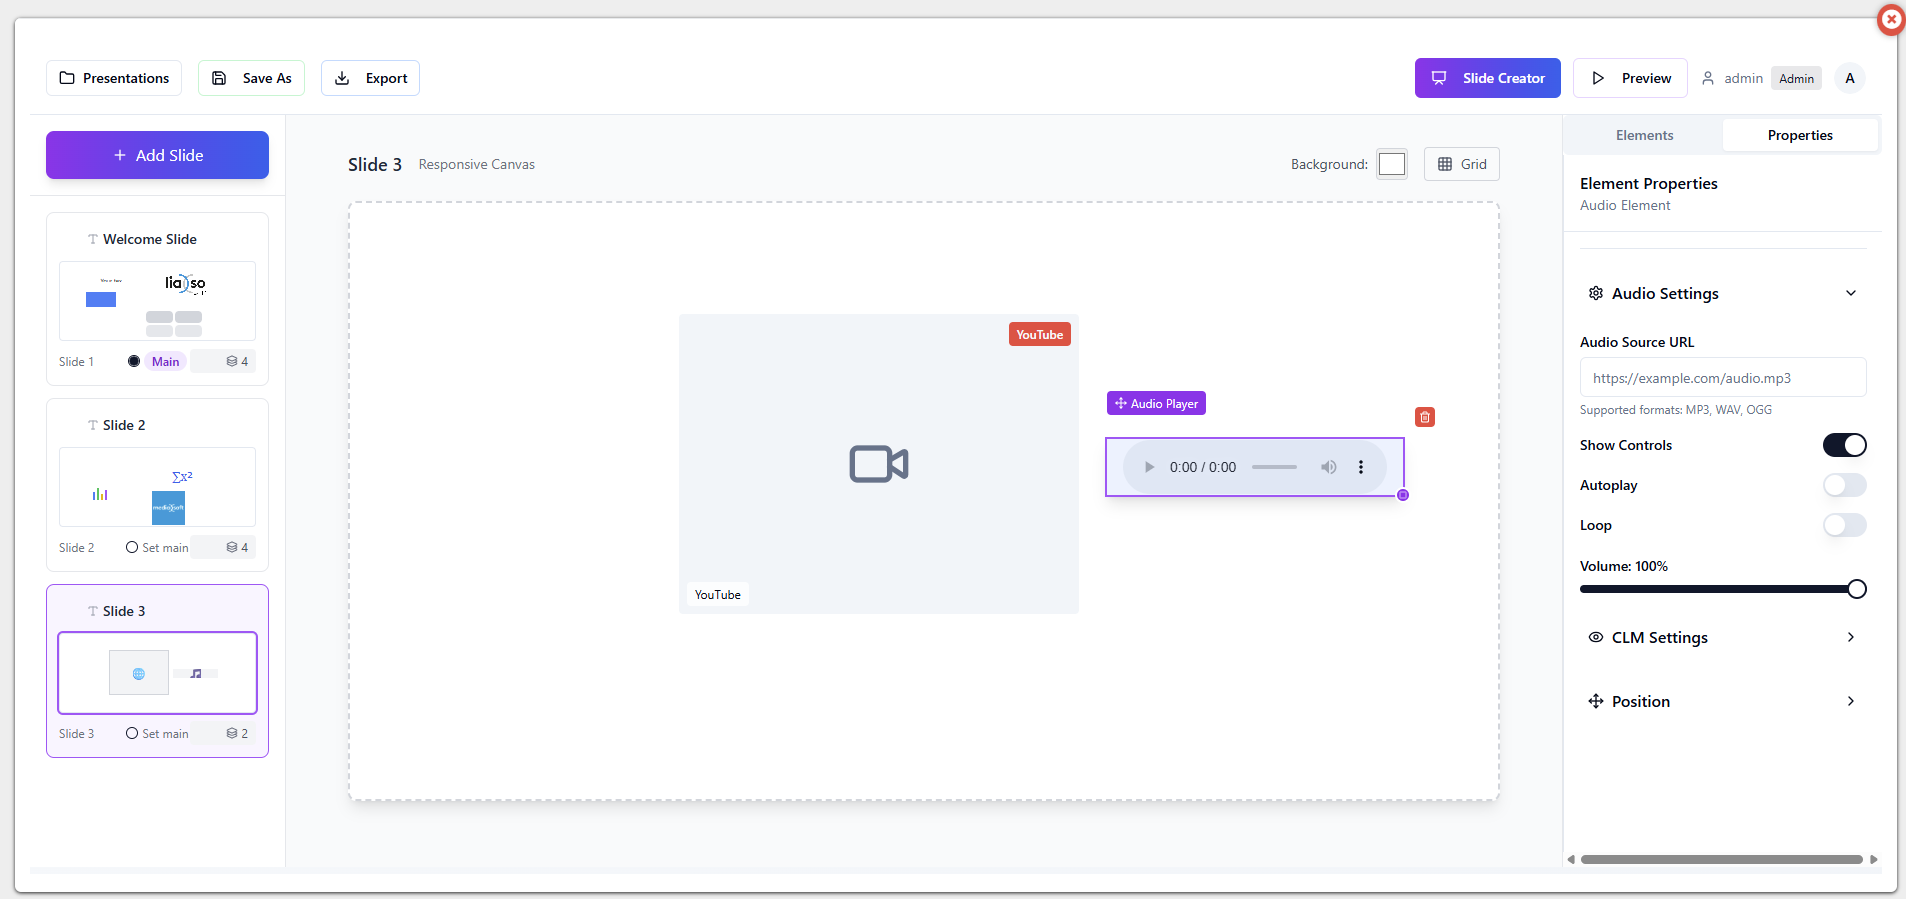
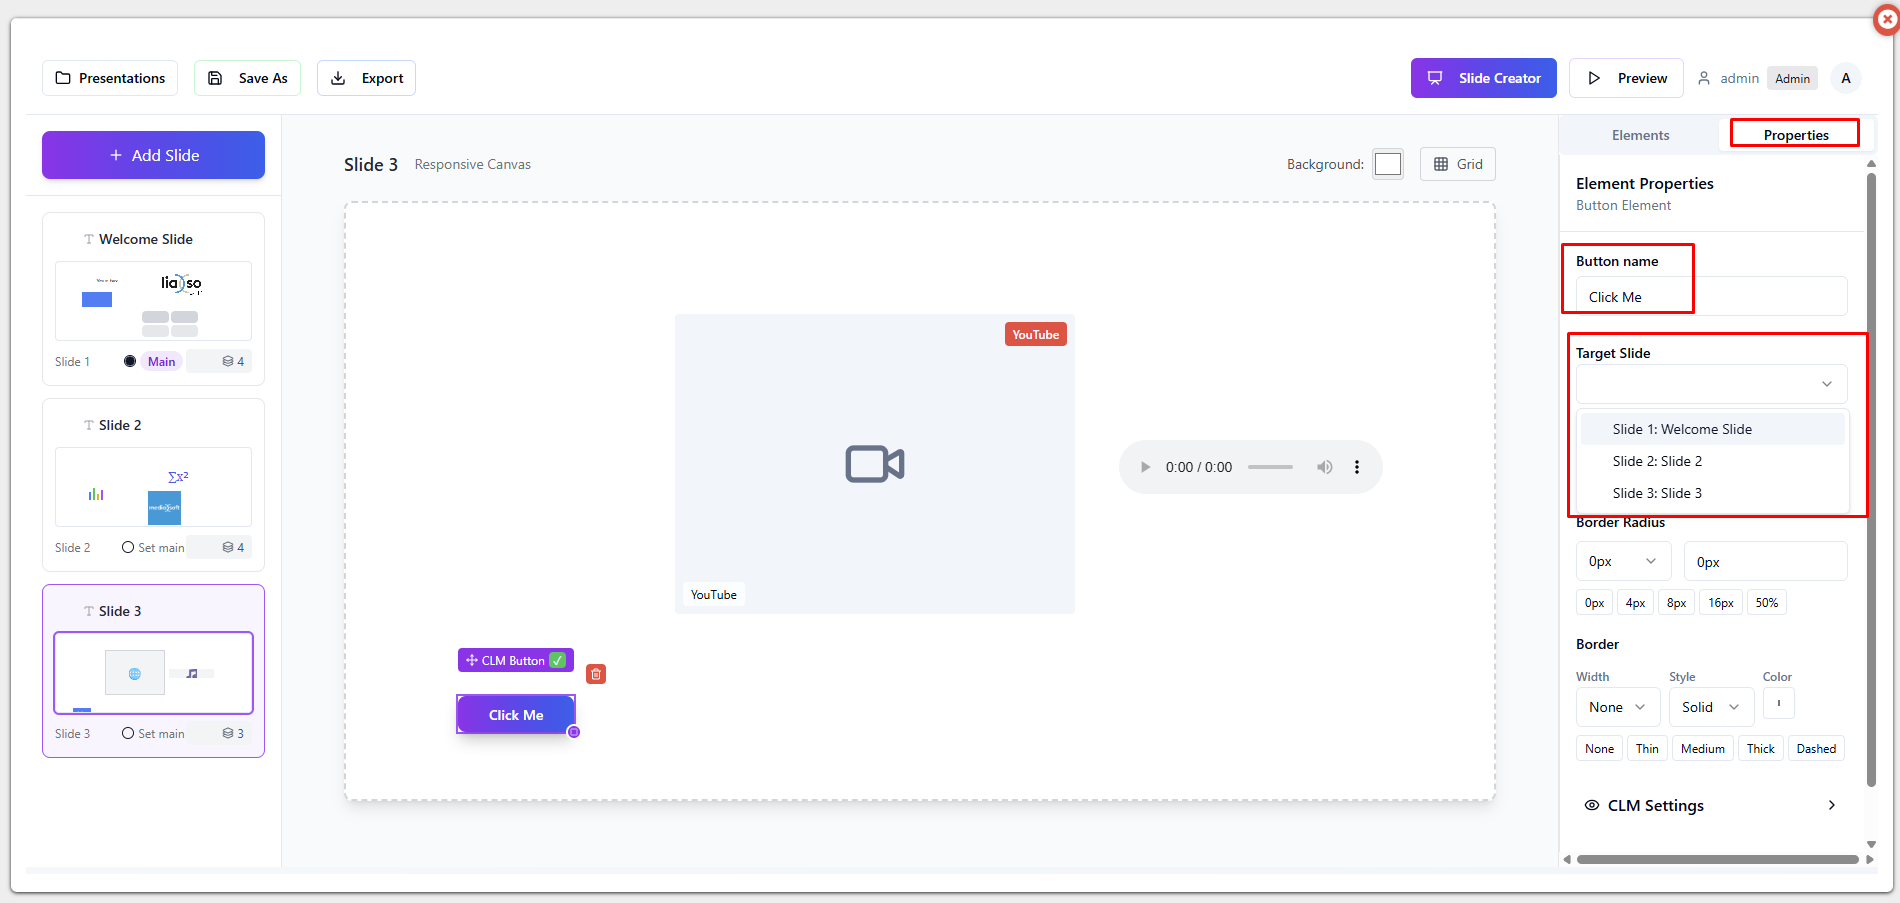
Properties – clicking on any of the elements that are on the slide, you can see their properties for additional editing if needed.
Background – change the background color of the selected slide
Grid – toggle grid view – helps aligning elements
Element – Text
Text is an element which you can drag and drop anywhere on the slide.
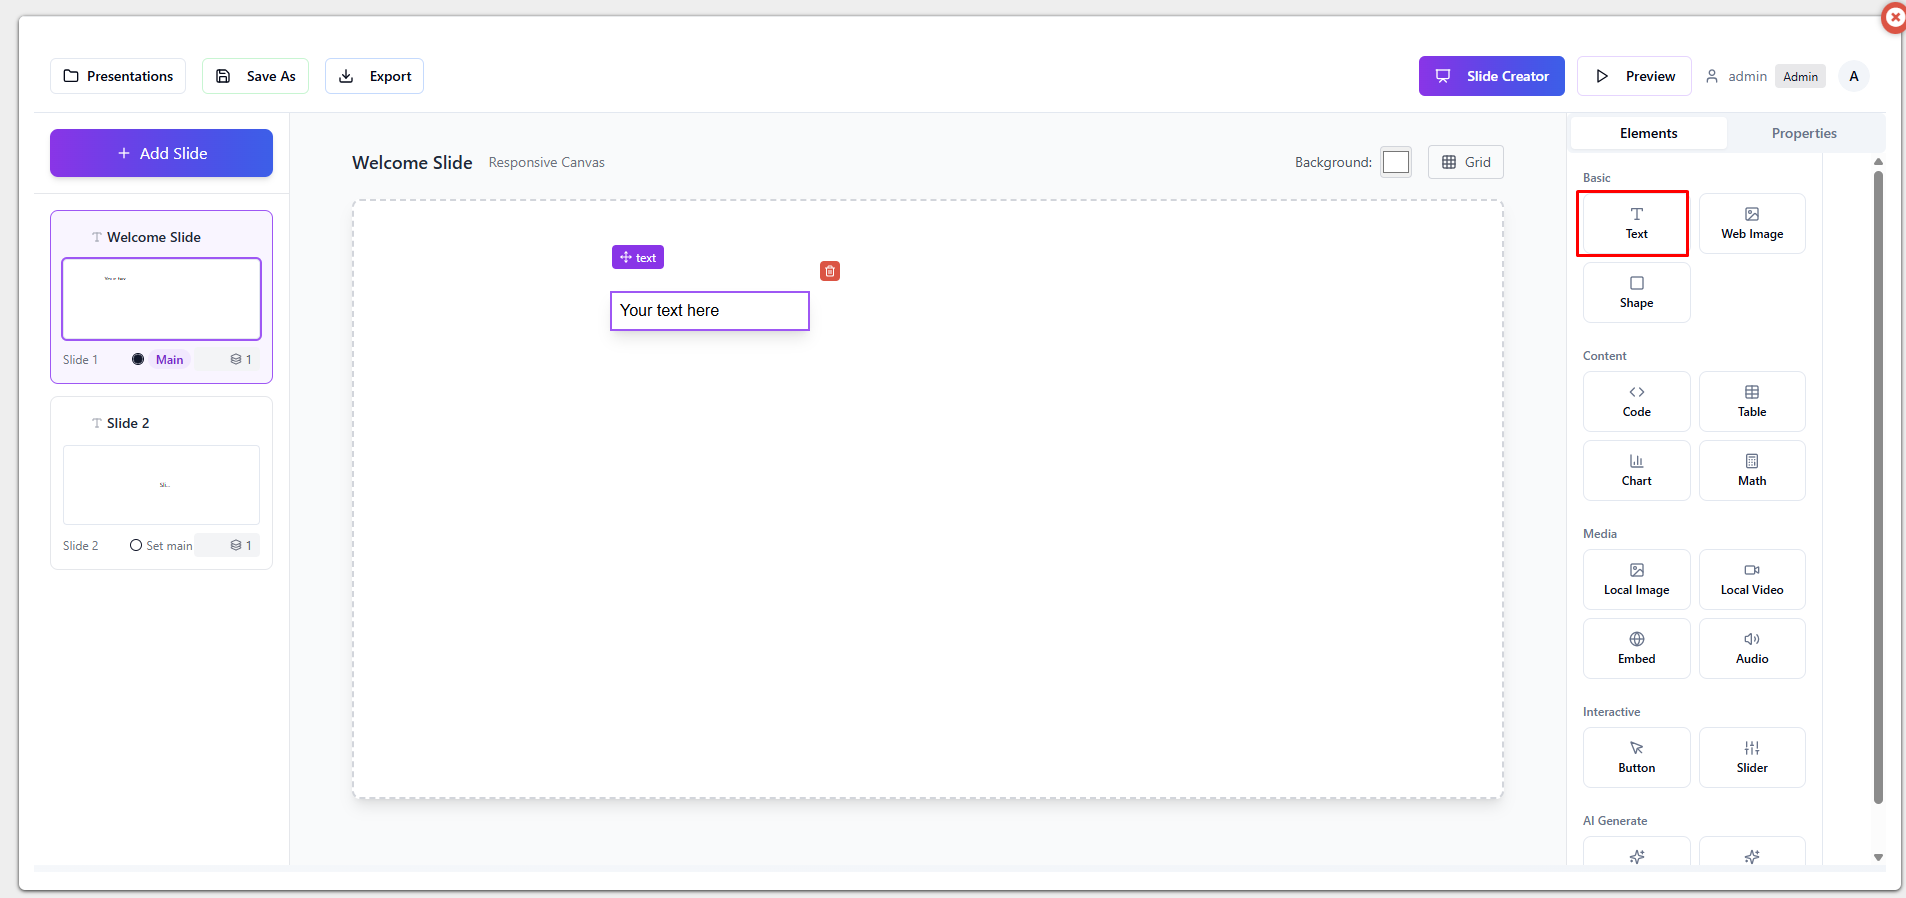
Clicking on it on the slide opens up properties of the selected text, where you can change what is written, font, color, etc.
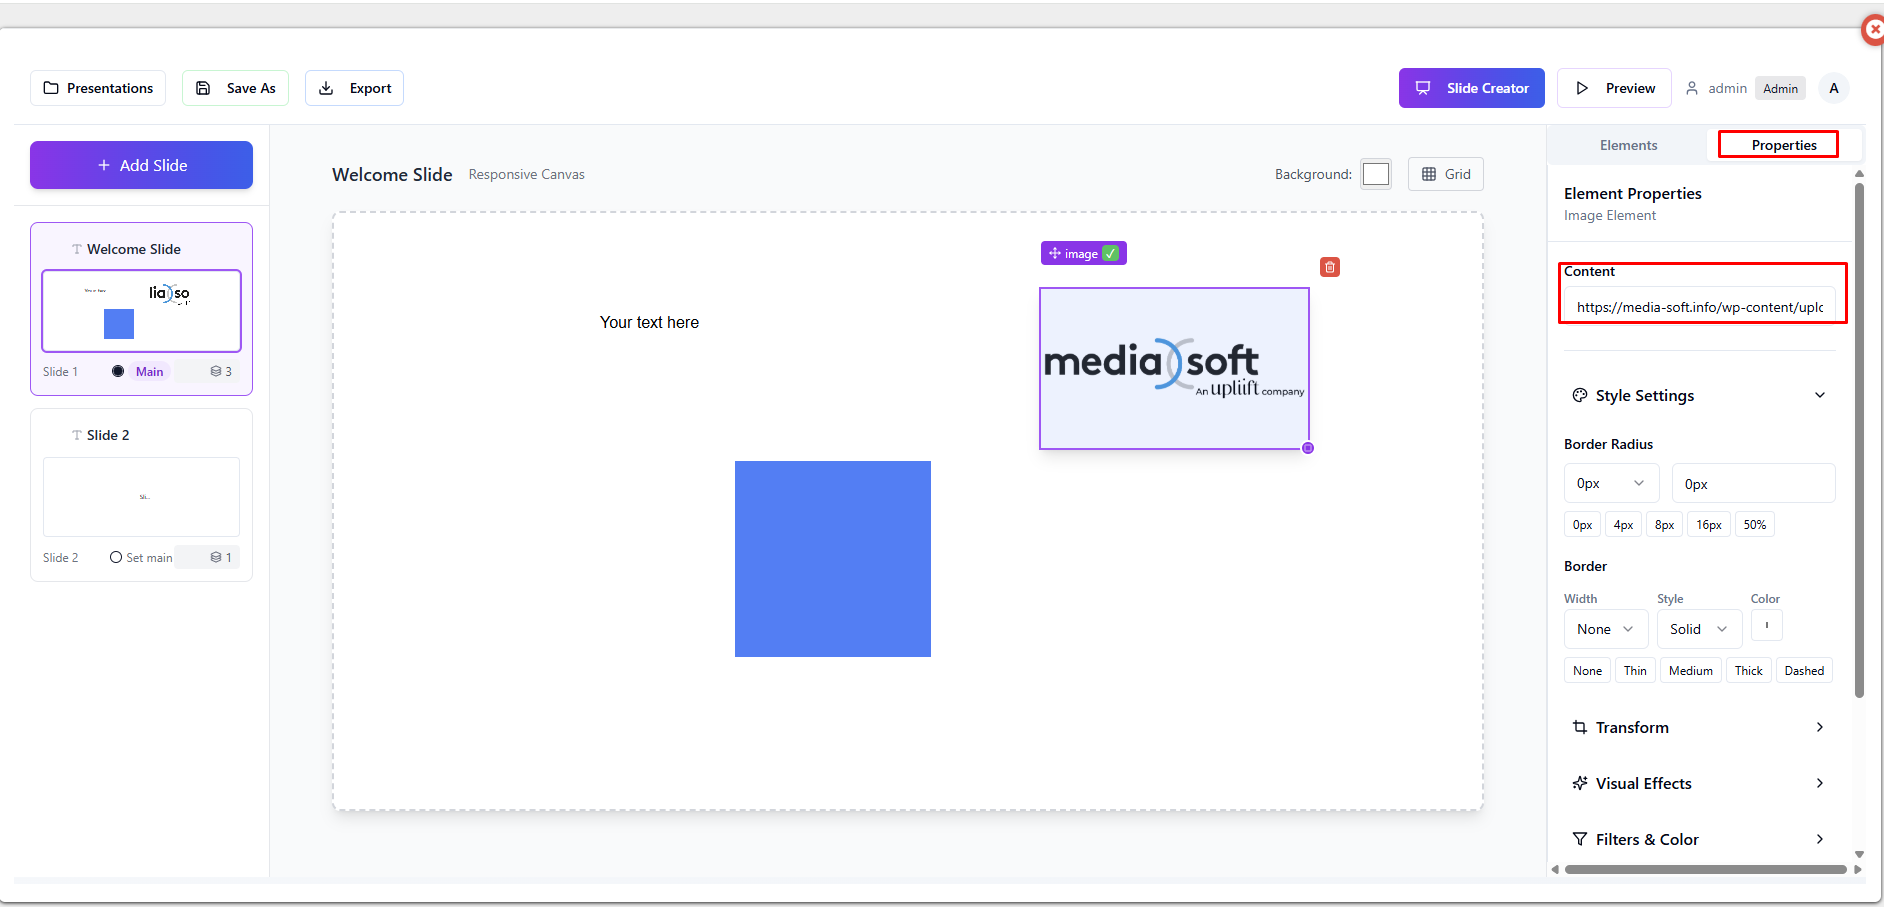
Element – Web image
Drag and drop element. By default, it has a randomly generated image.
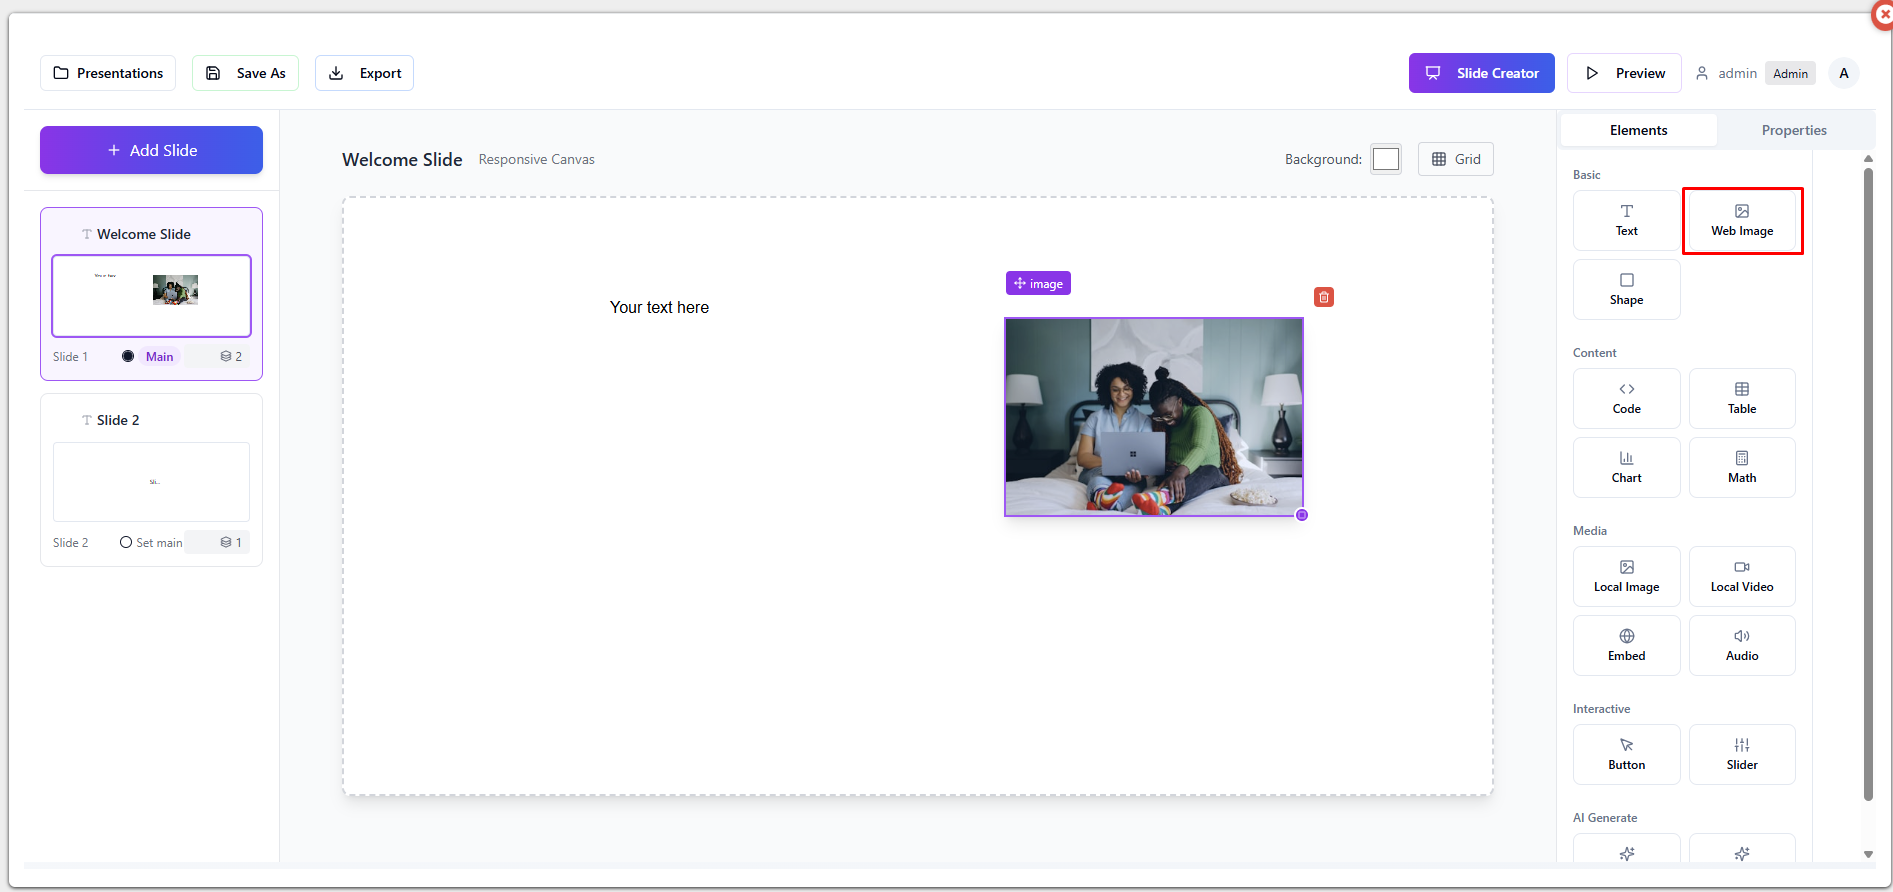
Clicking on it on the slide opens up properties of the selected web image, where most important thing is the Content field, as it is web image, you have to insert a link to the image, after that you many options available for the image itself, such as style settings, transform, visual effects, etc.
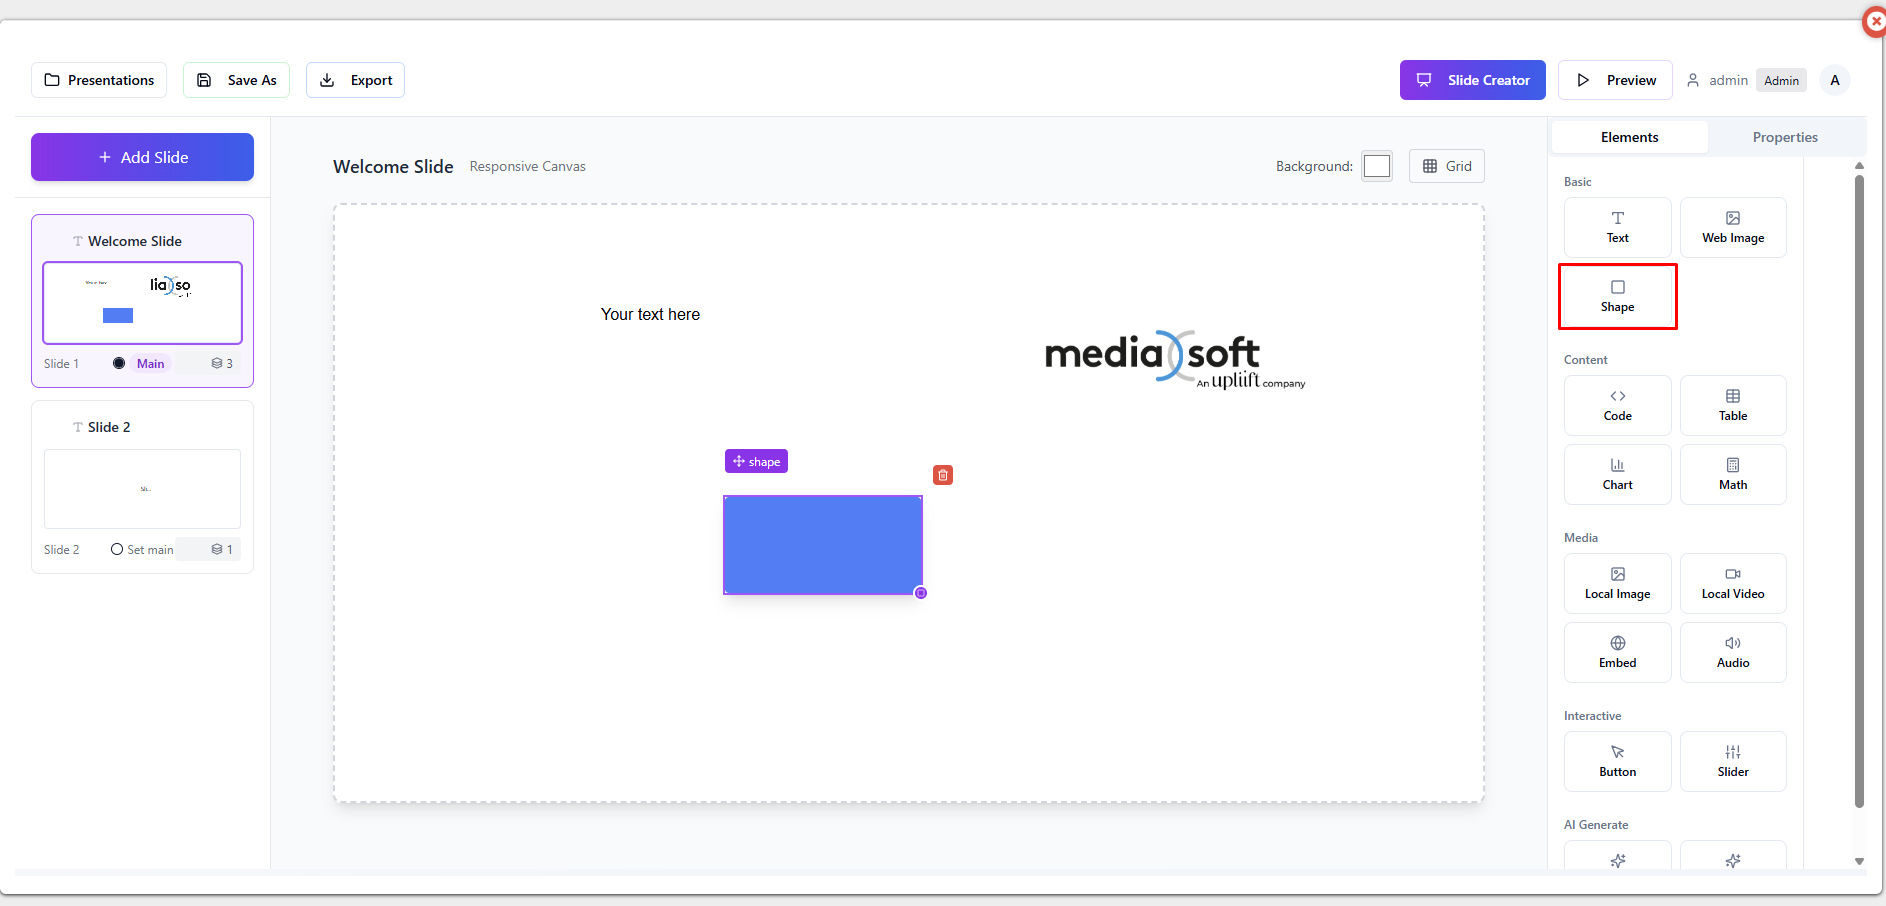
Element – Shape
Drag and drop element.
Element – Code
Drag and drop element.
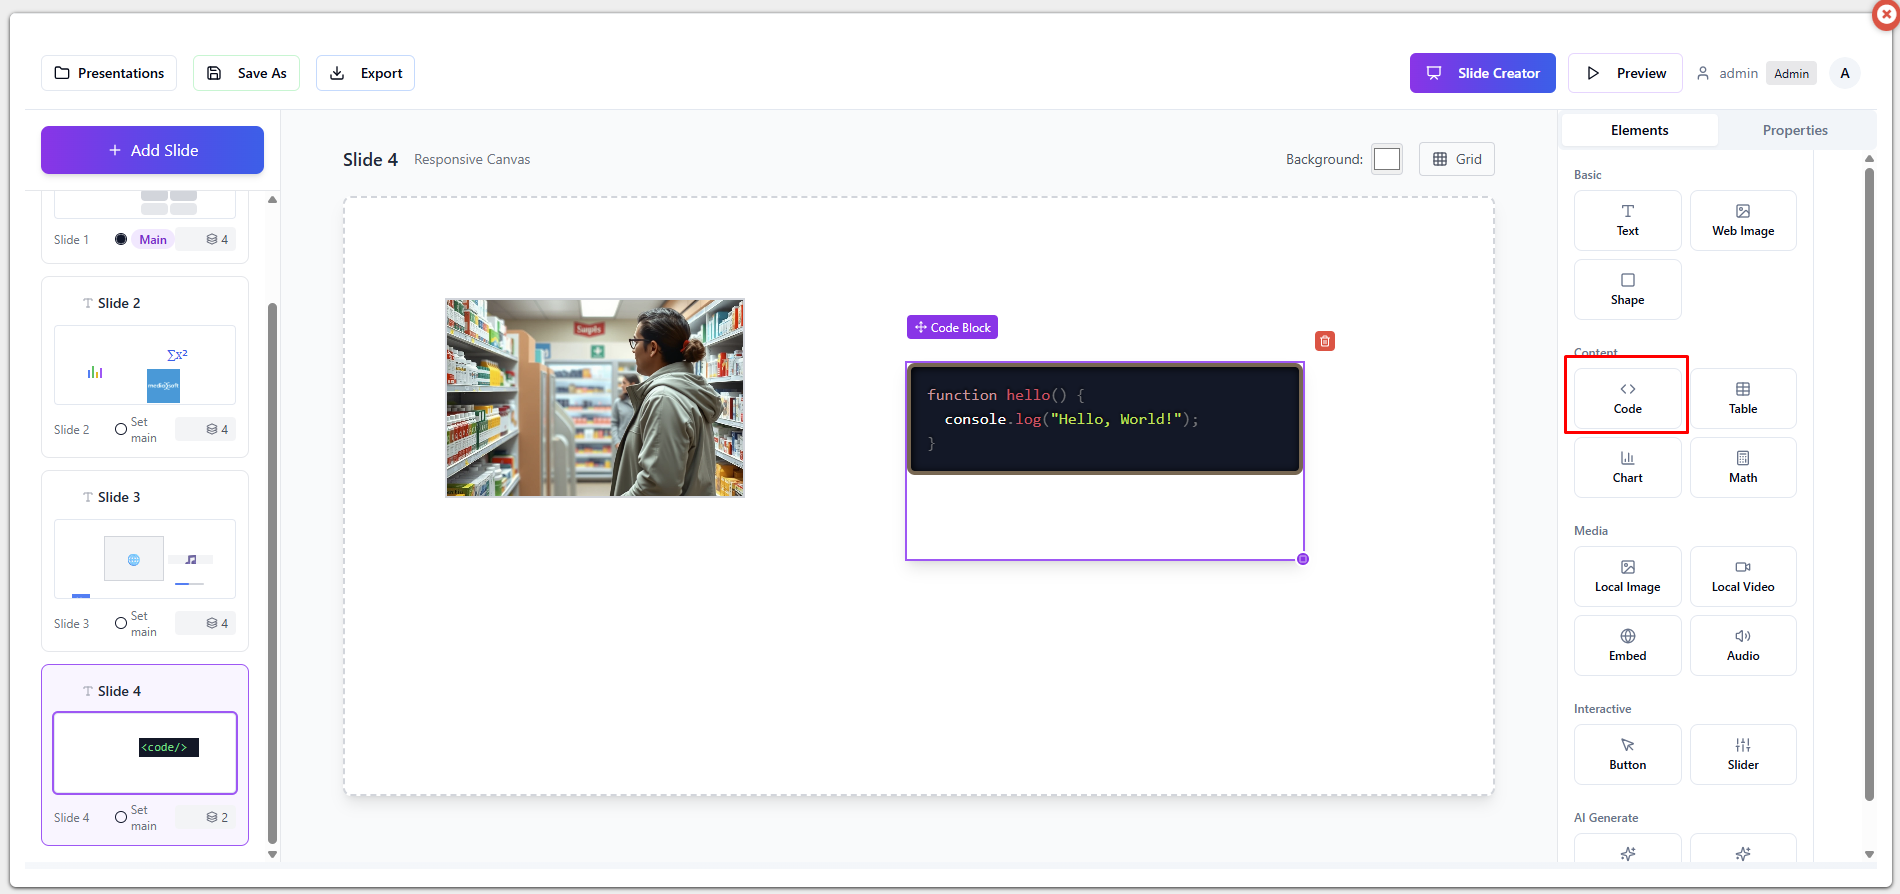
Code element can be used for writing scripts to incorporate into the slide, such as animations.
Element – Table
Drag and drop element.
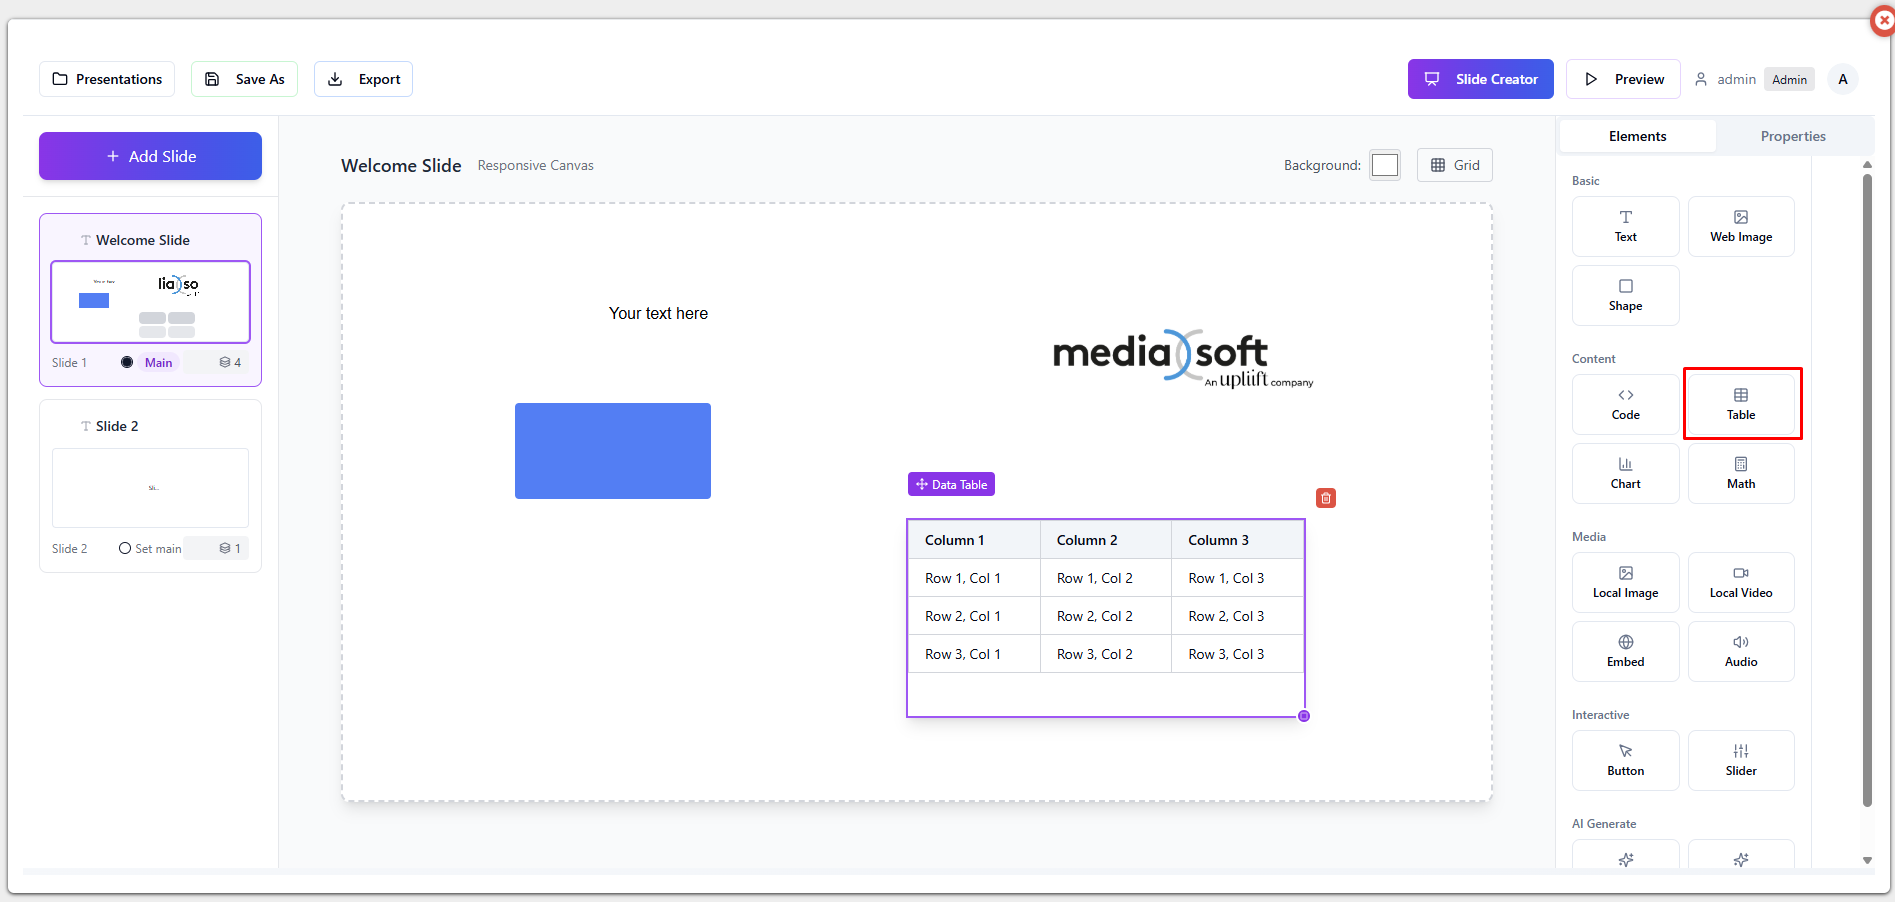
By clicking on the table on the slide, you can adjust the table to your liking.
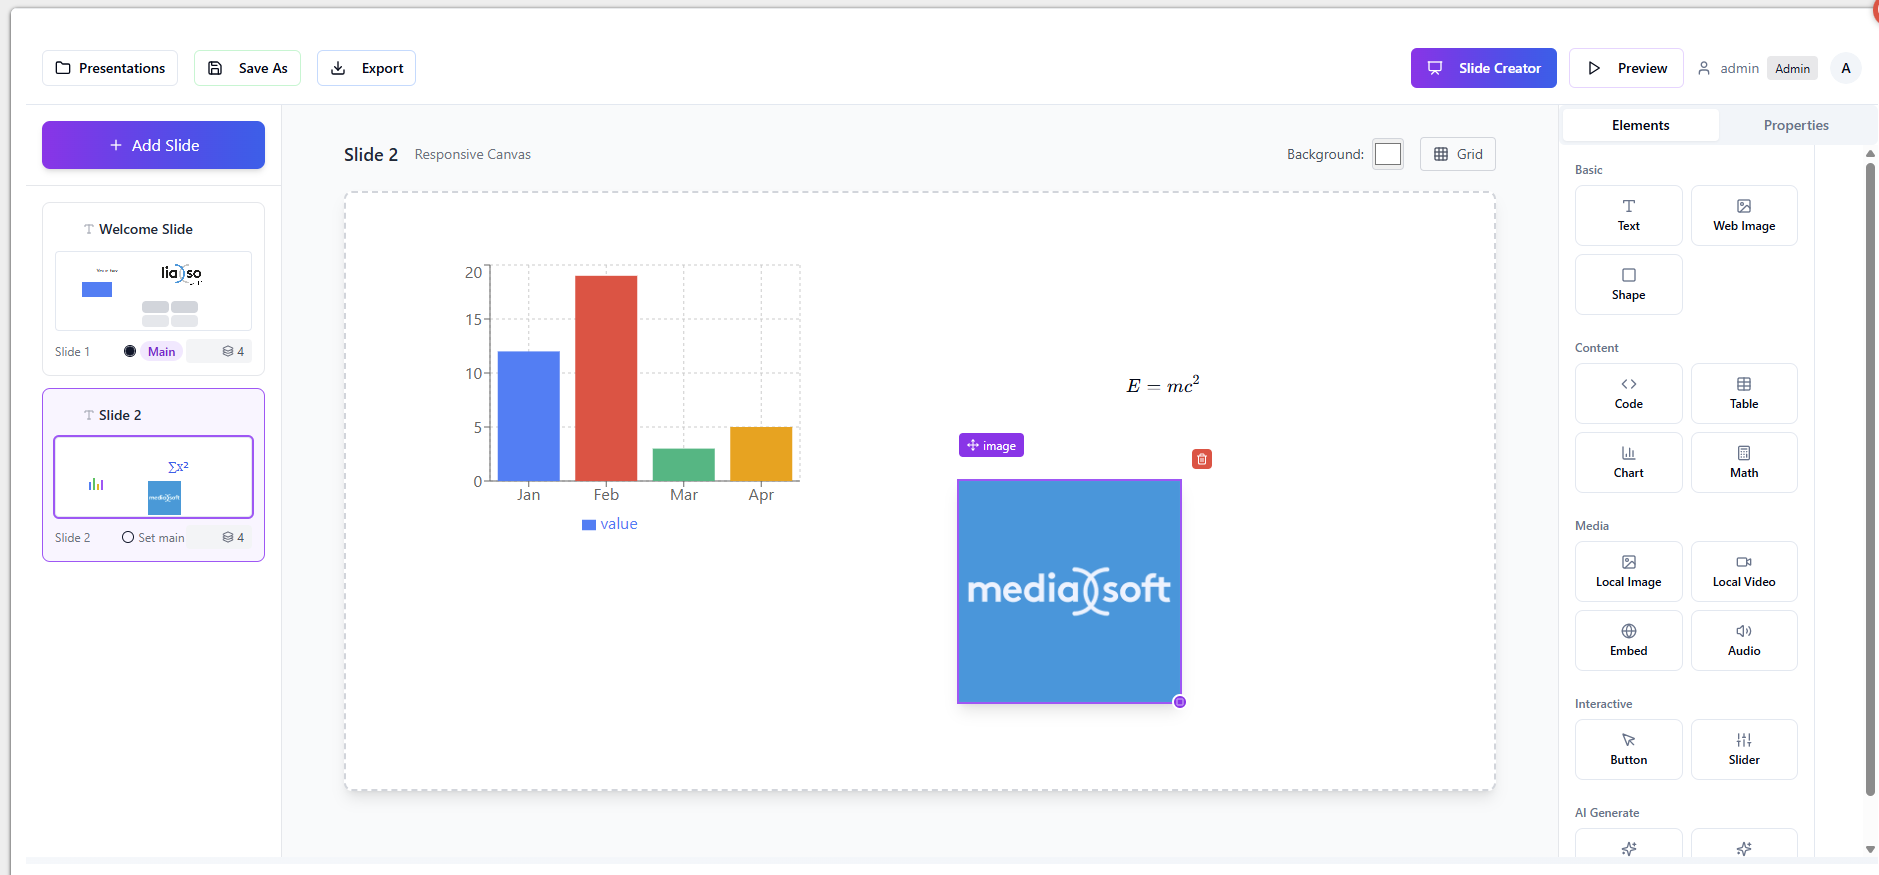
Element – Chart
Drag and drop element.
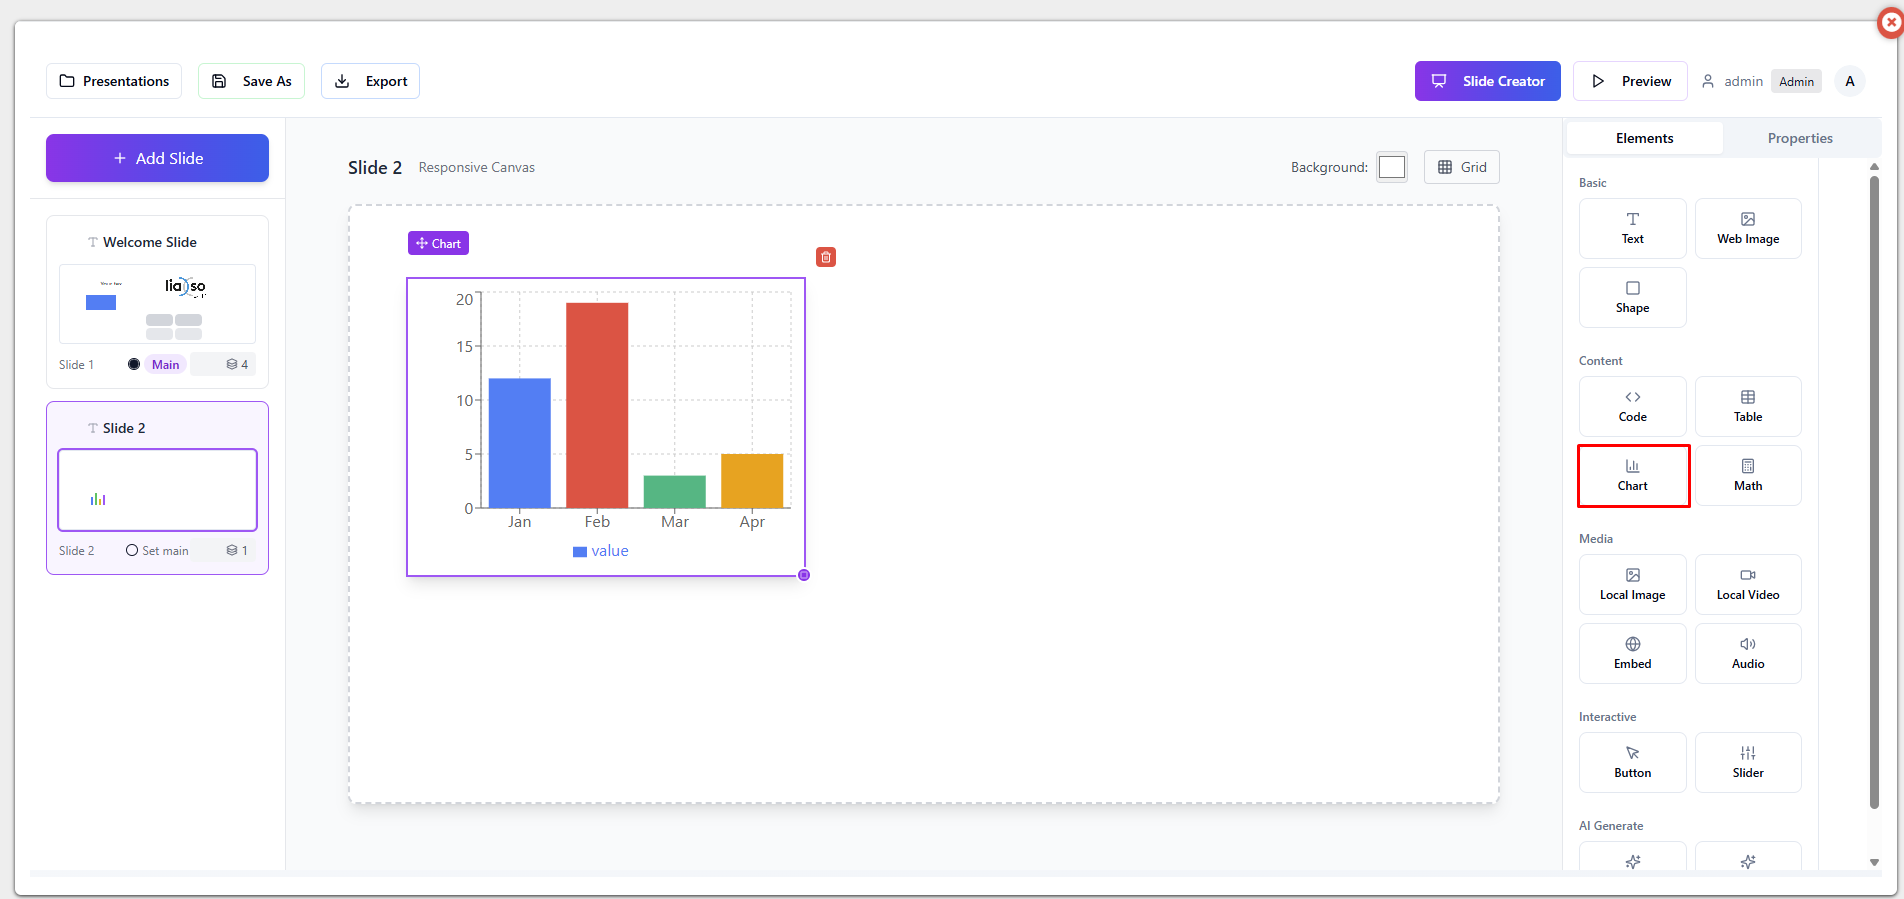
Using properties you can adjust the chart to your liking.
Element – Math
Drag and drop element.

Using properties
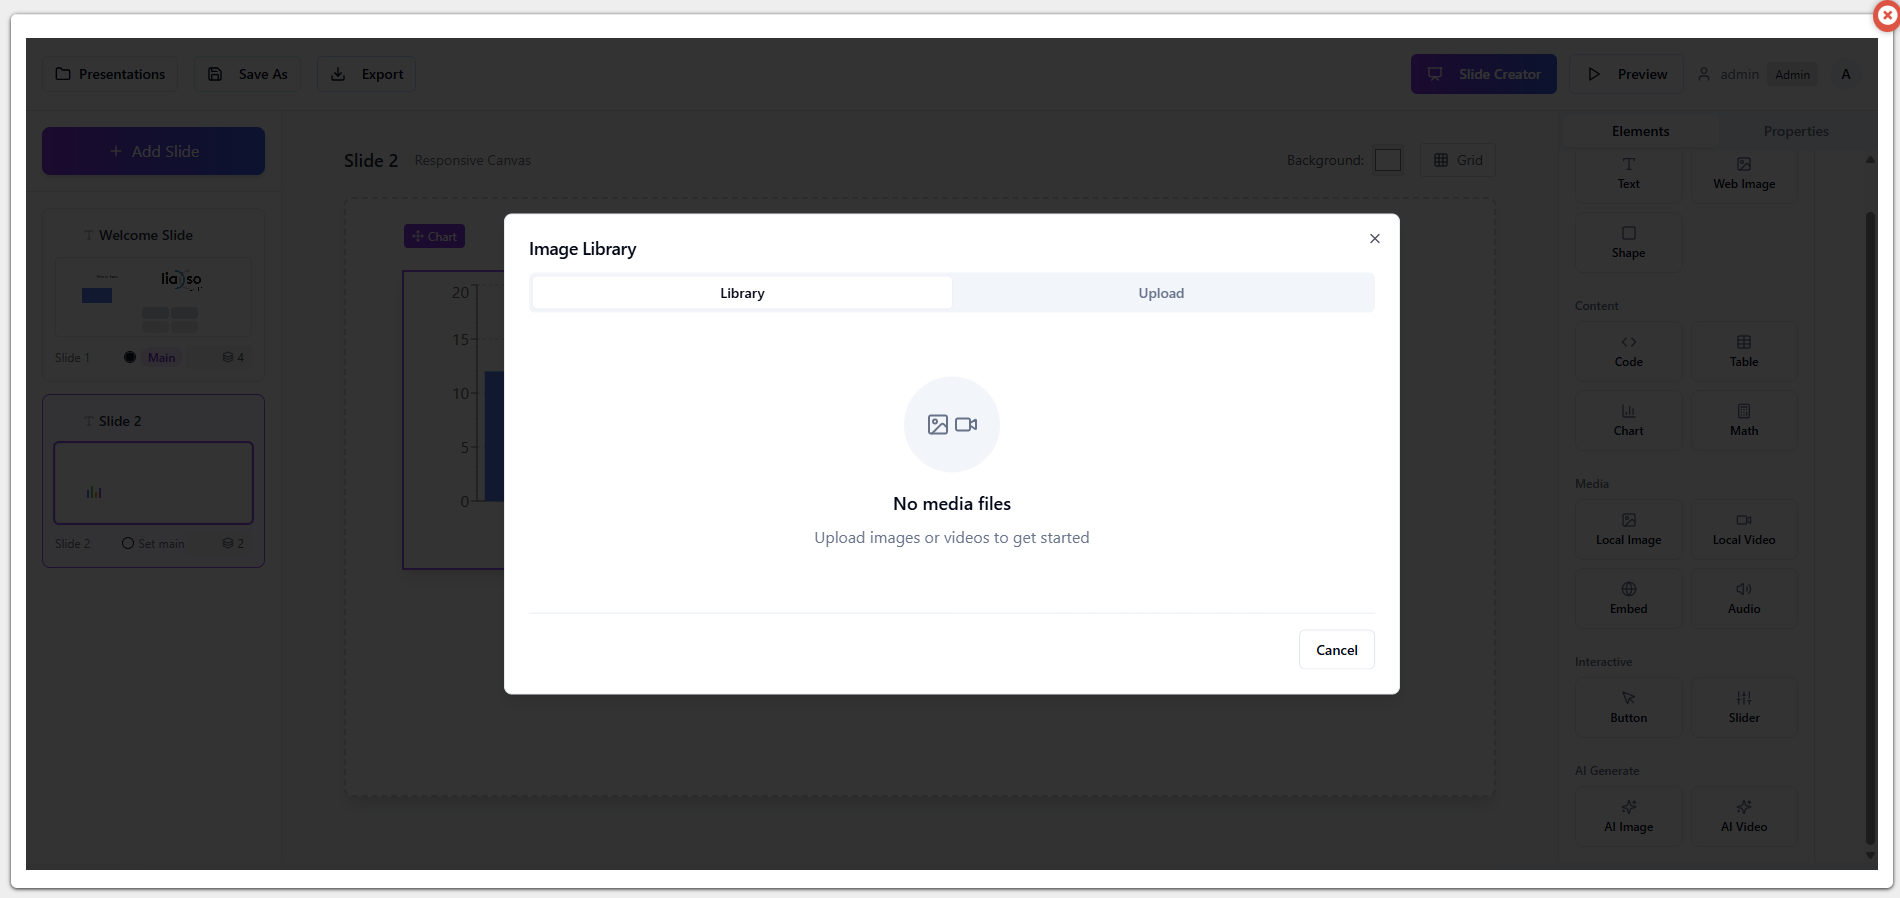
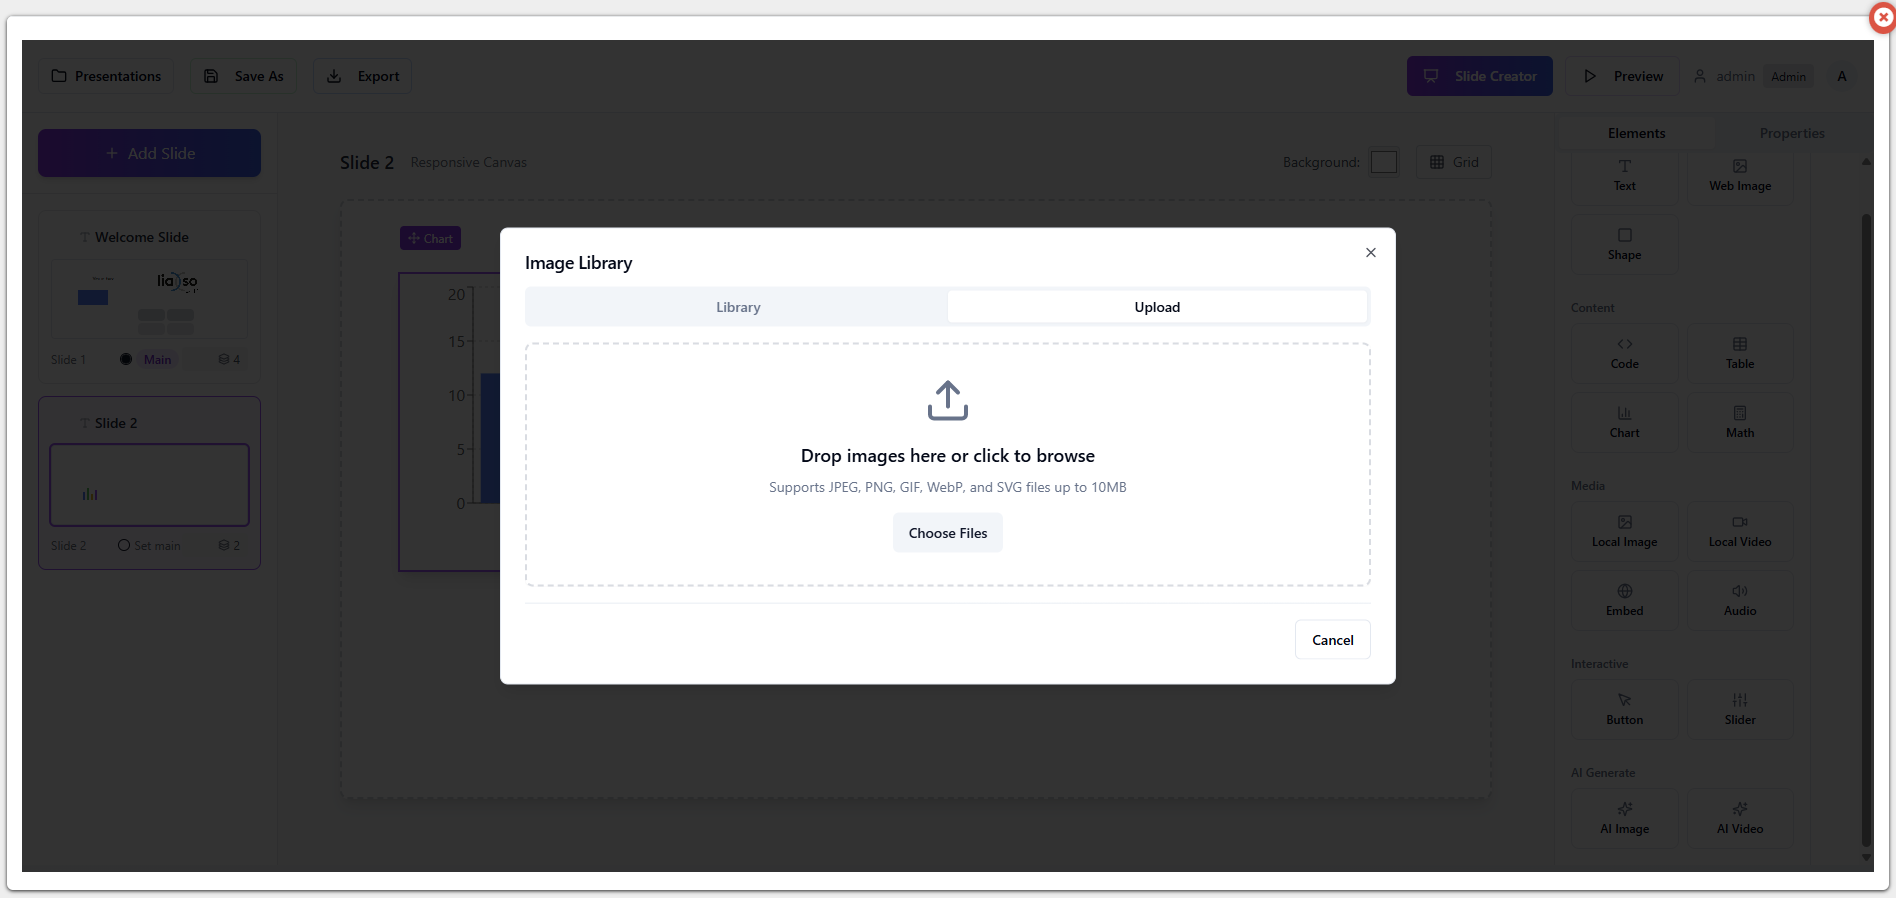
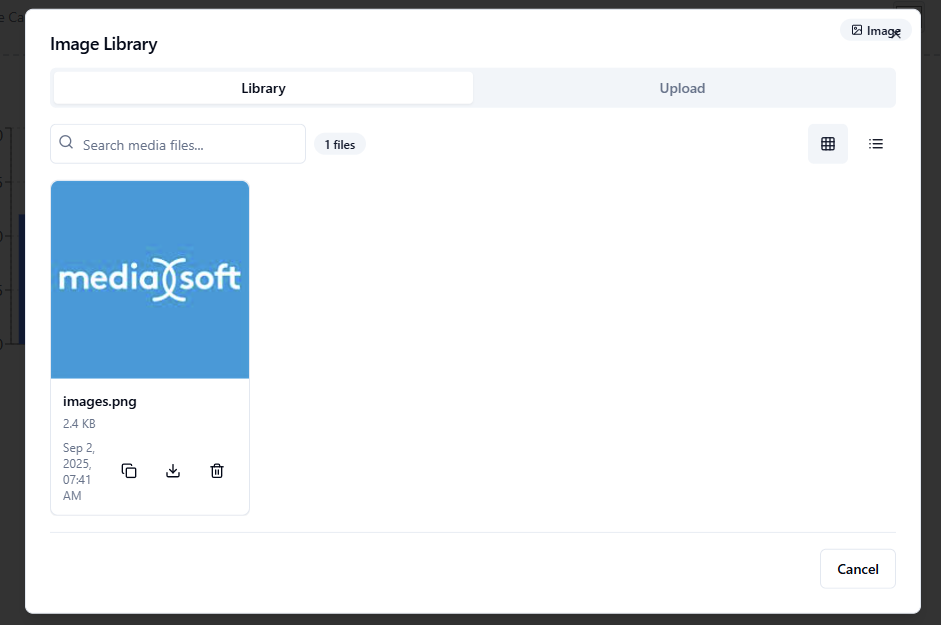
Element – Local image
Not a drag and drop element. Clicking on the element opens up a new window with “Library” and “Upload” tabs.
Library contains all the uploaded images, and “Upload” is used for uploading new ones.
Element – Embed
Drag and drop element.
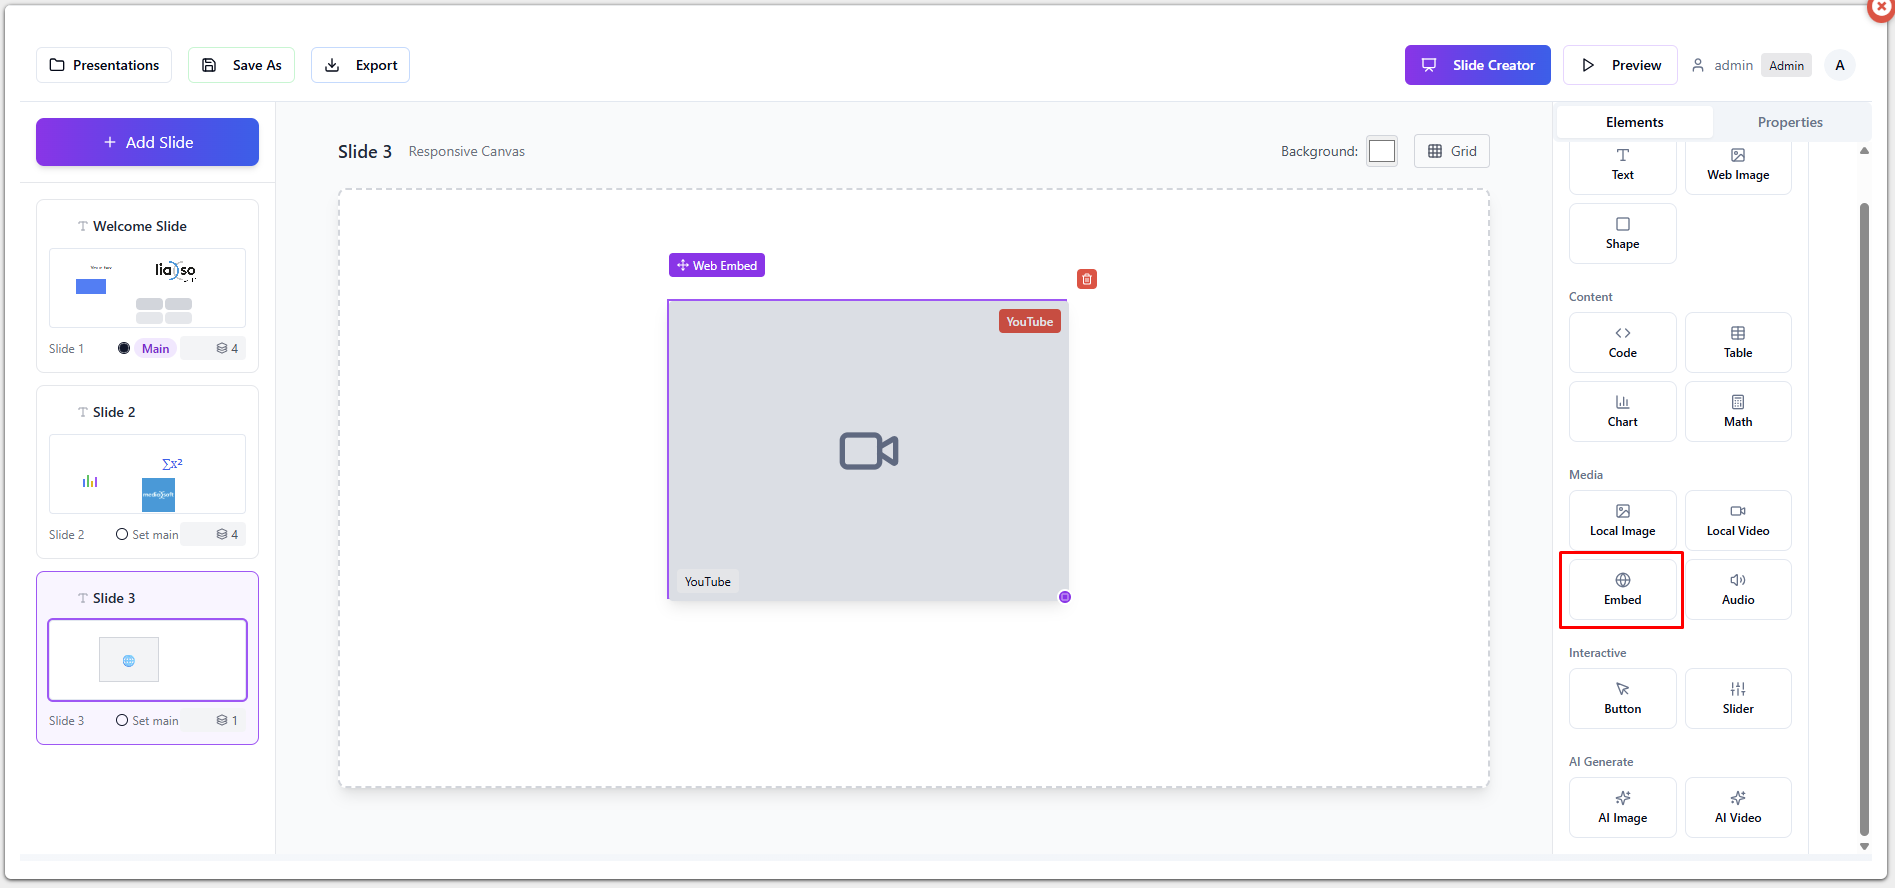
Easily embed a video from the web, e.g. YouTube video.
Element – Audio
Drag and drop element.
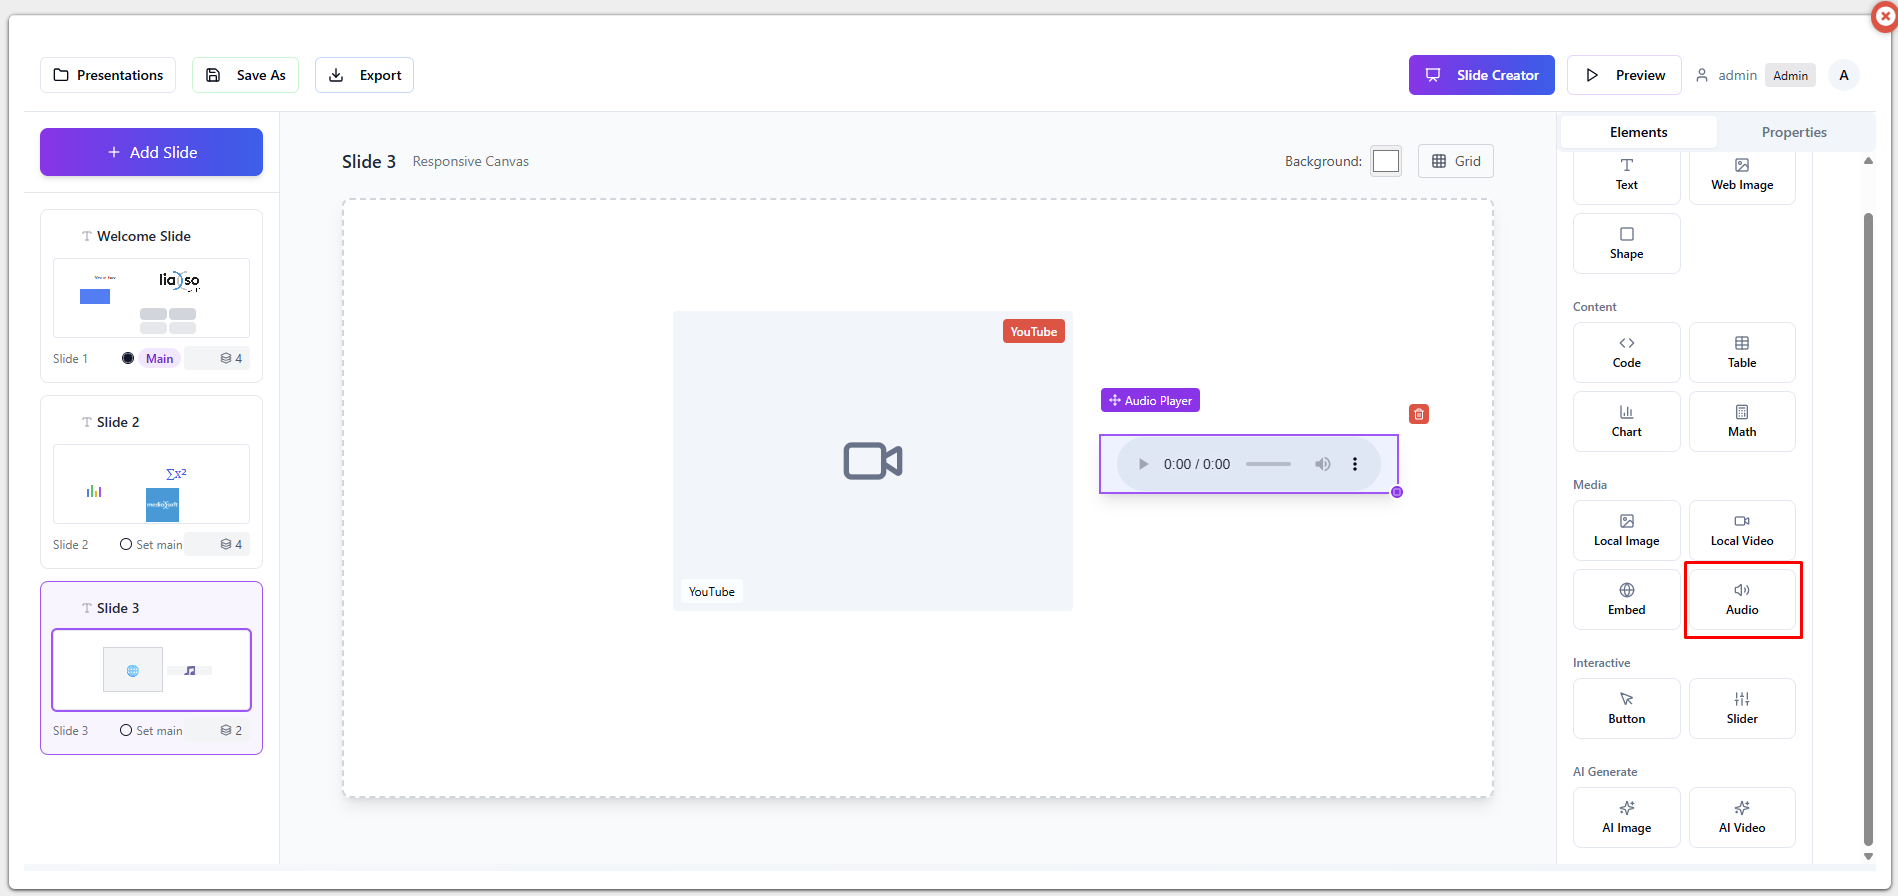
Easily embed audio file from the web.
Element – Button
Drag and drop element.
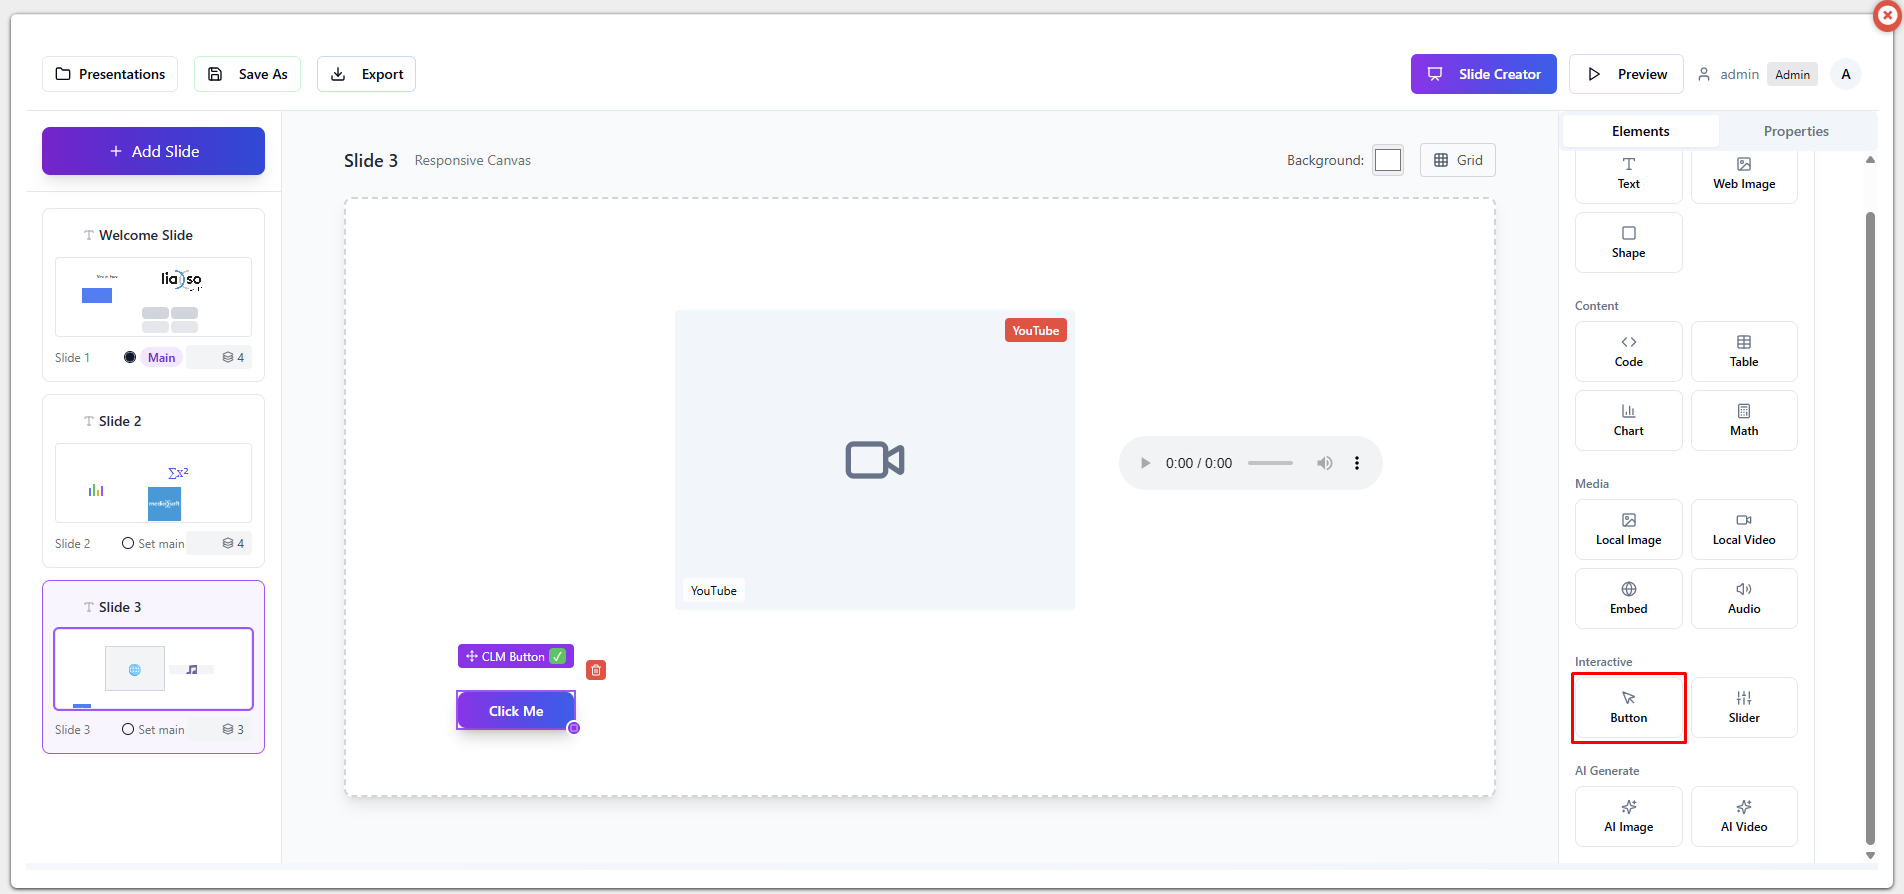
For the button element, it’s important to select the target slide, meaning which slide it will lead to on click.
Element – Slider
Drag and drop element.
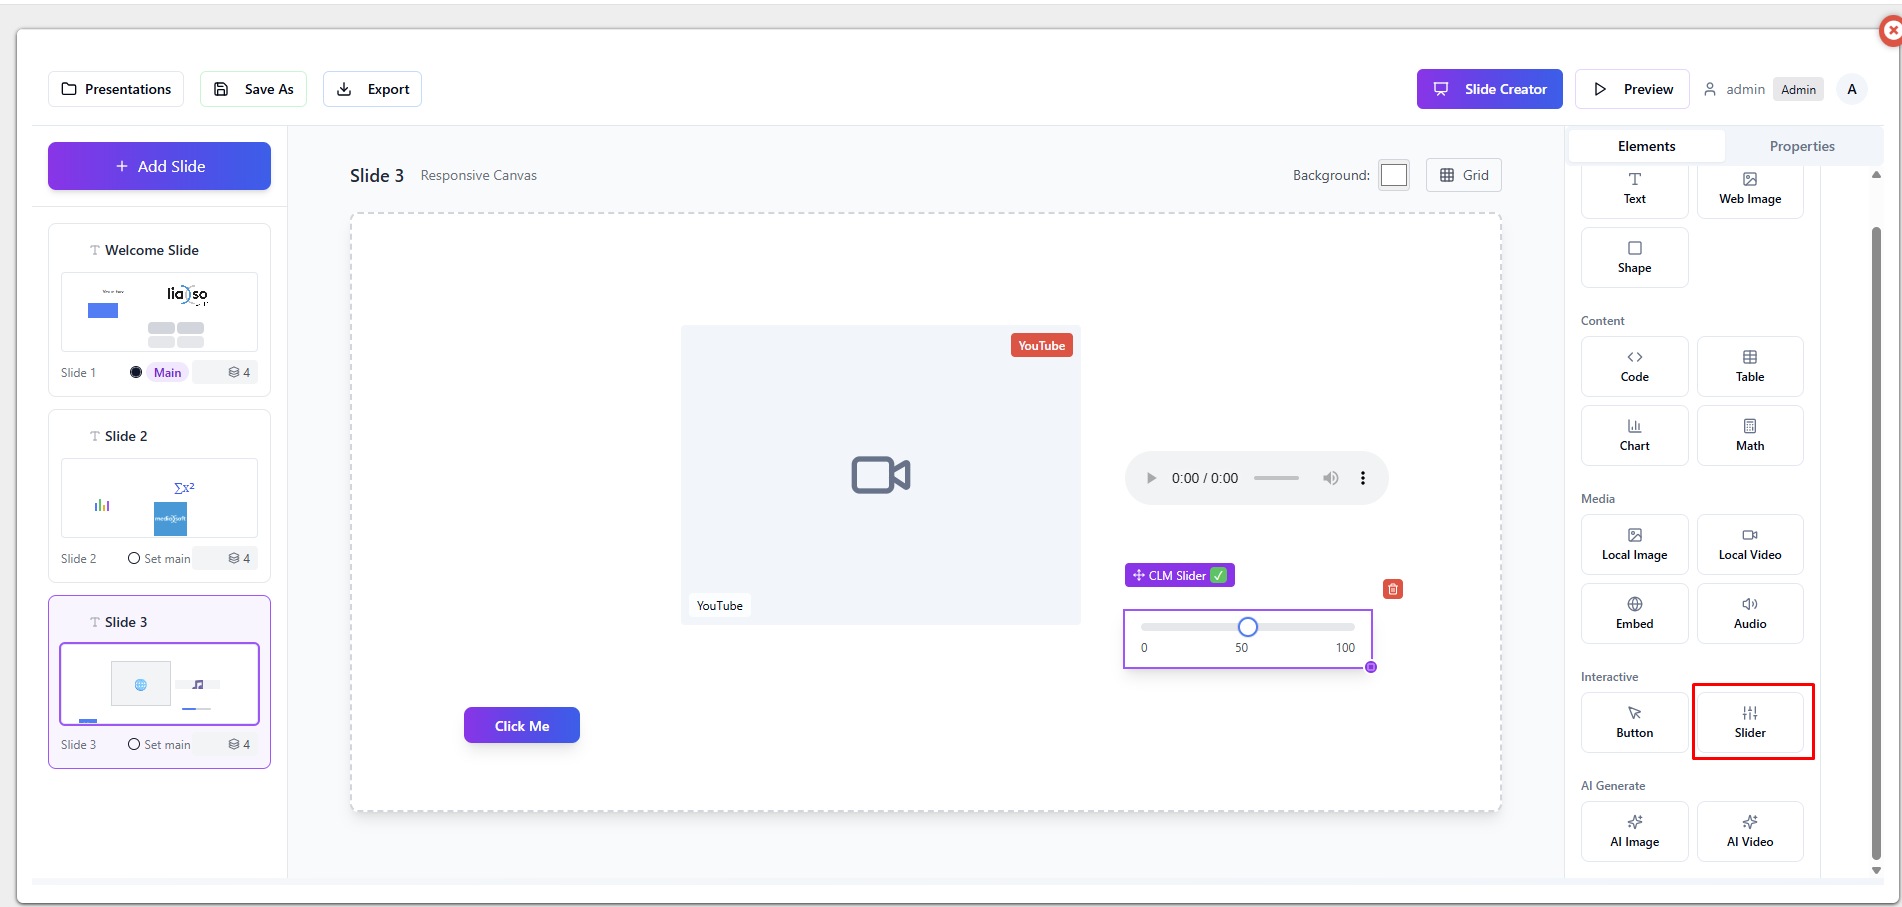
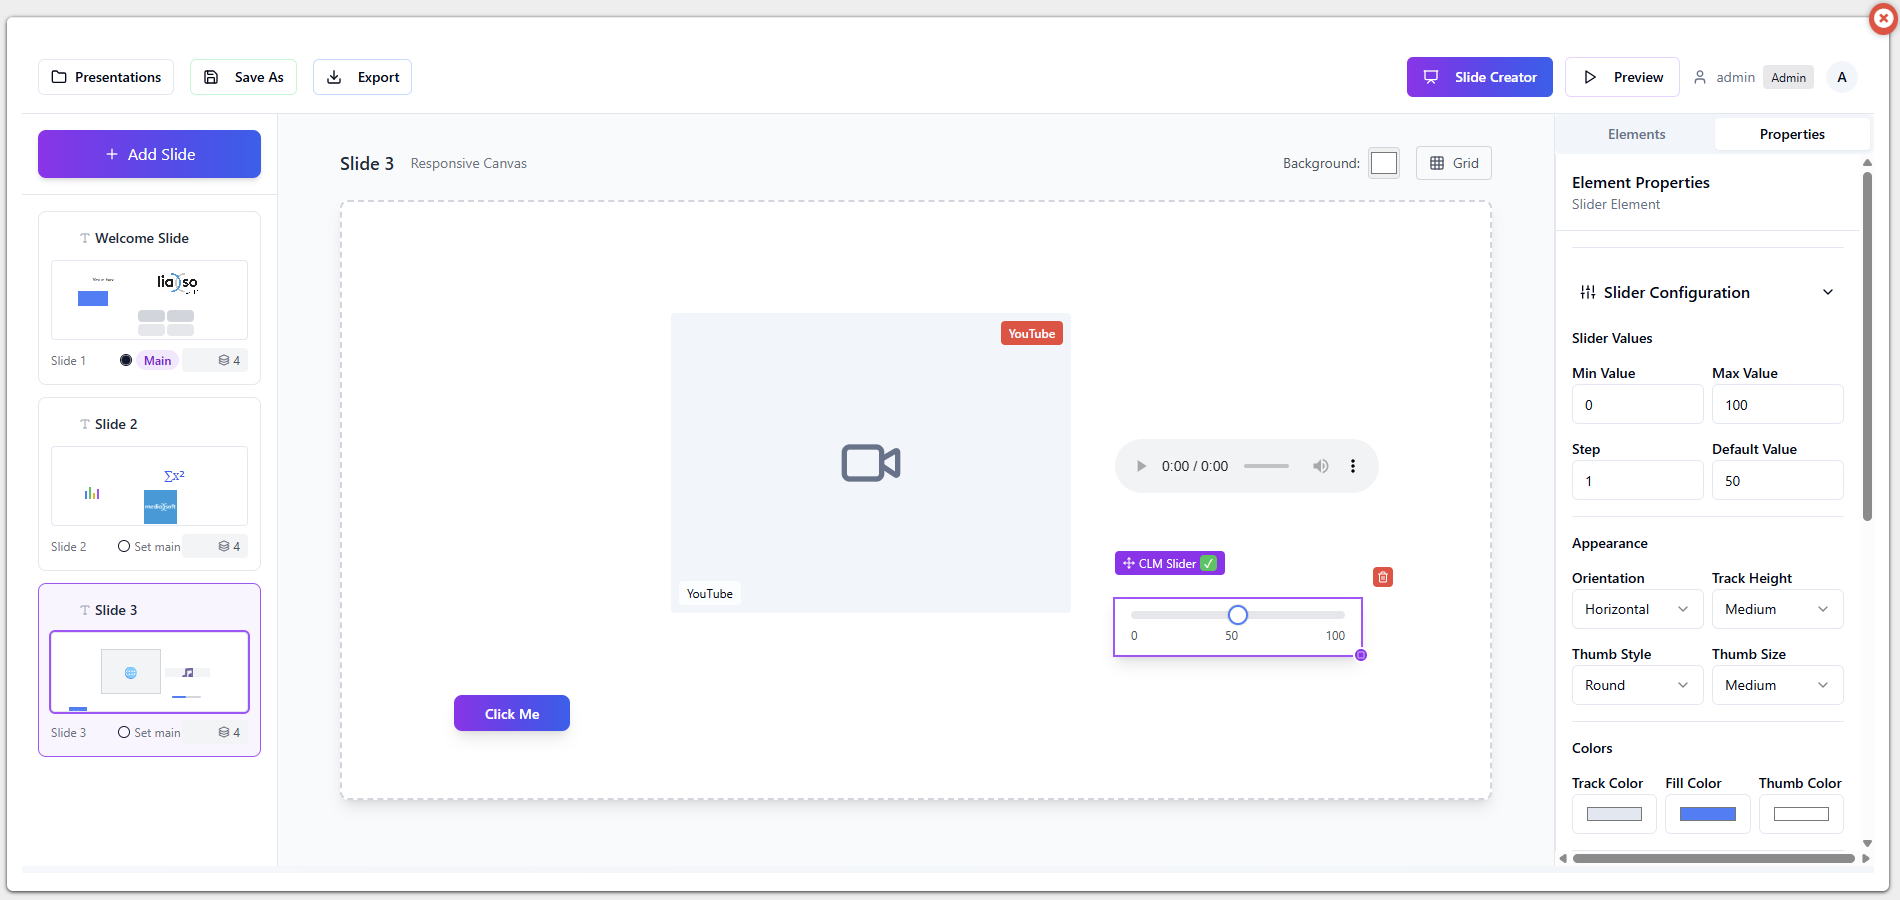
Slider is an interactive element and can be manipulated by the user during the presentation.
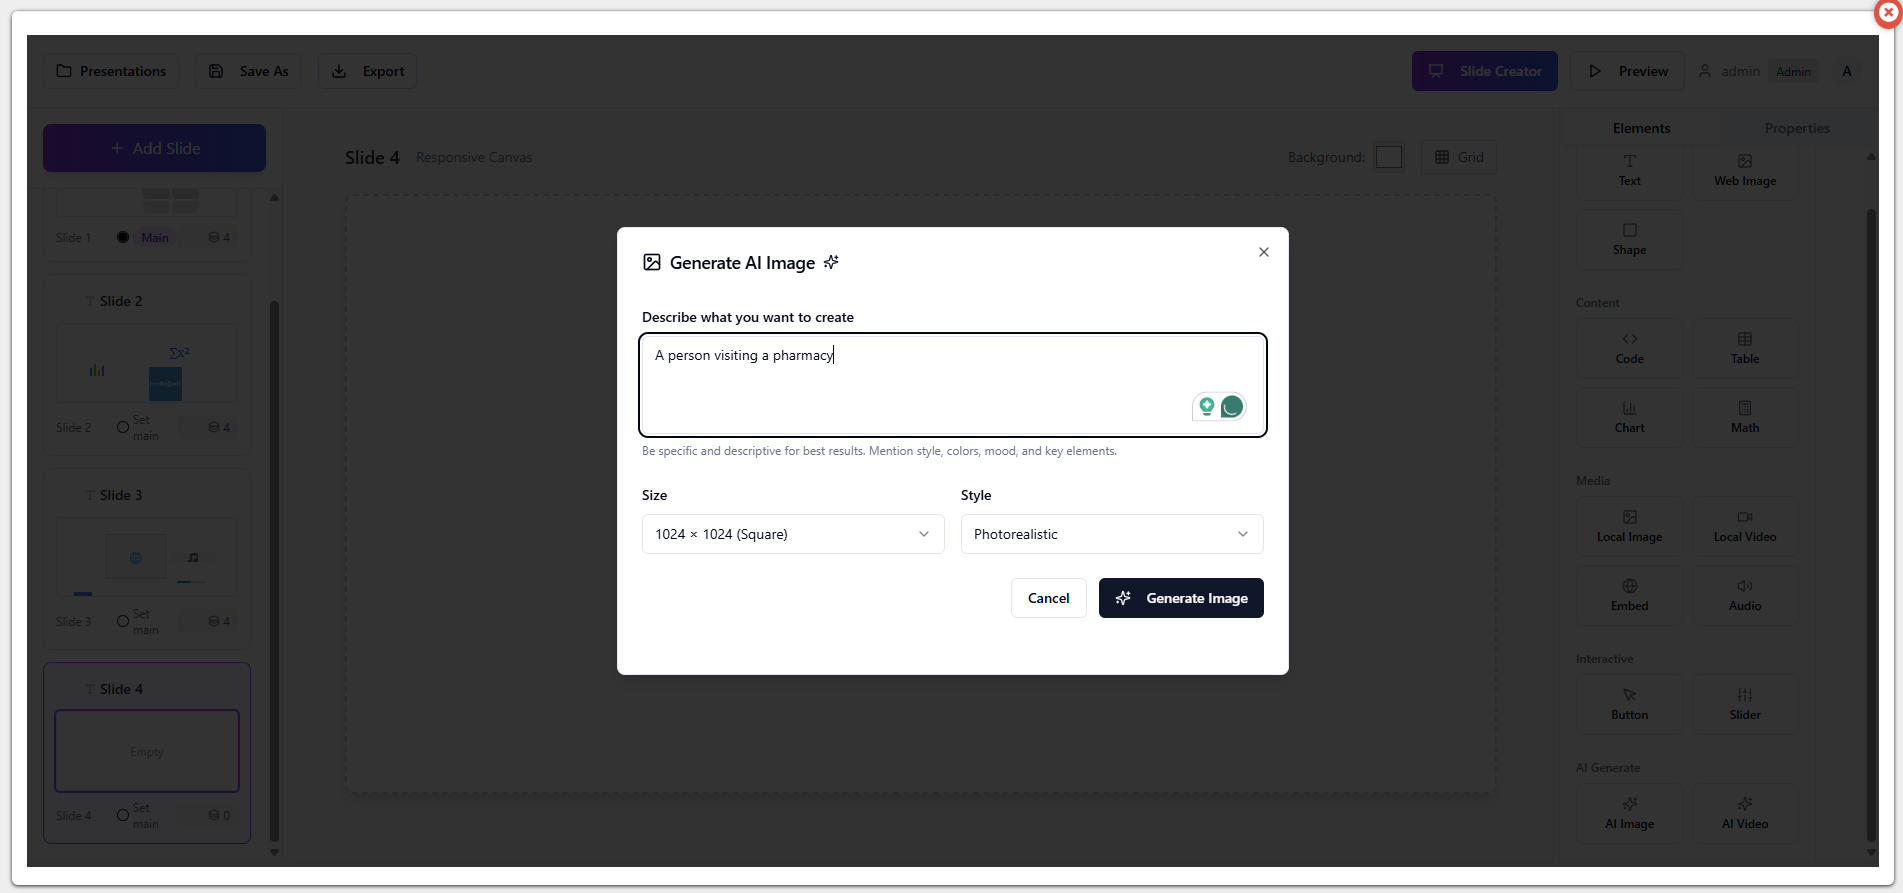
Element – AI Image
On-click element.
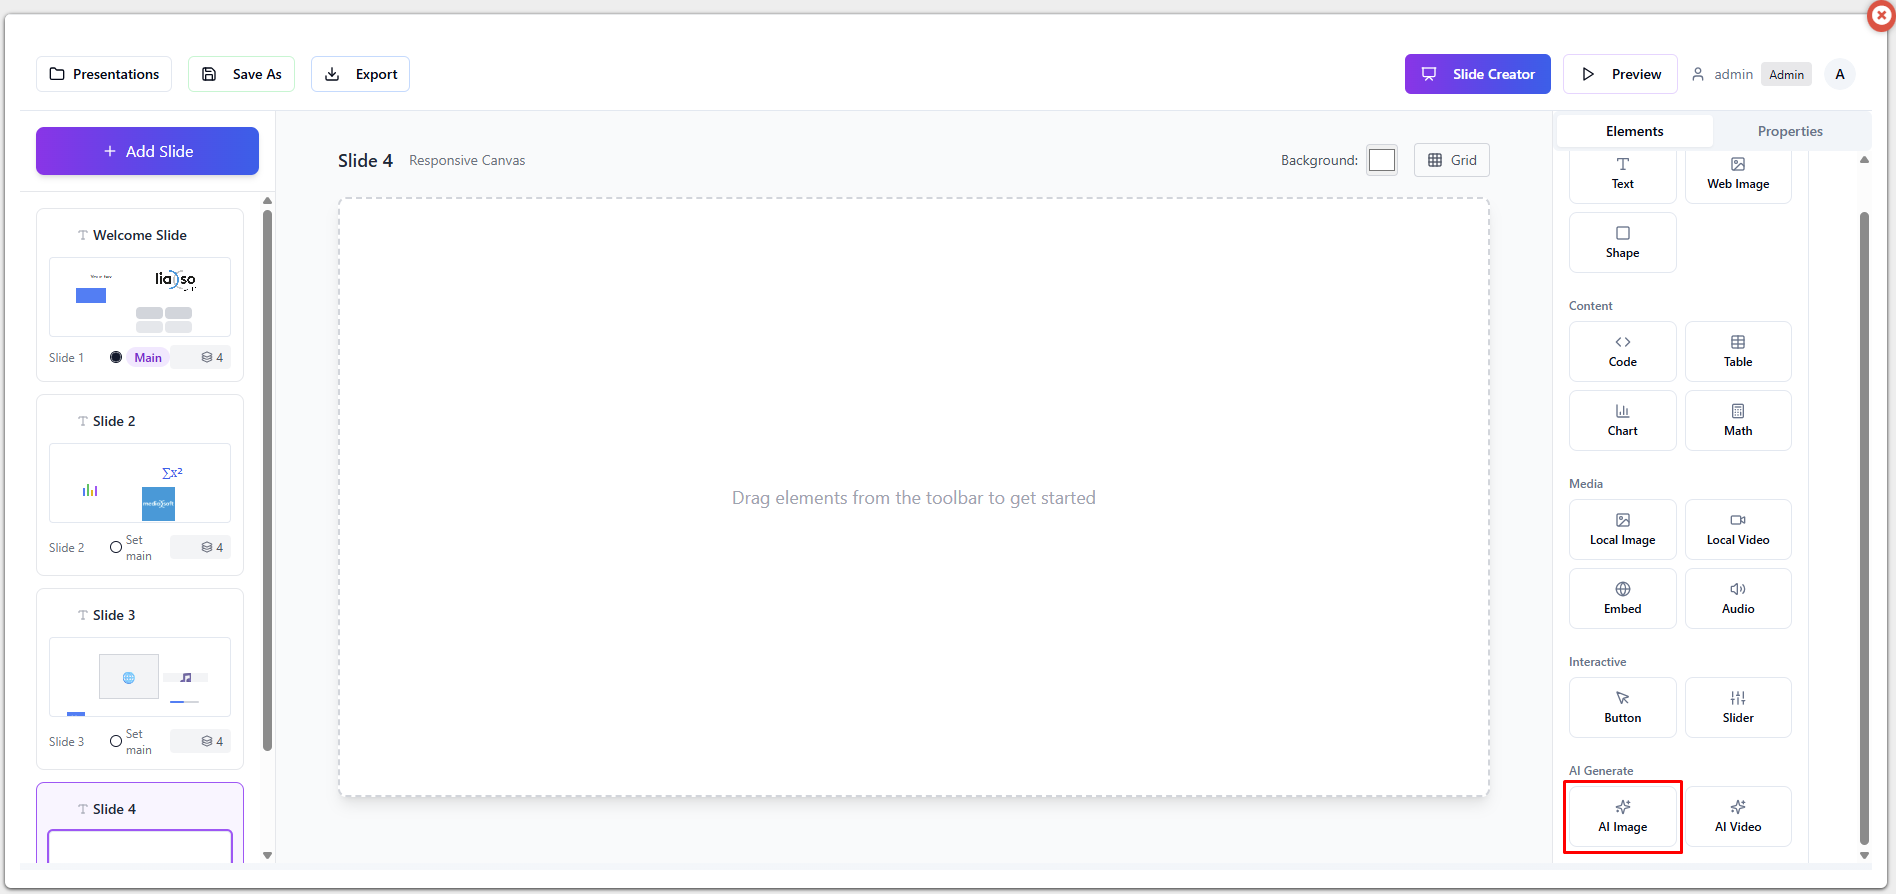
Clicking on it, a new window opens where you can describe what you want AI to generate for you.
You are also able to choose size and style of the image.

Saving and exporting the presentation
By pressing on the “Save as” button, we can save the presentation.
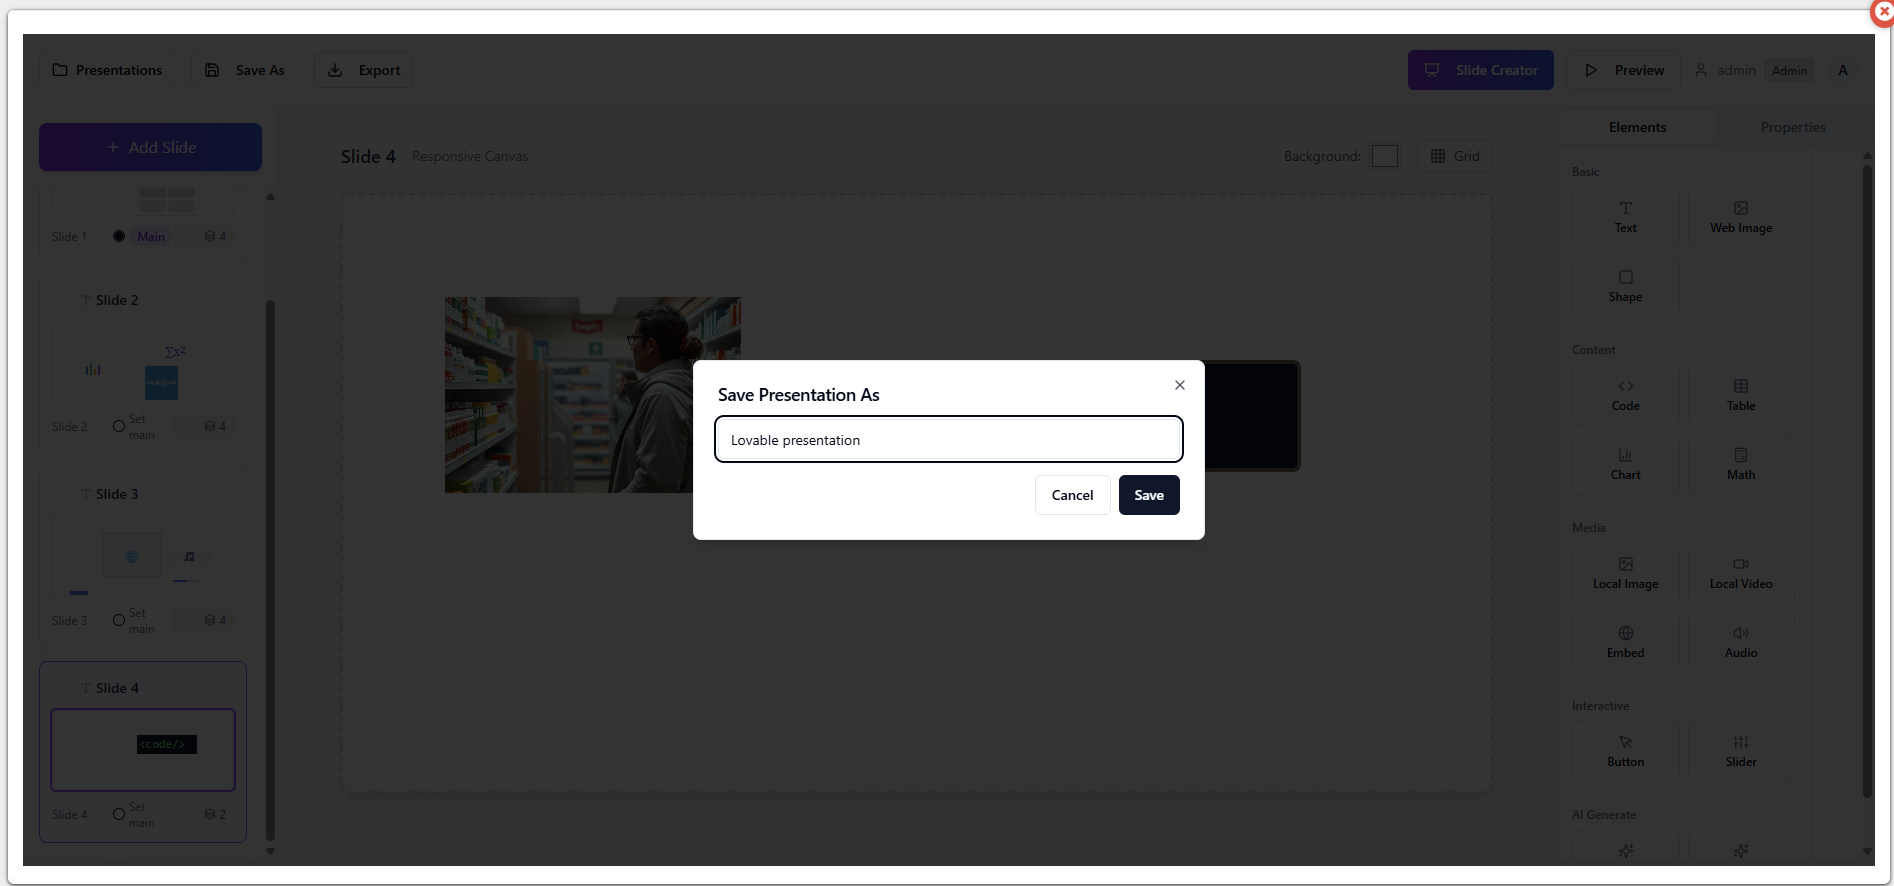
After we save it, it’s available under “Presentations”.

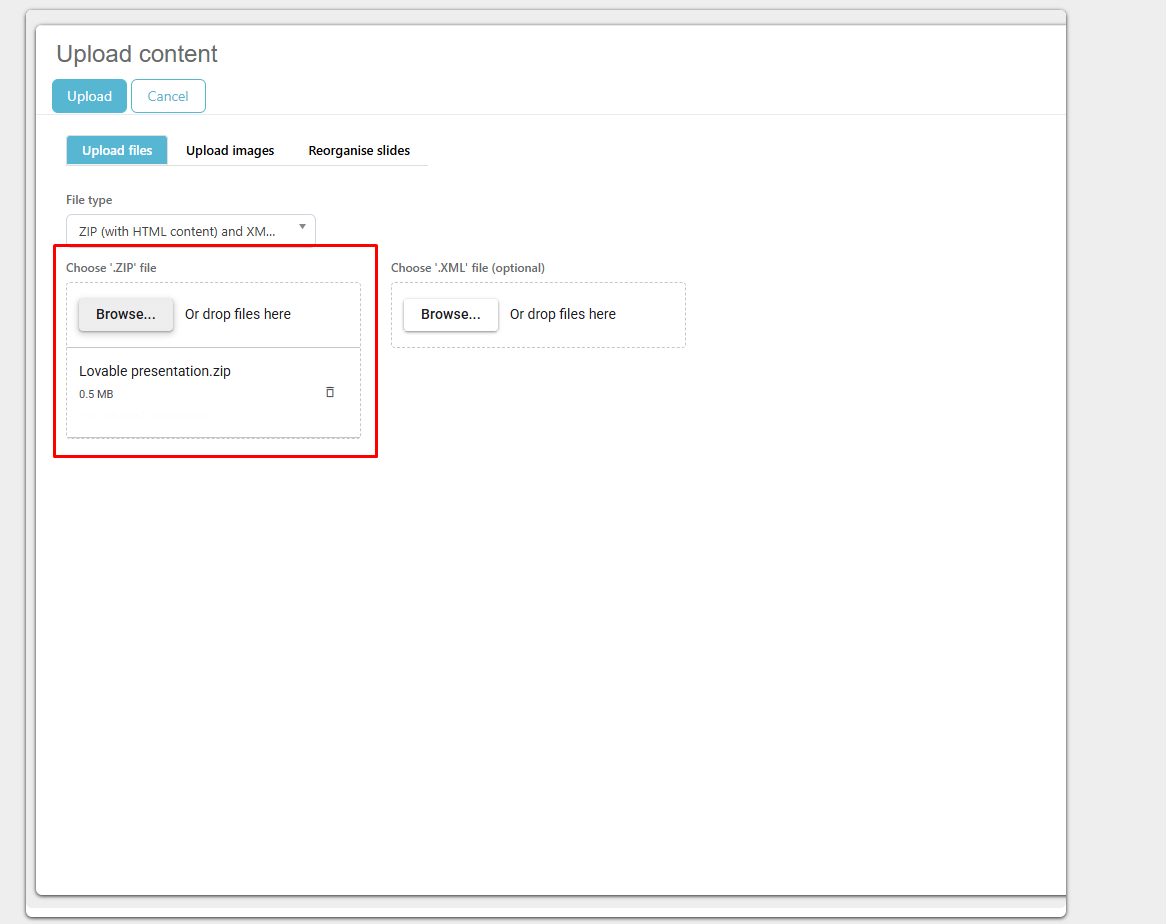
On the presentation list, you can click on the “Download” button and download the ZIP file which you can then upload in BookVision module.
You can also download the presentation on the previous screen, by clicking on the “Export” button.
As mentioned earlier, the ZIP that you have downloaded from the Presentation designer can be uploaded in the BookVision module.